The days are getting longer, the sun is back in the sky and everything is growing. Here are ten top tips to make the most of the floral explosion happening right now...
1. Make more of your tripod
With flowers being low to the ground, you may be tempted to abandon your tripod and chance capturing your image handheld.
However, using a tripod is always a better idea as it will keep the camera super-steady and slow down your shooting process, which is actually a good thing as it will force you to think more carefully about composition.
If your tripod legs won’t allow you to get a low enough angle, try inverting the centre column. This will place your camera just centimetres from the ground for a true worm’s eye view of the subject.
2. Get close
If you shoot with the kit lens that came with your camera, there’s some good news! Most kit lenses can actually focus incredibly close to a subject, typically between 25-30cm away. When zoomed in, this should get you close enough to capture the intricate detail of a floral subject.
For a true frame-filling image though, you may want to consider investing in a macro lens. These optics boast a 1:1 ratio, which means they show subjects in their real size. What’s more, macro lenses offer fast maximum apertures (usually f/2.8) so they are great in low light, allowing you to achieve a faster shutter speed than you would with a variable-aperture zoom lens.
3. Think about light
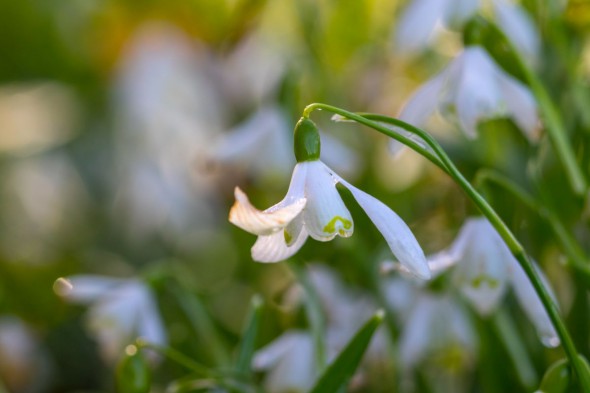
A common mistake photographers make when trying to get the perfect shot of a flower head is crowding the subject, blocking out natural light.
Sometimes, especially if you are using a kit lens that tops out at around 55mm, this can’t be avoided, but there are additional accessories out there that can improve your lighting. A reflector will bounce rays back onto your subject, making use of the natural light in the scene. In this scenario, a smaller reflector (30cm in diameter) is preferable to larger model as it will be more manageable when you’re working at ground level and surrounded by undergrowth.
In dense woodland, light levels can be too low to take advantage of a reflector, so consider artificial lighting such as the Manfrotto Lumimuse 3, an LED light that can be mounted on top of your camera’s hotshoe and will fill in any shadows on your subject. If you’d like to take your close-up photography even further, Canon sells the EF-M 28mm f/3.5 lens, an optic with a built-in LED light for macro photography.
4. Prepare a scene
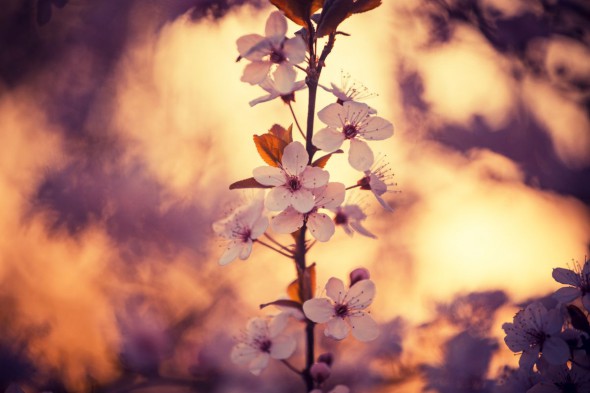
It’s very rare that you’ll line up an image and it will be perfect from the first click of the shutter. Instead, activate your camera’s Live View mode to get a better view of the scene than the smaller viewfinder provides, and assess the composition.
Recompose to get the best view of your subject and, if necessary, do a little “gardening” by removing distractions such as stray blades of grass from the frame. Doing this will save you time cloning them out in Photoshop later.
5. Shoot in RAW
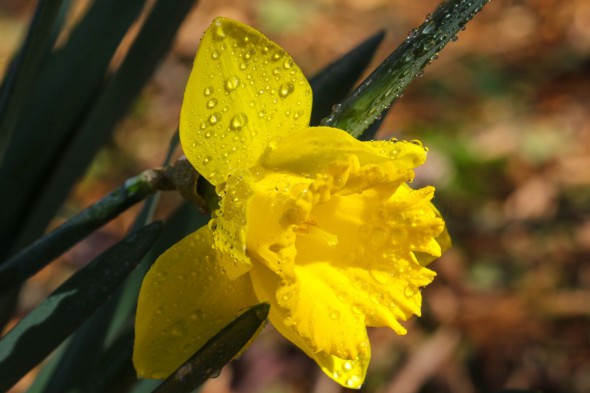
Spring is all about colour, and if you shoot in JPEG format, you’ll be restricting how much you can edit the photo without affecting image quality. Switching to the RAW file format does take up more room on your memory card, but storage media such as SD and CF cards are far more affordable than they used to be, so this really isn’t a problem anymore.
What’s more, a RAW file holds more picture information, and this allows you to edit a RAW image much more extensively than a JPEG. For example, perhaps you’ve overexposed an area of the subject? In RAW, you have more potential to rescue the overexposed detail than if you had shot in JPEG format.
6. Time your shoots
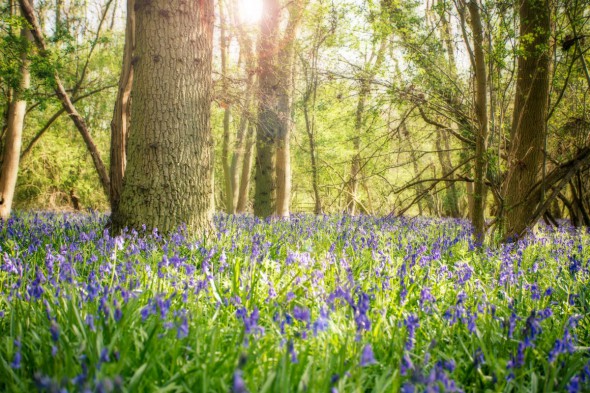
Some of the prettiest spring floral subjects don’t hang around, so if you’ve got specific subjects you want to capture then a little research will go a long way. Snowdrops come first in spring, followed by colourful daffodils. Bluebells, perhaps the most striking of spring floral subjects, appear from late March/early April, but are only in their prime for around three to four weeks.
7. Watch your focus
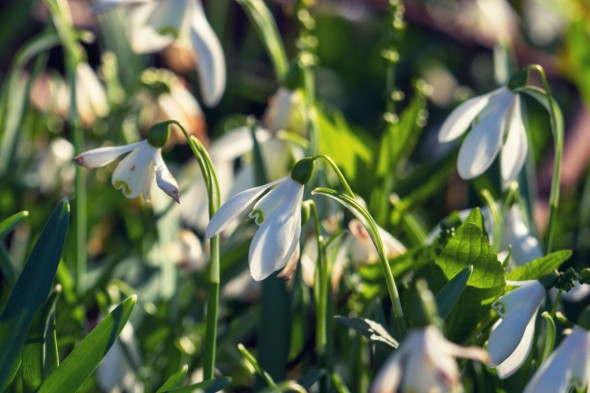
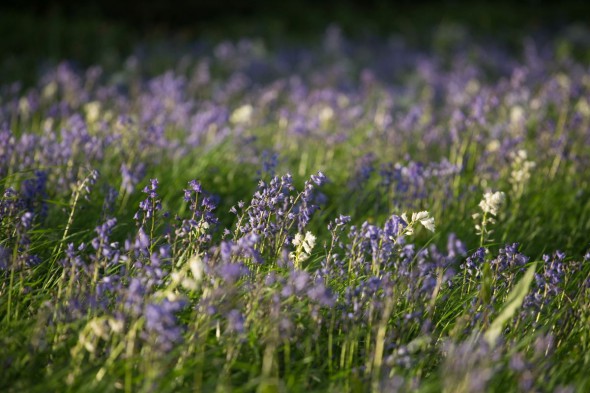
When working with close-up subjects, focus can become a real issue. The problem is that the closer you get to a subject, the harder it is to keep a large zone of focus. You may be tempted to dial the aperture to f/22, but this still may not be enough, and also remember that image quality is typically better when a lens is set to a mid-range aperture like f/8.
So, the trick is to use a technique called focus stacking. Set the camera to Aperture Priority mode (A or Av on your mode dial) and select f/8. Activate your Live View mode and focus on a point towards the front of the frame before taking a shot.
Repeat the process, focusing on the point in the middle, and then at the back of the frame. Back at the computer, merge all the images, using Layer Mask to erase the out-of-focus areas of the different frames. You should be left with an image that boasts a level of front-to-back sharpness that could never be achieved in a single exposure.
8. Go for gold
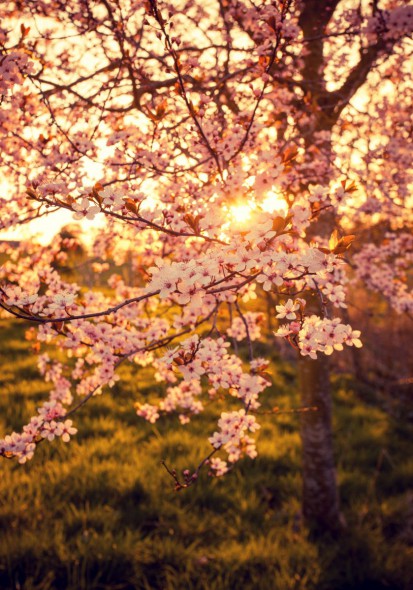
Just like when shooting landscapes, the best time to head out in search of spring florals is during the golden hours of first light and last light. This is because the warm, low and directional light will reveal more of your subject’s texture. Shoot in the midday sun and you’ll struggle with harsh shadows appearing on your subject.
If you have no choice but to shoot during these hours, your reflector can come in handy once more. You could either angle the reflector to bounce light back onto the subject to fill in the shadows, or you could remove the sleeve from the reflector and use the diffuser in the middle of the reflector to soften the harsh light from the sun.
9. Make yourself comfortable
To capture the best spring florals, you’re going to be working close to the ground. Doing this for an extended period of time can become uncomfortable, so bringing along some extra items of kit will prevent the shoot from leaving you sore and stiff.
Knee pads or a padded garden mat will enable you to get low without getting sore knees, while a fold-up camping stool will allow you to take the load off once you’ve got yourself set up. Both these extra items of kit will take up minimal room in your gear bag, but could make the difference between you enjoying the experience and resenting it.
10. Next-level techniques
To add that extra polish to your spring florals, there are a couple of clever tricks you can borrow from the professionals.
If you want to separate a subject from a cluttered background, use a sheet of coloured paper. Because you’ll be focusing on the subject, the card will be blurred and no one will ever know you’ve used some trickery to achieve the perfect frame. Use green to replicate a meadow or blue as a substitute sky.
Lastly, florals can look great with a sprinkle of morning dew on them and you can replicate this effect with the use or an atomiser (a garden water sprayer), which will cost just a couple of pounds from any supermarket or local garden centre. Make sure you set the atomiser to its finest spraying mode and be careful not to get any of your camera gear wet – keeping a microfibre cloth nearby is a wise move.
About the Author
Matty Graham is a photographer and writer based in Lincolnshire. www.mattygraham.com
Related articles
Macro Lighting Secrets: Blending Ambient and Add-in Light
Essential Lighting Modifiers
How to Shoot the Outdoors, Indoors

