Thinking about giving astrophotography a go? Nik Szymanek explains the equipment required and the process of capturing images using CCD cameras.
These are exciting times for astrophotographers. Equipment continues to improve and in real terms prices are falling so there’s never been a better time to start out imaging the deep sky. The following guide explains the equipment you need to get started as well as the basic procedure.
Equipment
At all levels three pieces of equipment are essential:
Imaging camera
This can be a DSLR for people new to the subject, but best results come from using astronomical CCD cameras. This is the heart of the system and will probably will be the most expensive item required.
These come in two versions: monochrome and ‘one-shot’ colour. The latter works in a similar way to a DSLR and employs a Bayer matrix of colour filters but is optimised for astronomical use by being thermoelectrically cooled (reducing sensor noise) and producing 16-bit FITS files for best quality.
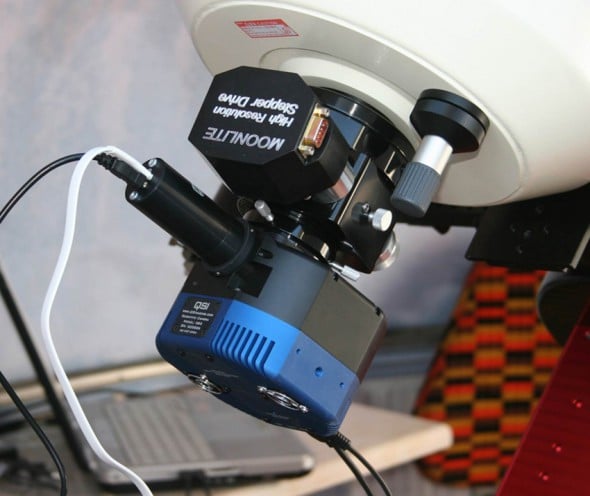
A modern CCD camera. This model by Quantum Scientific Imaging features an internal filterwheel and filters and an integral port for an autoguiding camera (shown at upper left).
The monochrome version is much more flexible and is operated with an additional filterwheel and either clear, red, green and blue filters (for galaxy imaging and known as LRGB filters) or narrowband filters for specialised imaging of emission nebulae (such as the Orion or Horsehead nebulae).
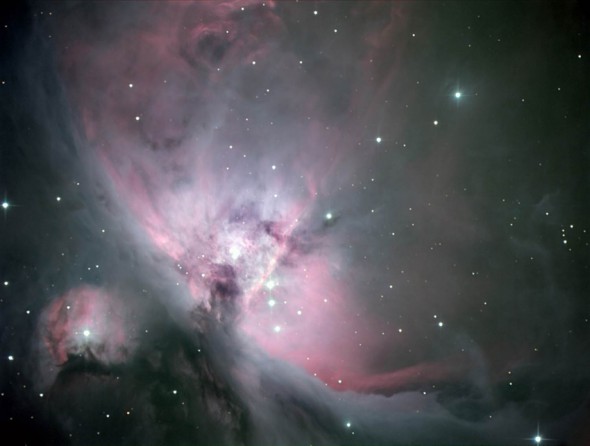
An LRGB CCD image of M42, the Orion Nebula taken with a 10” telescope. The exposures were kept short to stop the core from burning out.
Narrowband filters produce exceptional results and are ideal for blocking detrimental light pollution. A hydrogen-alpha filter can take great monochrome pictures of nebulae and should be on the list of every CCD imager!
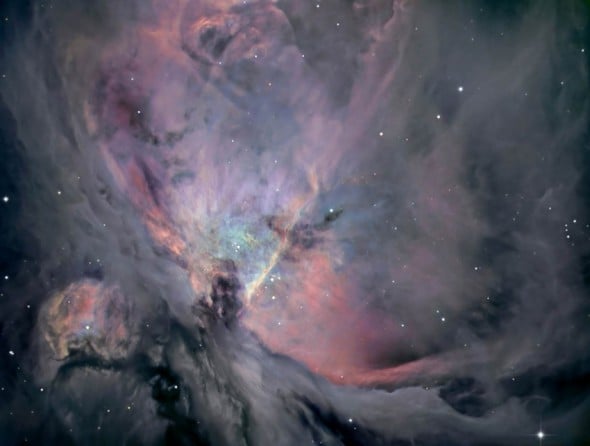
An image of the Orion Nebula made up of LRGB exposures combined with a deep exposure through a narrowband hydrogen-alpha filter. These filters capture much more detail compared to Luminance filters.
Telescope
There’s a huge choice available but smaller refracting telescopes are great when starting out. I always recommend short focal length refractors such as those from Skywatcher, William Optics and Altair Astro. These retail at around £400-500 and offer great optics in a portable package. The short focal length of such telescopes means that pointing and tracking of the telescope is less critical compared to a long focal length telescope.
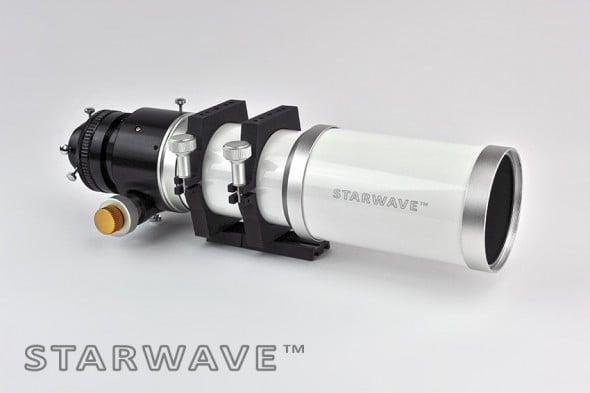
Refractor telescopes make great instruments for CCD imaging and are well priced. This 80mm version gives wide fields of view, is lightweight and of good optical quality.
Equatorial mount
The most important part of all. This tracks the sky, cancelling out the rotation of the Earth and keeps the target centred on the sensor. A portable mount such as the Skywatcher HEQ5 is perfect in that it delivers high quality tracking yet is portable enough to be carried quite easily. It’s recently been superseded by the new AZ EQ5 GT mount which is slightly more expensive at around £900 but will deliver excellent tracking performance. Skywatcher also manufactures a heavier mounting, the AZ-EQ6GT, which uses similar technology but has a much bigger payload capacity and will handle heavier scopes.
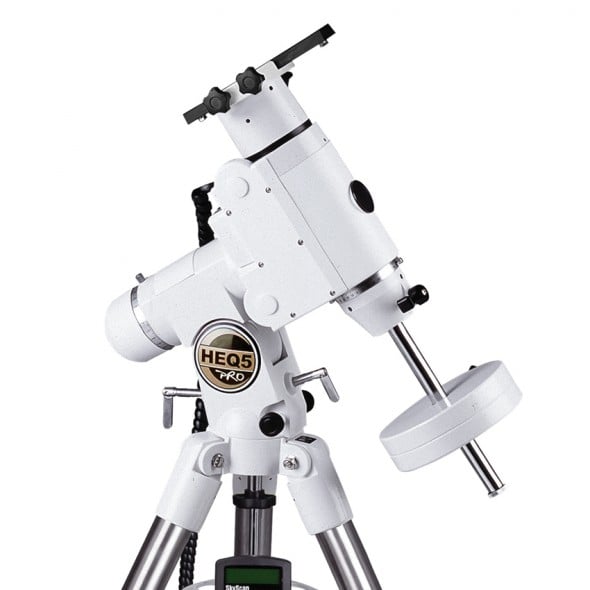
The Skywatcher HEQ5 is a popular equatorial mount for people starting out in astrophotography. It offers good tracking and accurate GO-TO positioning in a compact package. Polar alignment is quick using an inbuilt polar scope and the mount can be used with an autoguider.
Procedure
CCD cameras have evolved in a remarkable way since their introduction to the amateur market in 1990. With better and larger sensors they are the ideal tool for taking beautiful images of the night sky but can also be used for serious scientific projects. Whatever you plan to use the camera for you must take calibration frames to get the best out of your images.
There are two calibration frames: the first is known as a ‘dark’ frame and is a measure of the CCD sensor’s own internal noise (hot pixels etc). For simplicity, let’s assume that you are taking two-minute exposures of a galaxy. These are known as ‘light’ frames as they contain the light emitted by the galaxy, stars etc. Dark frames are then taken and must consist of images of the same duration and temperature as the light frame. These dark frames are added together and then subtracted from all the light frames. In this way a much cleaner image is produced.

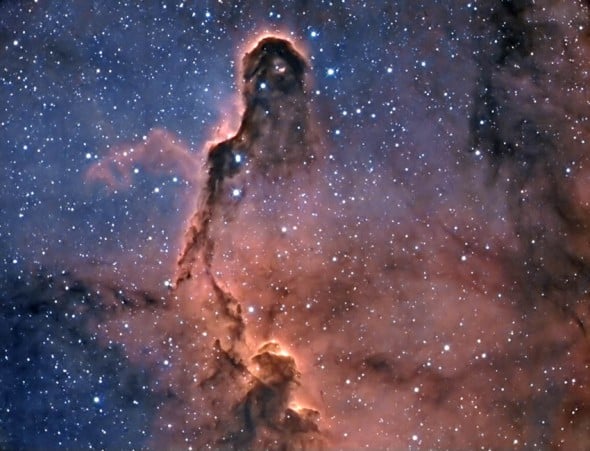
A narrowband image of the ‘Elephant’s Trunk Nebula’ in Cepheus. This is a bi-colour image made up of 4 hours data through a hydrogen-alpha filter and 4 hours data with an oxygen-III filter.
You must also take a ‘flat-field’ image to record all the optical aberrations in the light frames, such as dust on the filters or any vignetting (darkening in the corners of the picture). There are many ways to capture flat-field images and, when working in my observatory, I just point the telescope/camera at a blank area of the inside of the dome, switch on the lights and take a set of images. These are then applied to the image at the same time as the dark-frame subtraction to produce calibrated images. DSLR users should apply these techniques also. Absolute beginners can skip these steps for now but should master them at a later date as all of the above defects will become apparent when it comes to processing the image.
Starting out in astrophotography requires careful planning and a good working knowledge of equipment. Once the equatorial mount and telescope are set up, the mount has to be aligned on the north celestial pole (NCP) of the sky. This is near to Polaris, the ‘north star’ and is just an extension of the Earth’s axis into space. Once the mount is aligned on the NCP it should be able to track the target for at least a five-minute exposure. There’s a lot of information on polar-alignment routines on the internet and you can purchase inexpensive software to assist with the procedure. The CCD camera must be powered up and running at the lowest temperature it can achieve (typically 30°C below the ambient night-time temperature).
Next, the CCD needs to be focused critically. You can do this by manually turning the focus controls on your telescope but this can impart vibration, so many imagers opt for a motorised version; this is much more accurate and can also be ‘robotically’ focused by the camera control software.
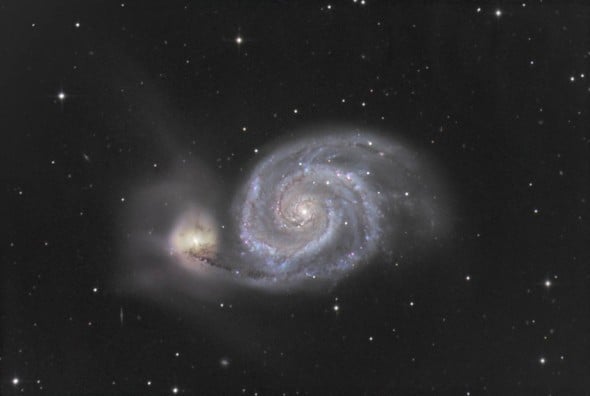
An LRGB CCD image of M51, the Whirlpool Galaxy taken with a 10” telescope. This image consists of a total of 4 hours data through a Luminance filter combined with 3 hour’s data through RGB filters.
Once focused, the telescope is slewed to the target of choice. Let’s say we are going to image the Orion Nebula, (M42), as this is a great target for people starting out. The telescope should be able to place the target somewhere on the CCD sensor and you can frame the object better, if necessary, by using the slow motion controls on the mount. Once done, a series of short exposures is taken.
If you are using the LRGB filters mentioned above you can work with just 180-second exposures. This is because the Orion Nebula is bright and has four bright stars in its core which we don’t want to overexpose. It’s best to start of using the clear or ‘Luminance’ filter. The idea is to take a sequence of exposures which are calibrated and then ‘stacked’ together to produce a highly-detailed, noise-free image. The Luminance file contains all the interesting structural details within the nebula.
To produce colour pictures you then repeat the procedure with each of the RGB filters by rotating them into line using the filterwheel. These image sets are then calibrated and stacked to produce a ‘master’ image taken through each of the colour filters. For other, less-bright targets you’ll have to increase the exposure time to as long in duration as your mount can successfully track. Advanced imagers use something called an autoguider to automatically track a selected star near to the target. The software takes images of the star every four or five seconds and if any drift is noted it sends a correcting signal to the mount to re-centre the star. In this way, very high quality guiding is attained.
Image processing
Image processing is something of a dark art but is great fun and very rewarding to master. Most astrophotographers use Adobe Photoshop software to process their images and while this can take some learning it’s a very powerful tool and will produce great results. There are a lot of Photoshop tutorials on You Tube that explain astronomical image processing as does my own book ‘Shooting Stars’. Photoshop won’t recognise the CCD camera’s FITS format but you can download a free program called FITS Liberator that converts FITS to TIFF files, maintaining the high quality 16-bit file format. Image processing involves ‘scaling’ the image to show the areas of interest and to keep the sky background dark. You can also apply very powerful sharpening filters to enhance the detail and of course there’s all sorts of colour balancing tools that will really make the image sparkle.
About the Author
Nik Szymanek is an amateur astronomer and astrophotographer based in Essex. You can view more of his work on his website and on his Flickr page.

