Beautiful images of deep-space phenomena are by no means beyond your reach as a photographer. Chris Grimmer explains how to get started…
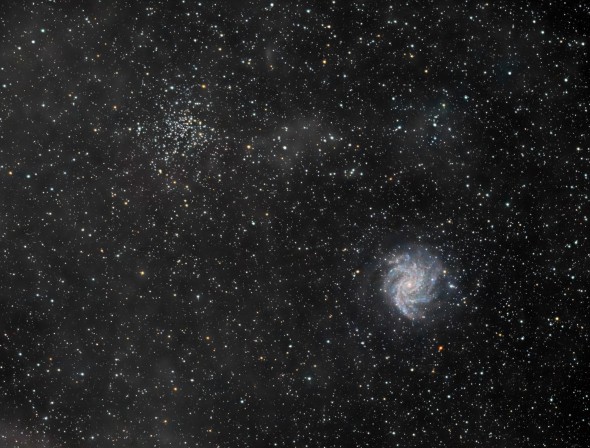
The Fireworks Galaxy. All images by Chris Grimmer
For years we have been spoilt by the stunning images released by NASA. Images of intricate, colourful nebulae and faint distant galaxies. Well, it’s not just NASA producing these images any more, but enthusiastic amateurs in their back gardens.
My journey into astrophotography started a few years back with a visit to my local Astronomy Society. Before I knew where I was, the parcels started being delivered and the spare room started looking like an astronomy store. As I have always had an interest in photography it didn’t take long before I stopped looking through the telescope and started attaching my camera instead.
It may surprise you to learn that you don’t need NASA-style equipment to produce stunning images, and your humble DSLR will easily pull out the faint details of our night sky’s wonders.
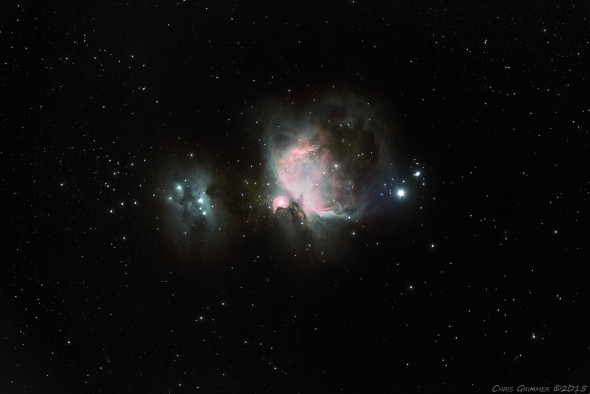
The Orion Nebula shot with a Canon EOS 70D and a Sigma 120-400mm lens at 400mm
This image above was shot with a DSLR and a second-hand telephoto lens. The key to astrophotography is combining multiple long exposures to reveal the very faint objects in the sky – the above is a stacked image of thirteen 90-second exposures that have been stacked in a free program called ‘Deep Sky Stacker’, which takes the images, aligns them, and then stacks them together.
Below is the Fireworks Galaxy. At this point the image is not yet complete, so it is only in black & white (my main astro camera shoots in mono and I use special filters to capture the separate colour channels which I then blend together – more on this later).
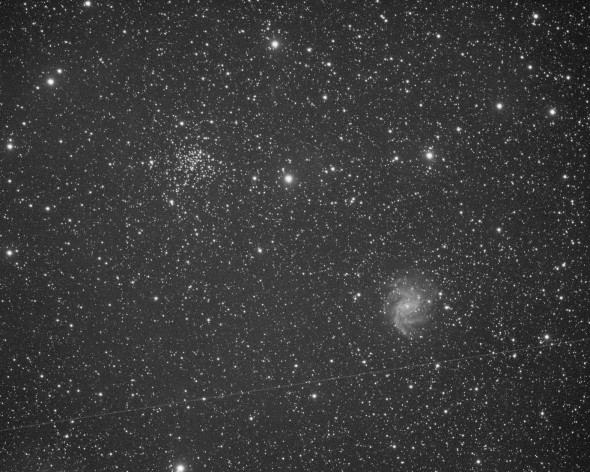
A single 900-second exposure
As you can see, a single exposure is quite grey and noisy and I have even picked up a satellite passing through, which is pretty common. One of the key elements in astrophotography is ‘signal to noise’. Each exposure contains a certain amount of signal (the object you’re attempting to capture) and noise created by the long exposure. By stacking multiple images, you increase the signal at a greater rate than the noise, thus reducing the amount of noise in the final image.
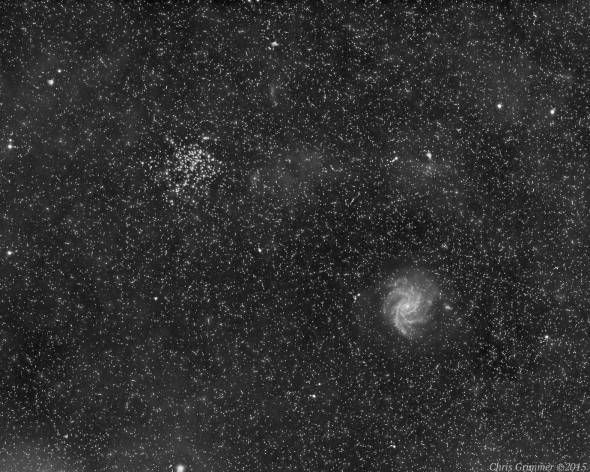
A stack of thirteen 900-second exposures
In the above, I have stacked thirteen 900-second exposures and applied some stretching via levels and curves in my processing software. By stacking the images I have cleaned up the grey background, brought out the detail within the galaxy, and even cleaned out the trail from the satellite. Additionally, by combing the data I have revealed the really faint dust that we are looking through in this area of the sky.
The above image is far from completed. I need to add more time to bring out the dust further, add in the colour data from separate colour channels, and some drop in some shorter exposures to clean up the stars. If you want to see the completed image, it’s at the top of this page.
An advantage of using a DSLR is that they shoot in colour, meaning you will not need to obtain an image of each separate colour channel, as I do with my full astro setup. In general, with a DSLR you will want to obtain around an hour of total exposure time minimum, which will give you some details to work with.
I use a mono CCD camera that is specially designed for astrophotography and for running long exposures, so it has both electronic cooling as well as fans, allowing me to cool the imaging chip to -10 to help reduce noise. The advantage with a mono camera is that you can use specialist filters and rather than capturing visible light, can start to make images in ‘narrowband’ or specific bandwidths of light. In simpler terms, this allows us to use the filters specifically target light emitted from hydrogen (low red spectrum), oxygen (blue/green) and sulphur (deep red), and to also combine visible light with narrowband light. These techniques are what allowed me to achieve the below image:
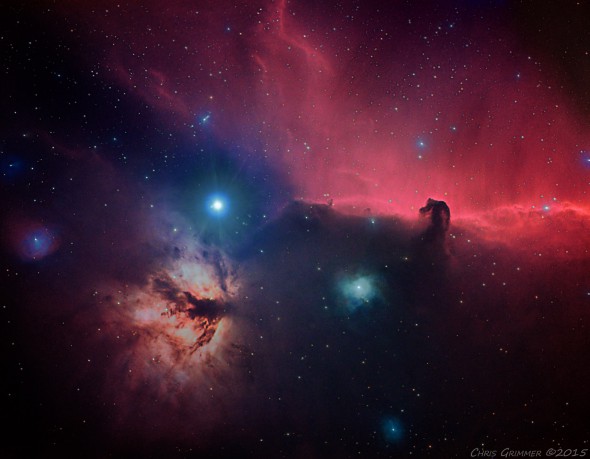
The Horsehead & Flame Nebula in Orion (thirteen 600-second exposures with Ha filter, eighteen 300-second exposures each in red, green and blue colour channels)
Equipment
There are three basic things you need to be able to create images of objects in the night sky.
- A motorised equatorial mount
- A telescope (or potentially a long lens)
- A DSLR
The mount
I have added the mount as number one on my list, mainly because I see this as the most crucial element of the setup. Since we live on a little blue ball that is constantly spinning, movement is an issue when we need to run long exposures of the night sky. This is fine if you are trying to achieve star trail images, but elongated stars will ruin any deep sky images.
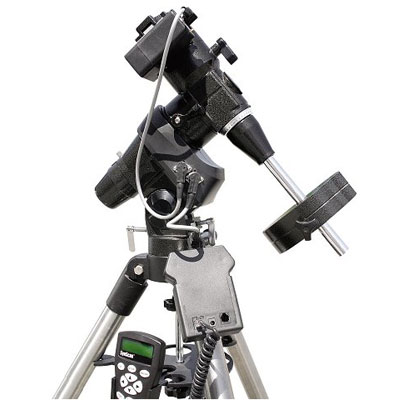
This is where the motorised equatorial mount comes into its own. One axis of the equatorial mount aligns onto the pole star, which sits directly above the magnetic pole. This enables the other axis to rotate in the same arc as the stars, and the motors to ensure they move at the same speed. The key though is polar aligning, which once learnt is pretty straight forward, but can take some getting used too.
Recommendations:
Celestron Omni-Series DA-CG4 Motor Drive
Sky-Watcher D.C. Dual-Axis Motor Drive for EQ3-2 Mount
The telescope
There are 3 main types of telescope: refractors, reflectors and catadioptric (folded light), with the optimal scopes for deep-sky imaging being refractors.
Refractors work very much like camera lenses, but consist of generally two or three lens elements whereas a camera lens can contain more than thirteen. The advantage of fewer lenses is better light transmission – the more lenses light has to pass through, the more light can get lost.
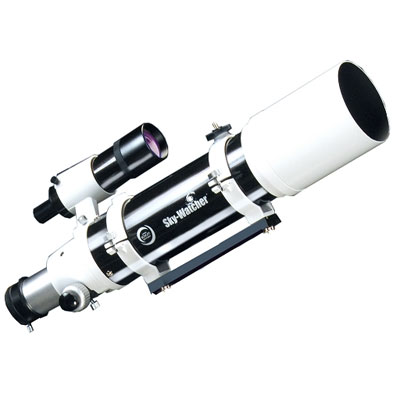
Reflector style telescopes can also be used to great success; however these tend to be heavier so will need sturdier mounts. Additionally some reflector-style scopes struggle to achieve focus (not enough inwards focus), so it’s always worth doing your research before buying.
Recommendation:
Sky-Watcher Startravel-120 (AZ3) Achromatic Refractor Telescope
Camera
With regard to cameras, any DSLR from the main manufacturers will be capable of capturing stunning images. It will not make a massive difference whether it’s a crop sensor or full frame, or if it’s 5MP or 50MP – I started with a Canon EOS 1100D.
There are two additional pieces of equipment required. First, a shutter release cable/remote:
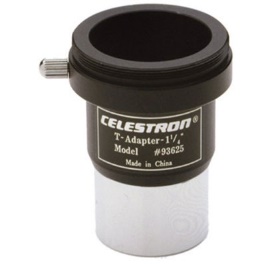
And second, a T-ring and adapter in order to mount the camera directly into the scope’s focuser:
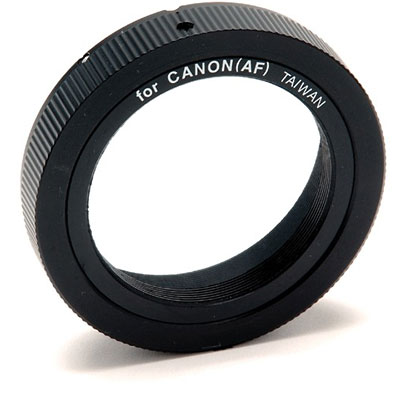
With this setup, the adapter replaces a camera lens, meaning the camera plugs direct into the telescope and the telescope becomes the camera’s lens. Note that this does mean that you will lose the autofocus capabilities of your camera, and focus will have to be achieved via the telescope.
Settings
The settings you will use will depend on your individual camera and the setup you are using, but a good reference is as follows:
ISO – set the ISO to somewhere around the 400 to 800 mark, depending on how well your camera controls its noise.
Aperture/f-number – if you are using a telescope this is irreverent as telescopes have a fixed focal length. So when buying a scope, you want to look at something around the f/5 to f/7 range. If you’re using a camera lens thenyou will want to stop down two or three stops to help reduce spherical aberration, coma and astigmatism.
Exposure length – With astrophotography, the longer the exposure the better, however we are limited by our equipment and ability to polar align. It’s best to start with short exposures of around 30 seconds. Check the image, if the stars are still round, step the exposure length up to 60seconds and so on. A good mount with a good alignment can yield round stars at 180 seconds.
The final piece of the puzzle is a planetarium type software so you know where to look for these objects, however if you get a motorized mount, they will often be ‘go-to’ which means they will take you to the objects you want to view.
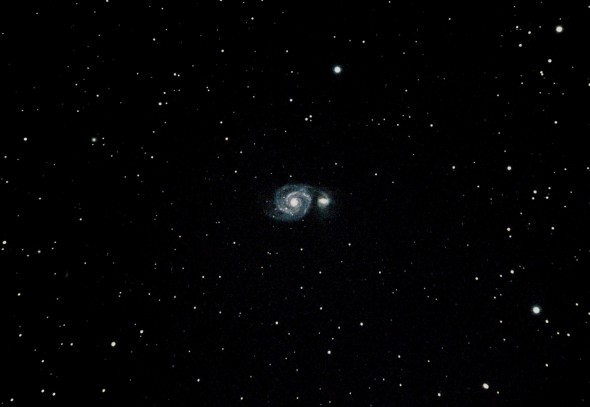
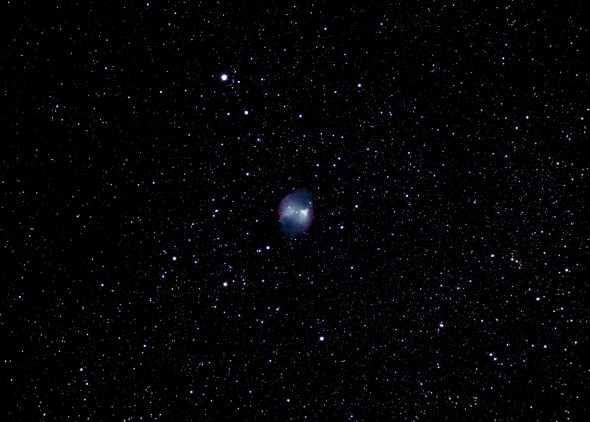
I hope this article has given you an insight into what can be a very rewarding hobby, sitting out under our stunning skies. To give you a taste, and some encouragement, below I’ve included the first two images I ever took when I started just two years ago. So you can see with practice what can be achieved in a relatively short time.
