Want to give your night photography a lift? Tim Coleman explains how to paint with light.
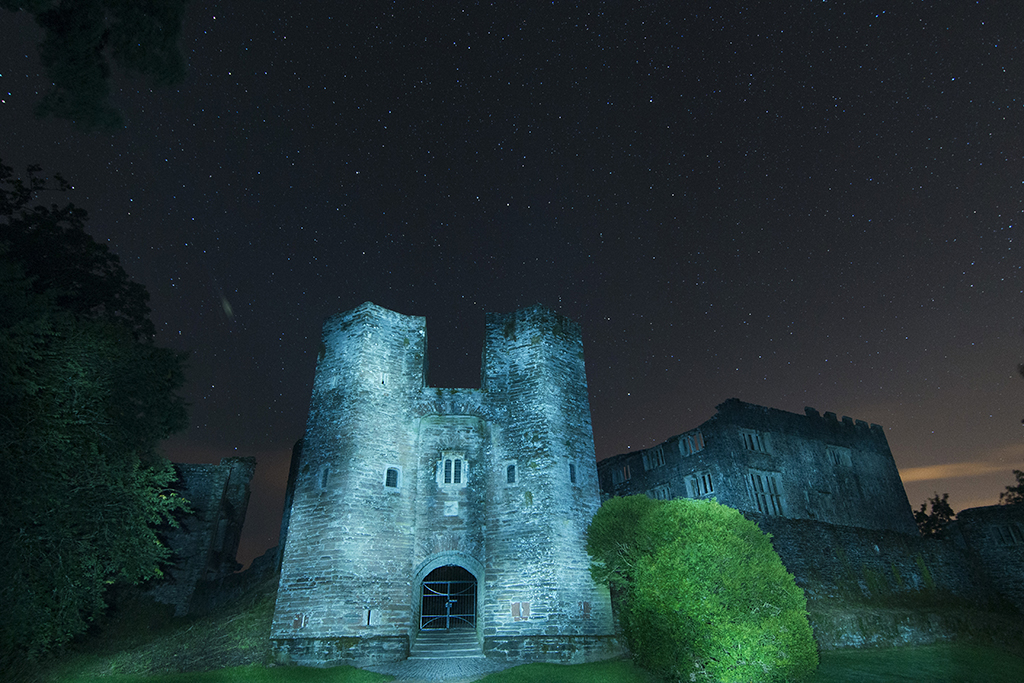
Painting with light (also known as light painting) is one of the most versatile ways to create powerful pictures during twilight and at night. In this short guide I’ll explain what is meant by the term and discuss the two main methods used, as well as which light sources to use and how to set your camera up appropriately.
The emphasis in this article is on the use of light painting away from the camera, to illuminate otherwise dark subjects at night.
What is painting with light?
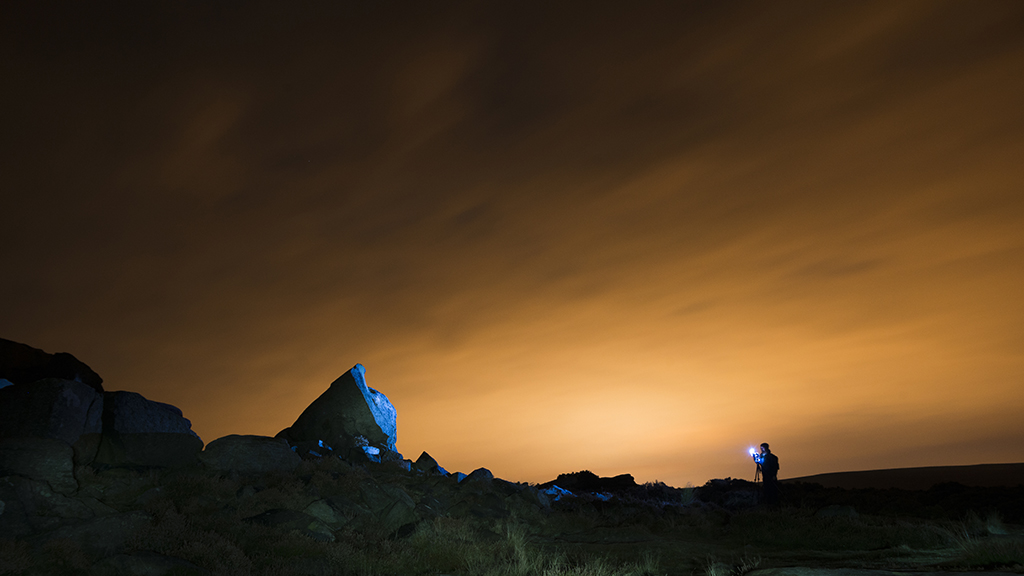
Painting with light is a photographic technique in which a handheld light source is used to illuminate an otherwise dark scene, with a long exposure used in-camera to capture the illumination and light patterns created. The light source can be anything from a simple handheld torch to burning steel wool.
There are two main ways to illuminate a scene by painting with light: one with the light source facing the camera and the other with the light being shone out away from the camera. Let’s take a look at each one:
Towards the camera
With the light facing towards the camera, all kinds of patterns can be drawn, including words and line drawings. The only real limitations are the drawing skills of the light painter and the light source itself.
Light painters have experimented with all kinds of lights to create interesting patterns. Light sabres and multicoloured LED light panels allow patterns not possible with a simple torch. Spinning steel wool is an explosive technique, too.
Light painting towards the camera combines the art of photography with creative drawing skills and movements, making it a great option for those wanting to try something a little different and have some fun.
This is not the type of light painting that we will look at in this article.
Away from the camera
As an alternative to shining a light towards the camera, a handheld light source can be shined away from the camera. The benefit to this technique is that dark objects can be given a lift (brightened) and detail revealed.
Landscape photographers shooting at night or twilight can make use of painting with light to give a boost to the brightness of landscape areas in the foreground, bringing these areas closer to the ambient brightness of the sky. Without the introduction of painted light, such objects would simply not be visible aside from their silhouette.
The light source
Camera kit aside, a decent torch is the key investment for light painters. You don’t need to break the bank buying torches – it’s possible to acquire a powerful torch for as little as £1.
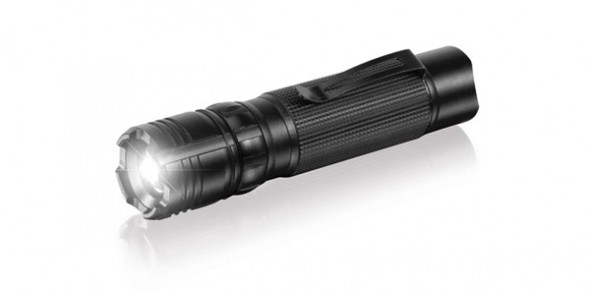
The choice of light source will dramatically affect the final image. Those painting with light away from the camera to illuminate the landscape will need a powerful torch, especially if the land areas are at a distance. A powerful torch also helps to achieve a sharp focus – more on this later.
Illuminating objects and areas should really happen from out of the shot rather than stepping into it, or else streaks of light will appear in the final image. Therefore, avoid a weak light source that requires you to go up close to properly illuminate the subject.
Consider the colour temperature of the torch light as it has a huge impact on the feel of the image. A landscape illuminated by a clinical LED white light source will obviously feel cold, but may also add a feeling of calm and complement the sky during twilight. The light of most torches has a yellowish hue, which can give a pleasing contrast to the rich blues in a twilight sky.
It is of course possible to use more than one light source simultaneously, so consider different colour torches too.
Equipment
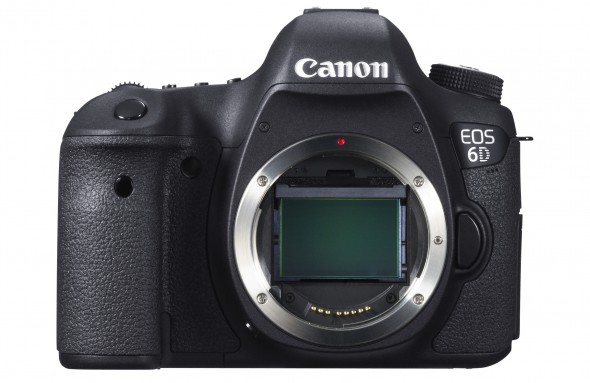
The essential (and desirable) camera kit for light painting consists of a camera with manual control over its focusing and shutter speed (with possible shutter speeds of 15 seconds or longer), as well as a tripod and a remote trigger, although technically a camera with a timer mode will suffice. Additional kit includes a stopwatch to time long exposures and, of course, a powerful torch.
Camera settings
Rather than go through every camera setting, I’m going to concentrate on the key settings to consider for light painting.
Focusing
When shooting in the dark, it’s quickly evident just how tricky it is to focus sharply. Most camera systems will simply not autofocus properly at night, while those that do are less likely to be accurate than when shooting in the daylight hours. For this reason, it’s best to use manual focus instead of autofocus.
Manual focus in itself does not solve the difficulty of focusing accurately at night, because in the dark it’s still tricky to check focusing before you take the shot. This is where the torchlight helps; illuminating the desired focus area makes it easier to see whether it’s in focus.
Should your camera have a viewfinder, your subject may not be clear enough through it, even with torchlight in play. Another option in this case is to use Live View with focus magnification to see the subject in closer detail on the rear display.
It’s also possible to use the focus distance marker on a lens barrel or rear LCD screen as a guide. If you want most things in focus then an aperture of around f/11-16 and focus distance set a fraction closer than infinity will result in most objects being in focus.
Shutter speed
A long exposure is necessary to capture the effects of light painting. If you have a wide area that needs to be covered with light, you need the time to achieve that. I’d suggest trial runs, but an exposure time of at least 25 seconds during nighttime should give you enough time to cover the necessary areas with enough light.
With the camera fixed to a tripod, a slow shutter speed records light painting while all static objects remain sharp. Generally the areas illuminated by light are brighter than the night sky light, which creates a strong contrast, especially if the light source is bright.
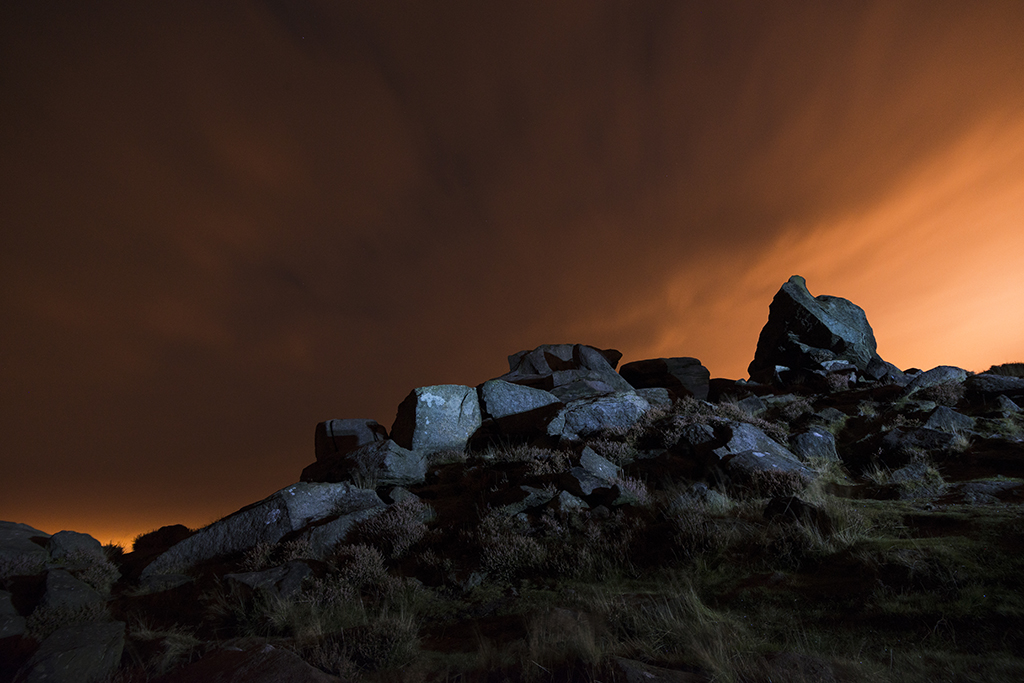
It is a good idea to experiment with the shutter speed. The longer the exposure, the brighter the areas not illuminated by light painting become, which reduces the contrast between light and dark areas. It’s also possible to use a higher ISO setting to brighten the dark areas in a light-painting image.
Of course, the ambient light affects the required shutter speed for shadow detail to be obvious. During twilight, or even at night when the moon is full, the exposure time can be shorter than usual.
When recording long exposures, watch out for long-exposure noise and light pollution, both of which are increased with a longer shutter speed. Most cameras that offer the choice of long-exposure noise reduction being on or off will, by default, have the setting on. Light pollution gives the sky a more orange tone, which may or may not be desirable. Personally, I prefer the rich blue sky in my night shots, which means avoiding exposure times over 30 seconds.
Exposure
As this is a concise article on light painting, I’ll get straight to the point: if the night sky is dark, I would recommend an aperture of f/8, a shutter speed of 25 seconds and ISO 400 as a good starting point.
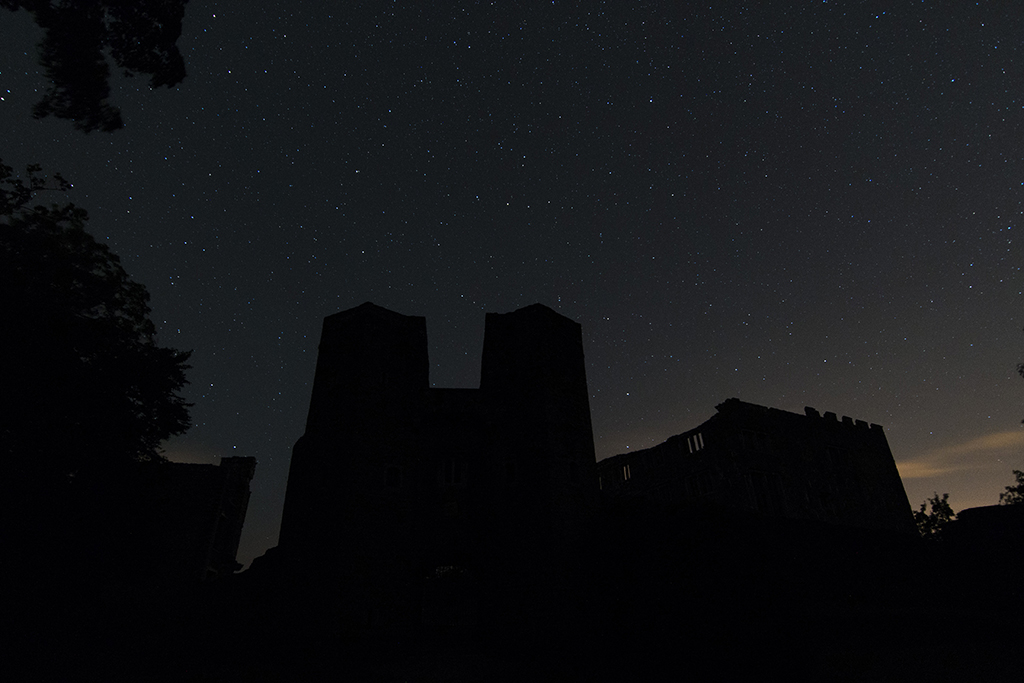
For the best possible image quality it’s a good idea to shoot a bright exposure. So, if your shutter speed dictates the exposure then you’ll have to adjust the ISO and aperture accordingly. Depending on the subject and desired depth-of-field, the aperture may need to be adjusted, which in turn will impact the required shutter speed and ISO.

Colour
Try not to use the Auto White Balance (AWB) setting when shooting in the dark of night, as the results will not look right, usually being too warm. Generally the best white balance setting is the tungsten WB preset because it keeps the cool night colours. Alternatively, you can manually select the temperature in the Kelvin white balance setting to approximately 3000k. Different colour torches will not ‘match’ the ambient light temperature, but the difference can provide some interesting results.
Reviewing images
A vital practice to night photography is reviewing images after they have been taken for accurate focusing, correct exposure and the effectiveness of the light painting. In playback, zoom in as much as possible to key areas and look at the details to ensure the focus is spot on. Most cameras display a low-resolution JPEG version of the picture that will not show precise details, but this playback is good enough for most subjects. Don’t arrive home and review your pictures afterwards only to discover the focusing is off!
Technique
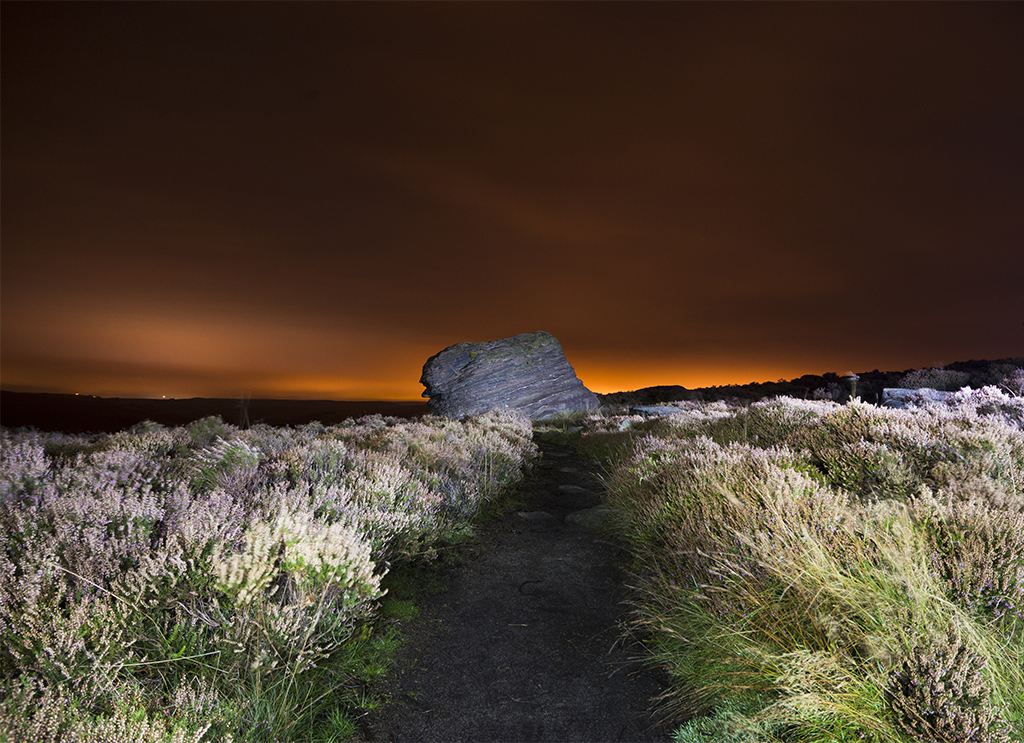
Facing the torchlight away from the camera illuminates the landscape and avoids bright streaks of light that occur when the light source is pointed towards the camera.
Brightening areas in the foreground, such as rocks or a tree, provides a point of interest in your picture, rather than the foreground appearing as a silhouette (although silhouettes can look great too).
With a torch in hand, position yourself out of shot and trigger the camera. Remember that the angle at which the light is shone in relation to the camera affects the results. Shining from behind the camera creates a front-lighting effect, which, when covering a wide area, can end up leaving the scene looking a little flat. But give it a go nonetheless to see if this suits.
Lighting from a position way off to the side can give the scene some punch. The camera will need to be triggered remotely or the timer drive mode used to allow you to get in position before the exposure starts.
If you have willing company or are able to use two lights at once, why not try using multiple lights to illuminate the points of interest?
No two pictures look the same when light painting. In this respect, its well worth making several attempts at the same scene.
Conclusion
With a single torchlight, camera and tripod, it’s possible to get great pictures at night. There is a world ready for light painting!
About the Author
Tim has worked primarily as a wedding photographer and cameraman, but enjoys every kind of photography. He has worked for Amateur Photographer magazine as the Deputy Technical Editor, writing everything from camera reviews to advice on good photographic practice. You can view more of his work here.

