Getting great shots of barn owls can be a challenge, but a little bit of planning and persistence can pay off. Kyle Moore shows us how.
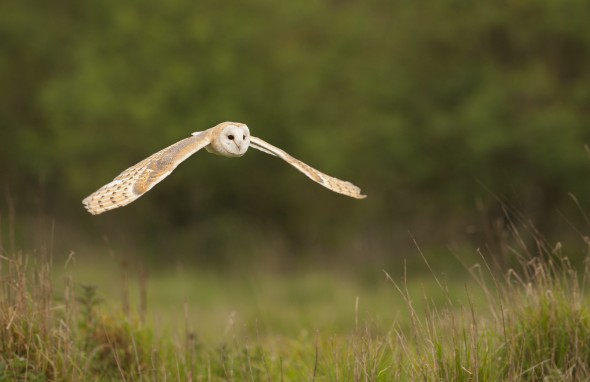
The UK has five native owl species: barn, tawny, little, short-eared and the long-eared owl. Owls are very popular amongst wildlife photographers, with one of the most photographed being the barn owl. So how exactly do you capture these enigmatic creatures? Here are my top tips and techniques to help you get the best shots.
Location
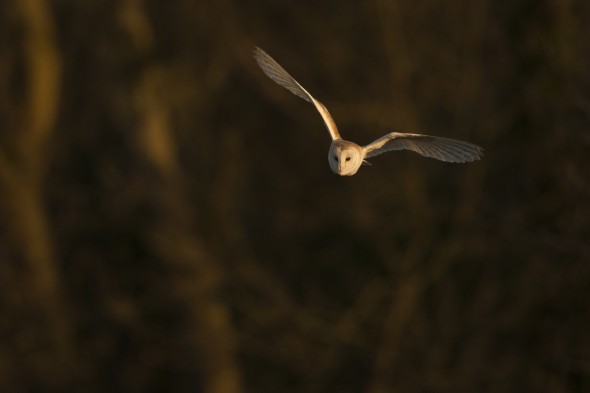
The first and most obvious step is to find a suitable location. In my opinion, one of the best places in the UK is North Norfolk owing to the abundance of rough grasslands and reed beds, which are favoured habitats of the barn owl. Barn owls have unfortunately been hit very hard this year, with the wettest winter on record making their favoured food source, small rodents, very scarce. However, barn owls are widespread across the UK and, with a bit of luck, you will have some not too far from where you live.
If you are struggling to find a location, one tip is to ask a few friendly locals as during their daily travels, people will often see owls hunting along roadsides; I have found a number of good locations this way. Keep in mind that your chosen spot may be on private land, in which case you should always ask permission from the land owner before setting up.
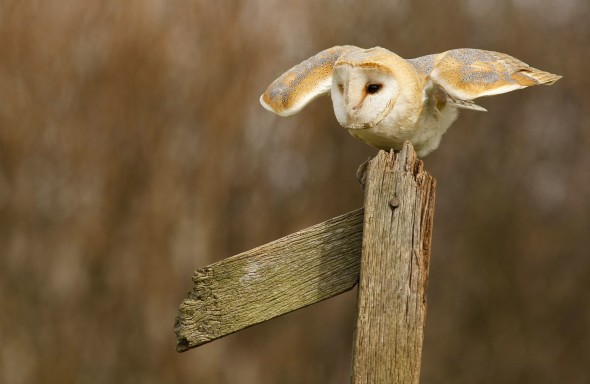
Once you have found a location where barn owls are often seen, I would suggest sitting back and observing for the first few sessions as you will soon notice they have repeated hunting patterns and favourite posts or perches. Working out their regular paths and movements will make photographing the owls a much easier pursuit. After you have roughly figured out their patterns, the fun part begins – trying to photograph them!
Equipment
Lens
I recommend using the longest lens in your kit bag, ideally something above 300mm. This will give you close-up images even at a distance and will reduce the chances of disturbing the owl. My first lens was a second-hand telephoto and I took my first award-winning image with it, which just goes to show top-end equipment isn’t everything.
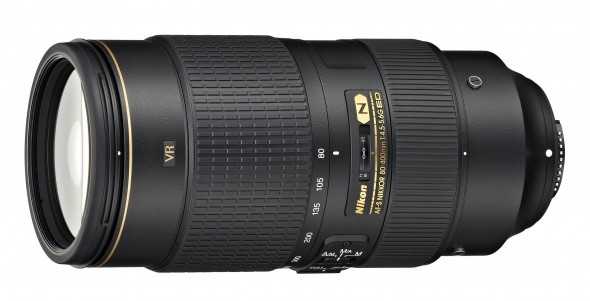
For those venturing further in wildlife photography there are a number of great lenses to look at, such as the Canon 100-400mm f4.5-5.6 L IS USM. For Nikon shooters there’s the Nikon 80-400mm f4.5-5.6 D AF VR, or for a bit more scope, consider the Sigma 150-500mm f/5-6.3 DG OS HSM. With the right techniques in place, all of these lenses are more than suitable to help you capture some stunning photographs of barn owls.
Tripod
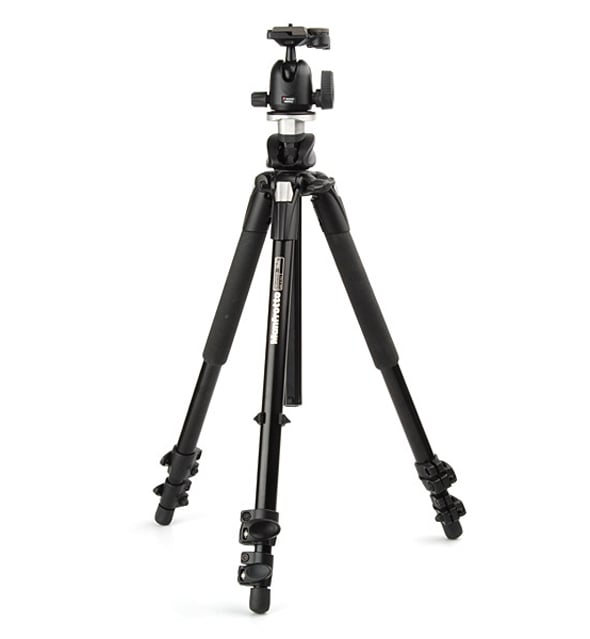
A sturdy tripod is also a very useful piece of kit and, once teamed up with a gimbal-style head such as those manufactured by Wimberley or Benro, it is a dream to use and works perfectly at tracking barn owls in flight. A great alternative would be a video head, as these also have a smooth pan-and-tilt motion.
Hide
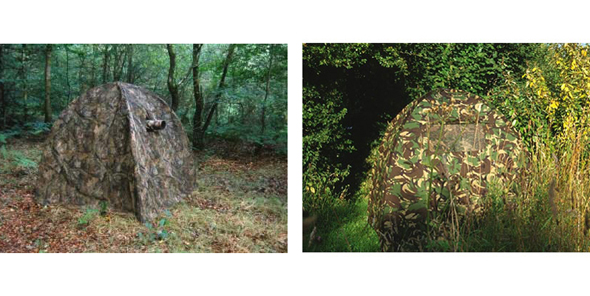
Last but not least, some form of hide can be very useful. My favourite is a dome hide, but you could easily make your own, or even in some cases use a car as a mobile hide. One thing to take into consideration is that most birds generally prefer to fly into the wind, so bear this in mind when positioning yourself and the hide.
Camera settings
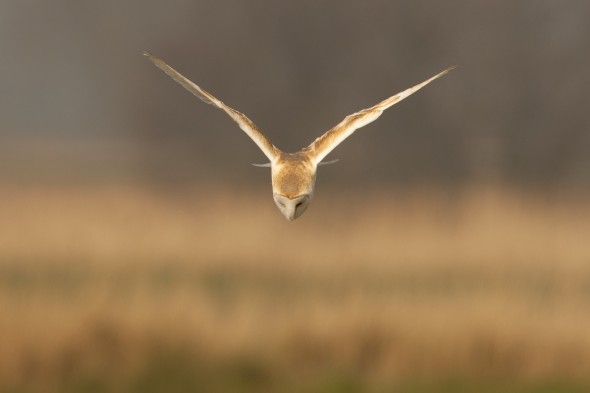
Now for the camera settings. To photograph owls in flight set your camera’s AF mode to the continuous focus mode (AI SERVO for Canon users); with the shutter button half pressed your camera should continue to focus on the owl as it flies.
In bright, sunny conditions I always use manual mode. Since barn owls are mostly bright white, I usually take a meter reading from something neutral in colour, such as the grass. This way, if the owl suddenly enters an area with dark backgrounds, the camera won’t overexpose the owl’s plumage. I do this as often as possible because the light will always be changing.
To freeze the owl’s wing movement you will ideally need a minimum shutter speed of 1/500 of a second. Since owls tend to hunt at dawn and dusk when light levels are low, you will want to shoot wide at the widest aperture (lowest f-stop) possible to allow as much light as possible into the lens. Most lenses will shoot at f-5.6 wide open, which should let enough light in to achieve those desired shutter speeds.
If you are still struggling to get these speeds, don’t be afraid to put your ISO higher. Most modern DSLRs cope with noise very well, but as a general rule I try to limit my ISO to around 2000; although I would rather have a sharp noisy image than a blurred noise-free image.
If you have tried all these techniques and still can’t get a fast enough shutter speed, don’t be afraid to experiment with slower speeds. Using 1/15 sec, for example, can create a ‘ghost-like’ appearance in the owl and can result in some very creative images.
Owl sanctuaries
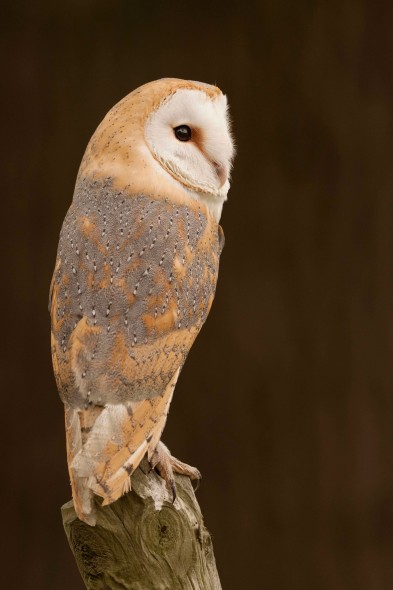
If you are still struggling to get the images of your dreams, why not visit one of the country’s many birds-of-prey centres and sanctuaries? This is obviously a personal choice as some will class photographing captive subjects as ‘cheating’. However, my personal opinion is that sanctuaries offer wonderful chances to practise your skills at photographing fast birds in flight during their displays. The birds will usually have repeated flight paths and patterns, so you should have plenty of opportunities to master the shot. There are many sanctuaries that you could visit – here’s a very small list of some:
Suffolk Owl Sanctuary – Stonham Aspal, Suffolk
The Birds of Prey Centre – Bedfordshire
Eagle Heights – Eynsford, Kent
The Cornish Birds of Prey Centre – Cornwall
The Falconry Centre – North Yorkshire
Many also offer specially set-up days for photographers, where the falconers will place the birds in a more natural surrounding. The good thing here is as the subjects are captive, they are very accustomed to people so you can get some great images with any size camera and lens. This is a very good option for beginners in wildlife photography. If you are photographing the owls in aviaries, try to put your lens as close to the mesh fencing as possible as this will blur them out and result in distraction-free images.
With all the above in mind, you will hopefully have enough to head into the field to start capturing stunning images for yourself. The main thing to remember is wildlife photography takes time (a lot of time) and patience, so don’t expect to get perfect images in the first session. Don’t lose interest because a shot isn’t working; with enough hard work and patience you will soon get the shots you desire. It can take me many weeks before I even take a single image but when it finally happens, all those hours of waiting are instantly forgotten!
About the Author
Kyle is a 16-year-old award-winning wildlife photographer based in Suffolk, UK. Having lived on the Suffolk/Norfolk border his whole life, he gained an interest in wildlife from a young age. He gained a passion for photography when he received his first camera for his 12th birthday and has been hooked ever since. In 2013, Kyle was the 12-15 Years category winner of the RSPCA Young Photographer Awards. For more info visit Kyle’s website.

