Caught in a storm? Max Langran offers a few tips for how to safely photograph lightning

All images by Max Langran
While this is by no means an exhaustive essay on how to photograph lightning, I will cover the key techniques I use to successfully capture what I think is one of nature’s most exciting displays.
Firstly I want to stress the importance of safety – pack suitable clothing, take necessary precautions and choose your location carefully. There are many fantastic resources detailing how to stay safe in a storm, so my first suggestion is to do some research. It may not be the most fun thing, but it has saved me in the past. Remember that lightning can be dangerous and unpredictable.
With that said, let’s talk a bit about predicting lightning!
Location
Finding a good location can make or break your image. Once you have an indication that there is a storm on its way, start looking at a source that forecasts hourly and gives real-time information. Even if you don’t know much about meteorology, a great site is www.lightningmaps.org. It updates in real time, showing where lightning has struck, so you can make an educated guess and find a location in its path. It can also help orientate you on location as to which direction the lightning should be.
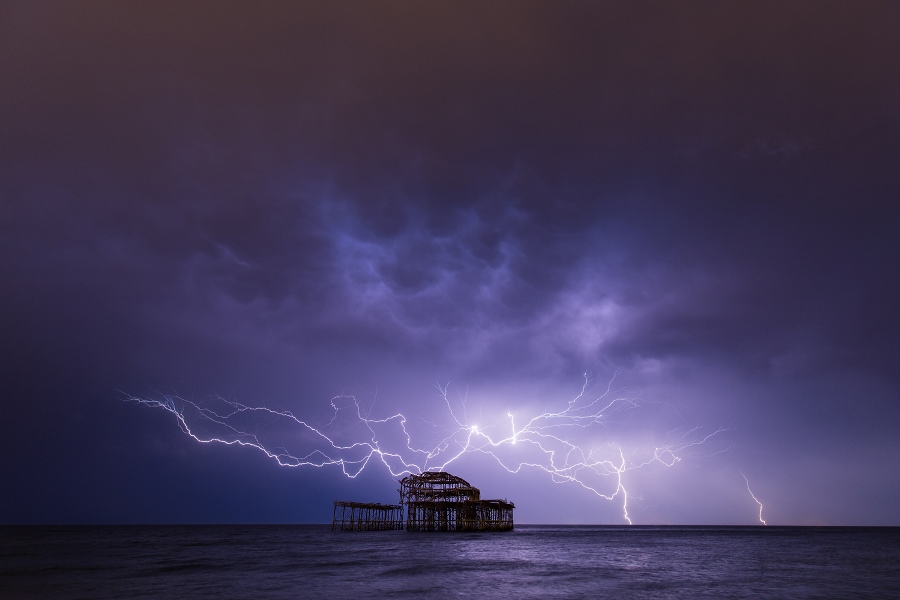
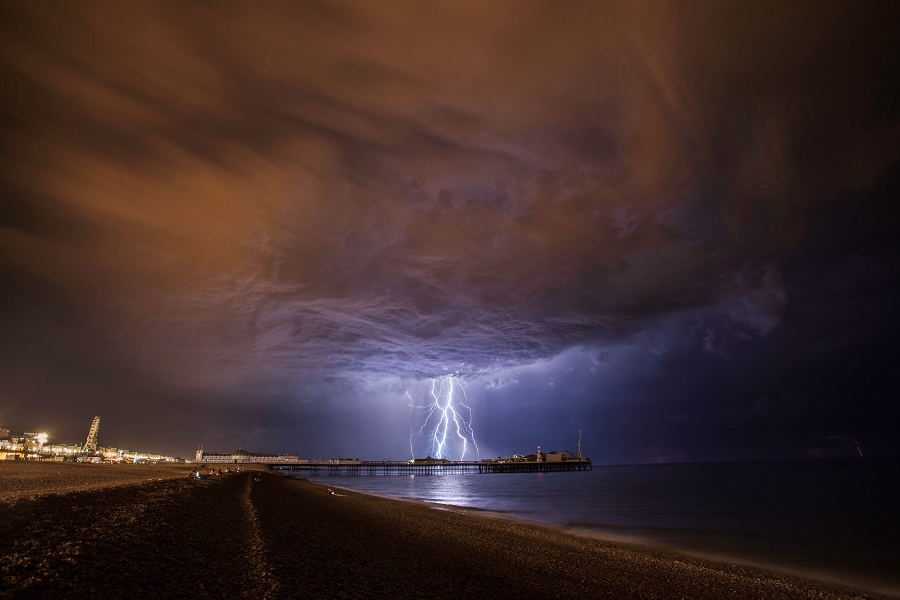
A good starting location is somewhere that you can easily see the horizon in the direction of the storm. If the horizon is obscured, it will be much harder to see the far-off flashes of approaching lightning. In a lot of my night-time lightning images I try to choose foreground subjects with distinctive silhouettes which will create a strong image when they are backlit by the lightning. I particularly like shooting out towards the sea, as if a bolt should strike it will be fully visible, not hidden behind hills or buildings.

Equipment
Many cameras are capable of taking great lightning images. The key is having one with full manual controls that can shoot long exposures, preferably with a bulb mode. To get a sharp image, a tripod is absolutely essential.
You can use any lens to photograph lightning and your choice will mostly come down to how far away the storm is. I tend to begin a shoot with a telephoto lens progress wider lenses as the storm closes in. Neutral density filters can also be useful during the day and, unlike in most landscape situations, for this kind of work I prefer the screw-on type rather than square filters. This is because a screw-on filter can sit inside the lens hood and be slightly more protected from the rain, and also has a smaller surface area to wipe rain droplets off between shots.
Whatever equipment you use, it will need to be protected from the rain if you aren’t under shelter. In a pinch a plastic bag and gaffer tape will do – an umbrella can be useful, but can get in the way of wide-angle shots. The best solution, and the one that I opt for, is a DSLR rain cover.
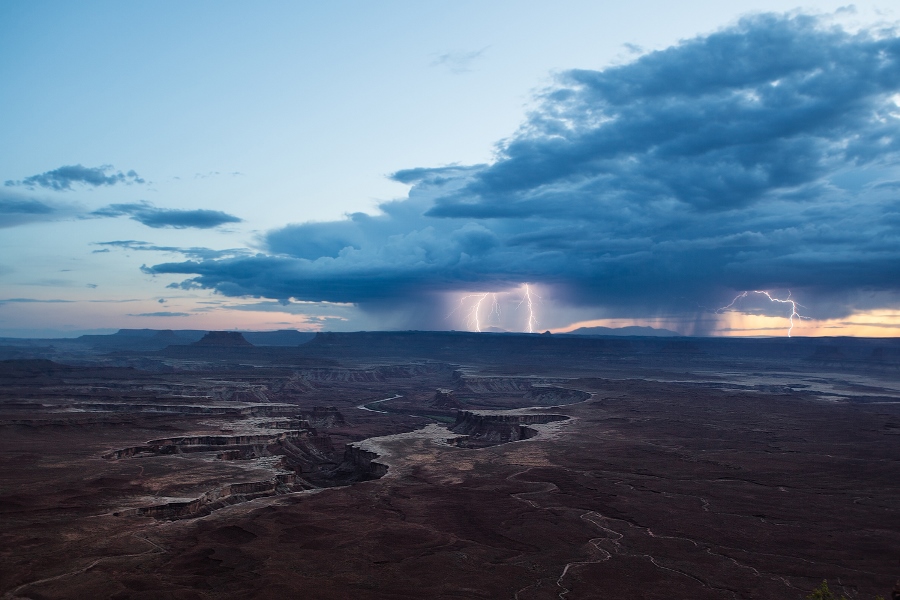
A final note on equipment: there are a number of lightning triggers available that will automatically trigger your camera when they sense a lightning strike. While these can be great pieces of kit they are mainly useful for the challenges of daytime lightning photography, when you can’t extend your exposures as easily as you can at night. At night you are usually better off without one.

Settings
Choosing the correct settings on your camera comes down to a balancing act. Your aim is to catch a lightning strike, and your chances of doing that with your reactions alone are going to be slim. There’s a reason we have the expression “fast as lightning”!
That’s why, instead of trying to click the shutter at the exact right moment, I use long exposures. At night this is a lot easier, since the ambient light levels are much lower. During the day I use neutral density filters to extend my exposures, but it can still be a challenge to get a useable image.
The length of the exposure will determine the ambient light level across the image, as with a usual photo. It will also determine how many strikes you can catch in one image if you are leaving the shutter open for multiple strikes. It doesn’t, however, have any effect on the brightness of the lightning since the entire duration of the strike happens within the exposure time.
I use a shutter release cable in bulb mode and hold the shutter open until I catch a flash or until the exposure is too long for the ambient light level. I will then review the image, and if the lightning was too bright or dark I will adjust the aperture and ISO accordingly. As a benchmark, at night I will typically begin shooting at around ISO 800, f/5.6, 30sec and then adjust from there.
Once you have dialled in your exposure, don’t forget to check it regularly and continue to adjust as the lightning gets closer or more intense.
Focusing at night can be difficult, so it helps to determine each of your lens’s infinity focus points ahead of time during daylight. You can then use a small piece of white tape on the lens to mark where this point is and manual focus to this distance at night, even if you can’t see clearly. Alternatively, if your camera performs well in low light, you can use live view and zoom in to accurately focus. Either way, you should always use manual focus.
In an ideal world, lightning would always appear without rain, but unfortunately the two tend to come hand in hand. When choosing your composition, keep the rain in mind. Even if it isn’t raining at the start, as the storm approaches the chances of getting wet increase.
If you can shoot from under cover that will help hugely but if you are unavoidably out in the open, try to keep your lens level. The more you tilt upwards, the more raindrops will hit the lens. A drop of rain can ruin your image, so make sure to wipe the lens in between each exposure if needed. If you do not have a lens hood for your lens I strongly recommend getting one and using it to help shield the front element from rain.

Editing
Once the lightning finishes, or it is too wet to continue, the editing starts. I initially sort my images in Lightroom and correct colour temperature. Shooting in RAW allows you to choose your colour temperature during post processing rather than in camera.
There is some artistic license available here depending on your personal tastes – at night, I tend to aim to remove any green or purple tint and then adjust to a slightly blue hue using the temp slider. During the day, I tend to balance as normal since the lightning bolt will rarely have much of an impact on the colour temperature.
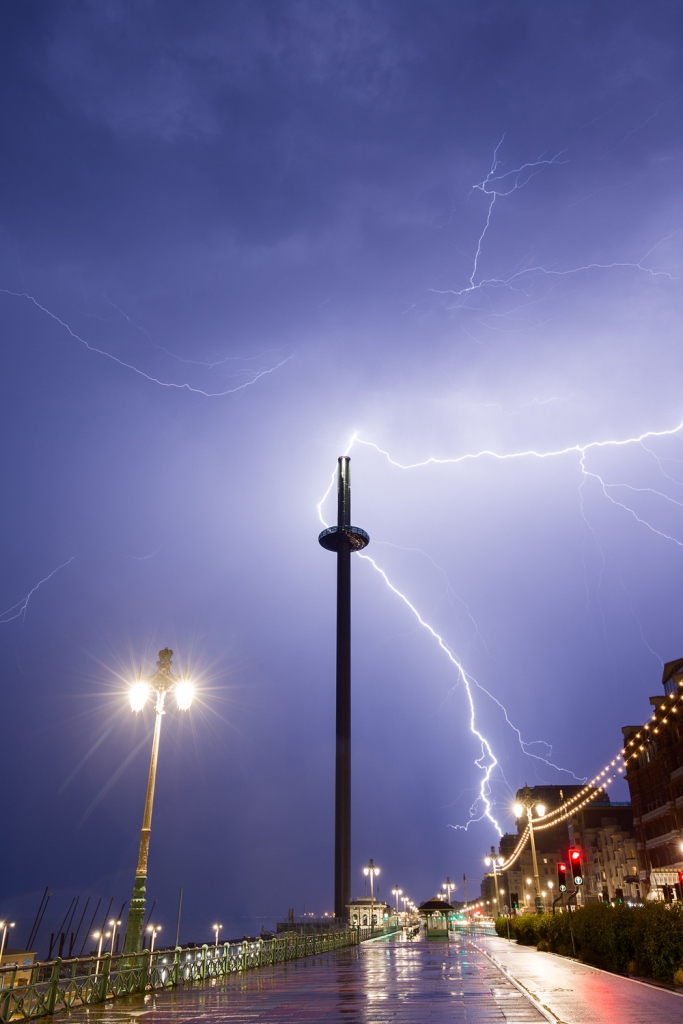
For all other editing I use Photoshop since there is much more control over local adjustments. First I will clone out any sensor dust, rain drops, or hot pixels which are common when taking a lot of long exposures. Next, curves adjustment layers allow me to control the contrast across the image. Finally, streetlights and other light sources at night can sometimes create a strong colour cast in parts of the image, especially the clouds. Sometimes this can look cool but other times it is undesirable. If this is the case I will add a hue/saturation or photo filter adjustment layer and paint in an appropriate adjustment to the affected areas.
All that is left now is to seek out the next big storm and give it all a shot! Just remember to stay safe and not be disheartened if you miss or mess up the first few strikes. Once you catch one, it is addictive!
About the Author
Max Langran is a landscape, music and wedding photographer. He's on Facebook and Twitter, and his website is maxlangranphotography.com
Related articles
Shooting Landscapes with an Ultra-Wide Lens
A Guide to Taking Photographic Hikes
Shooting Frozen Landscapes

