Matt Higgs explains a simple bokeh technique that's perfect for a Valentine's-themed image

All images by Matt Higgs
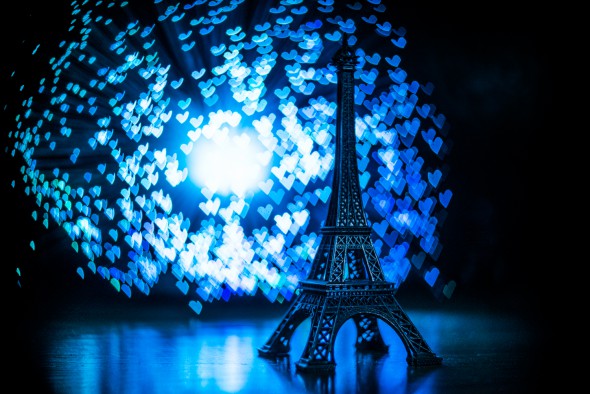
Looking for some valentines-themed inspiration? Then how about creating some heart-shaped bokeh in your photos – after all, nothing says “I love you” like defocused points of light.
All you’ll need to produce them is a sheet of card, a roll of tape and either a craft knife or a pair of scissors. You could even make a card for your special someone out of the leftovers…
Create your custom filter
Step 1:
Place your lens face down onto the piece of card and draw around its circumference. Now draw a second circle around the first, this time roughly 4cm wider (a compass can help you do this).


Step 2:
Carefully cut out your larger circle from the sheet of card. At regular intervals, make cuts from the edge towards the inner circle; this will form little flaps.

Step 3:
Draw a heart (or a simple shape of your choice) onto the very centre of your card circle – its design should be around 2cm square. Cut out your design, this will be the aperture that dictates the shape of your bokeh.
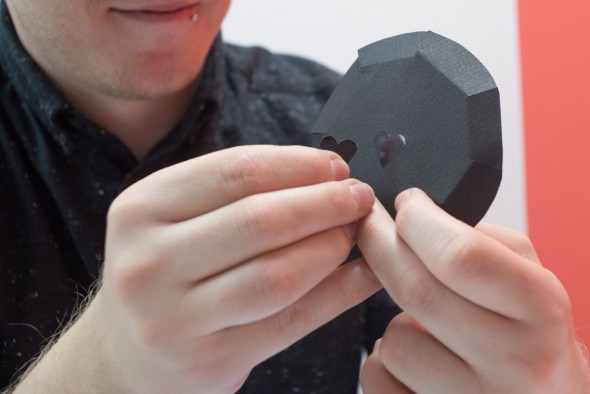
Step 4:
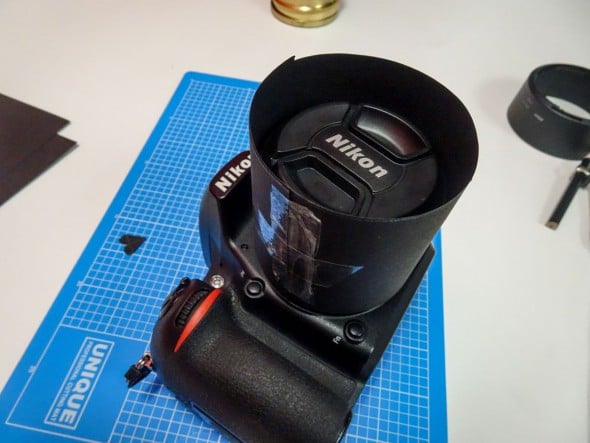
Cut a 7cm wide band of card that’s long enough to wrap around your lens, and tape it into a tube that fits snugly over it. Finally, tape the flaps of your circle onto the end of your tube, positioning your custom aperture in its centre. This bokeh filter should sit just over your lens’s front element, if it sits too highly, trim the bottom of your tube.
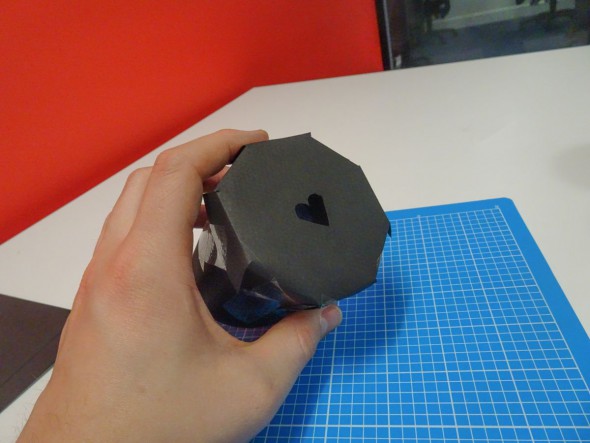
Once attached to your lens, your bokeh filter should look like this:
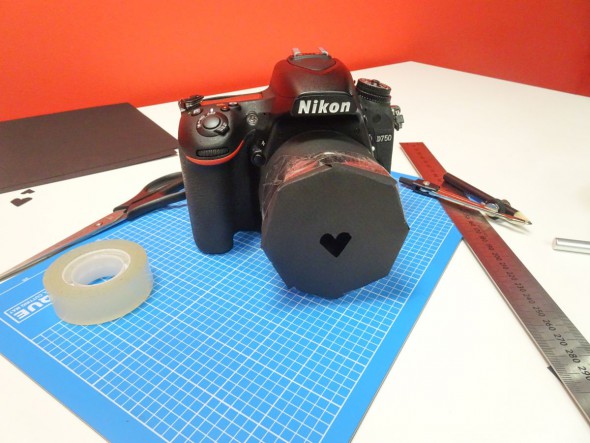
Take your bokeh image
With your DIY bokeh filter fixed onto the end of your lens, set your camera to the widest aperture possible (f/2.8 and wider will produce the best effects).
Find a scene where there are lots of strong points of light (such as street lamps or fairy lights) that can act as a background, and position your subject in front of them.
Focus on your subject, allowing the light sources in the background to fall out of focus, and then start capturing your images! The defocused points of light will appear in the shape of your unique custom aperture design.

About the Author
Matt Higgs has worked for Practical Photography and Digital Photo magazines, and his live music images have been featured in numerous respected music publications including Rock Sound, Guitarist, Guitar Techniques and Akustik Gitarre. www.matthiggsphotography.co.uk.
Related articles:
How to Get Started with Off-Camera Flash
How to Make and Use Light Stencils
Basic Light-Painting Kit and How to Use It

