This rainy-day project is easy to do and produces striking results. Matt Higgs explains
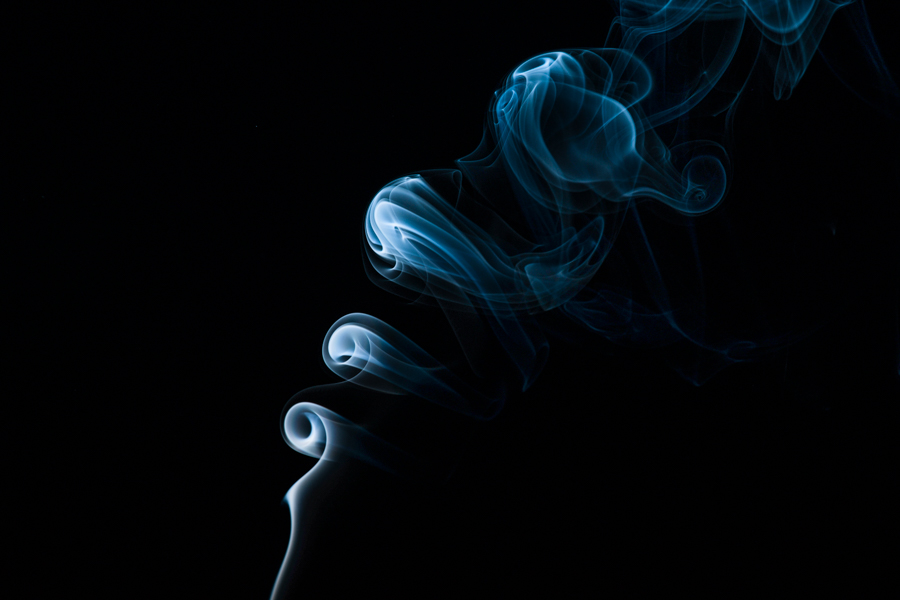
Stuck indoors and looking for something creative to do with your camera? Smoke photography not only produces both striking and unique results, but it’s extremely simple to do!
In this article we’ll show you the shooting technique behind the images…
In addition to your camera and kit lens you’ll need:
• A flashgun and means to wirelessly trigger it
• Incense sticks and holder
• 2 large sheets of black card
• Scissors and tape
Step 1 – Prepare the shooting area
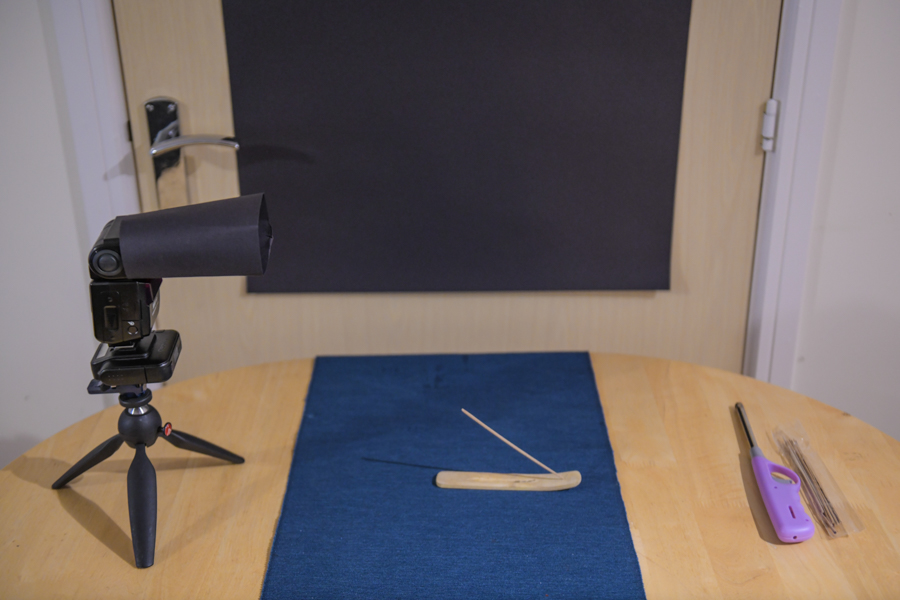
First, shut the curtains and minimise the ambient light. Next, place a table against a wall. Affix your first piece of black card to the wall to act as your image’s background. Position an incense stick around 40cm in front of it.
Step 2 – Get your flashgun ready
From your second sheet of card, cut a strip 15cm wide. Wrap this around the head of your flashgun and tape it in place to form a basic snoot.
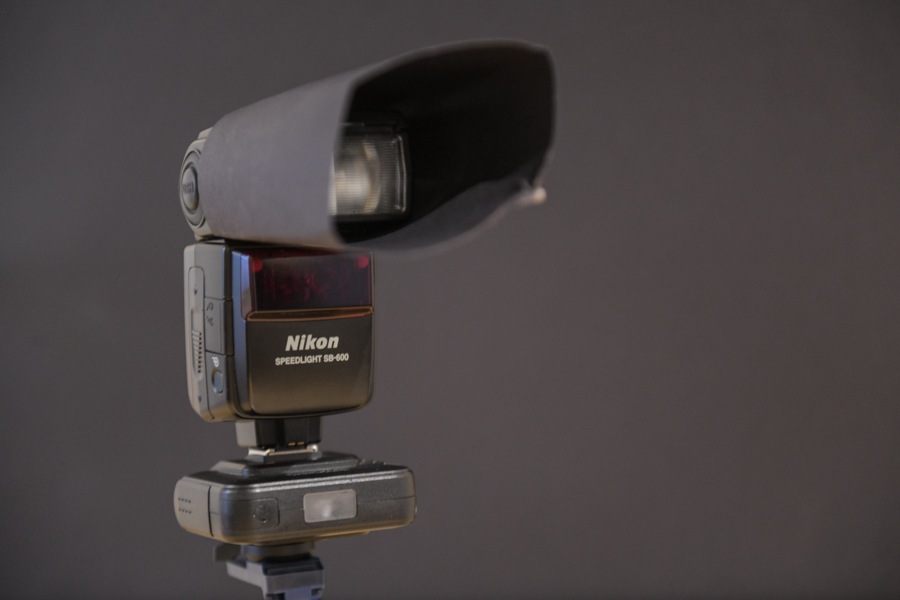
The light from your flashgun will now be concentrated into a narrow beam with little spill. Set your flash to manual with its power output at 1/4. Connect your wireless trigger, and position your flashgun about 30cm away from your incense stick and parallel with the wall, its head facing directly towards where you anticipate the smoke will be.
Step 3 – Select your camera settings
Place your camera into its manual shooting mode, set shutter speed to its flash sync-speed (if unsure, this is normally around 1/200sec), aperture to f/11 and ISO to 100.
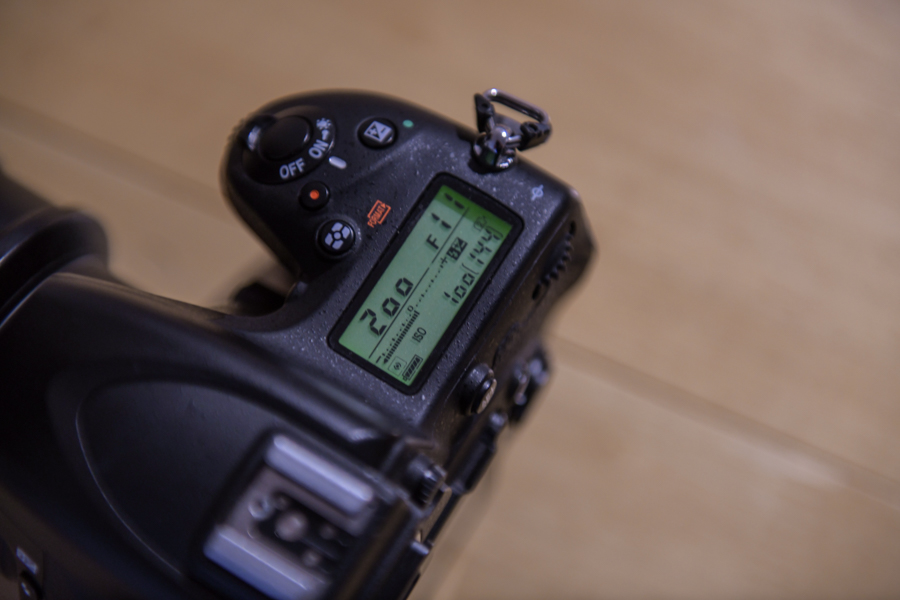
Leave white balance on auto. If you take a test shot now the frame should be completely black, the only illumination we’re going to want see in the image is the flash. If your room is still too light and your background doesn’t appear as a solid black, narrow down your lens’s aperture further.
Step 4 – Find focus
Sit several feet away from your table and find focus on the end of your incense stick. Now set your camera and lens to manual focus to lock it at the selected distance.
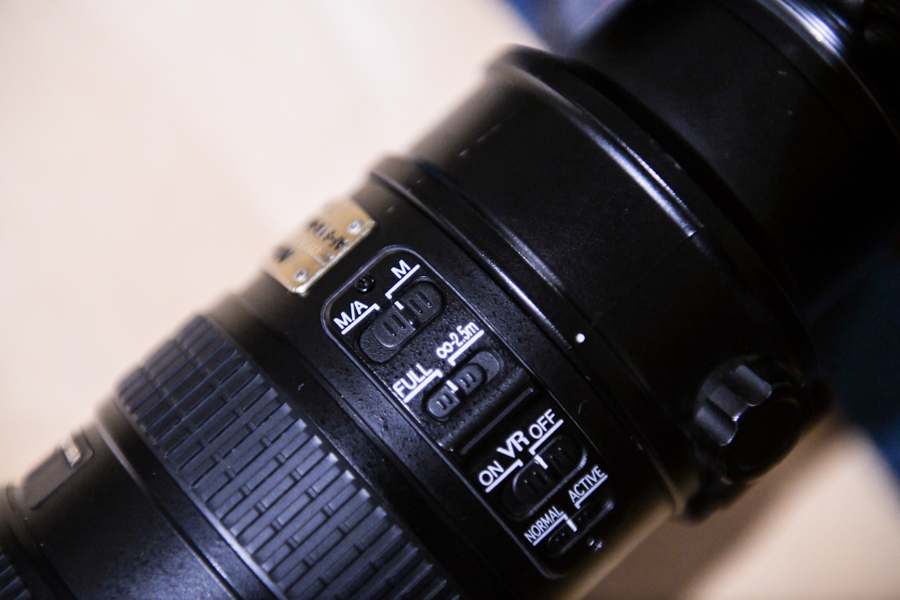
Turn on your flashgun, light your incense stick and turn off the lights. Carefully navigate your way back to your shooting position.
Step 5 – Start taking your image
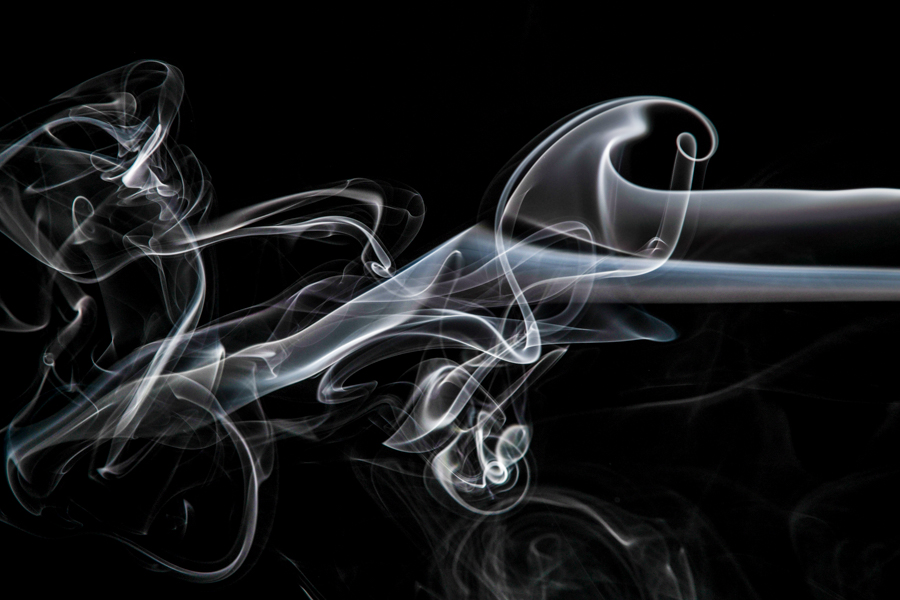
Now you can start taking your images. With each press of the shutter your flash should fire, illuminating the smoke in the image but casting no light onto the background.
If your background is getting lit, turn your flashgun away from it a little more. If your smoke seems underexposed, turn your flashgun’s power up a level.
Try blowing towards the smoke to create swirls within it, or for thicker smoke light several sticks.
After each stick has burned, take a break and ventilate the room. Once you’ve got a set of images you’re happy with, download them onto your computer.
Editing your images in Lightroom
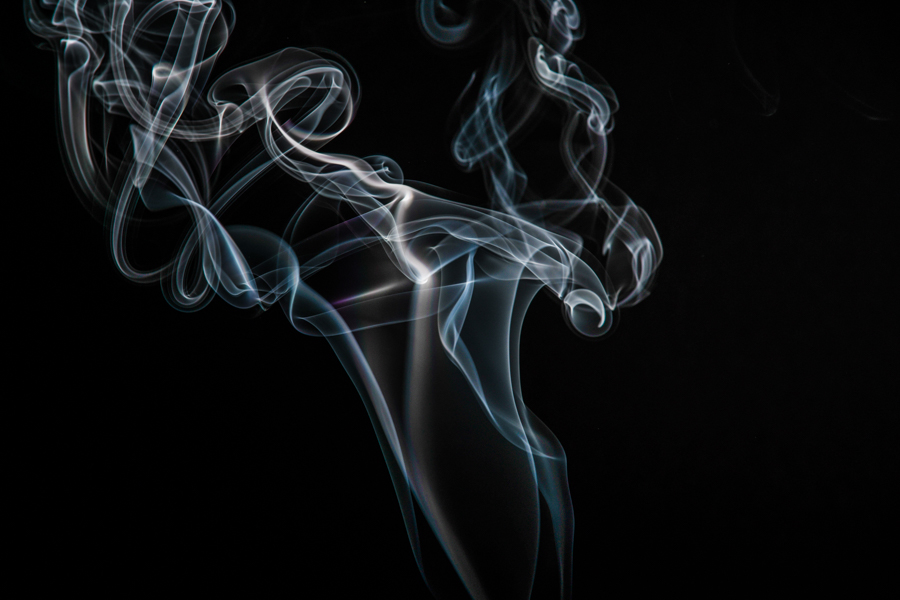
You can add impact to your images by giving them a tweak in Lightroom after shooting. Begin by adjusting your exposure, highlights, shadows, whites and blacks until the balance of light in your image is just how you like it.
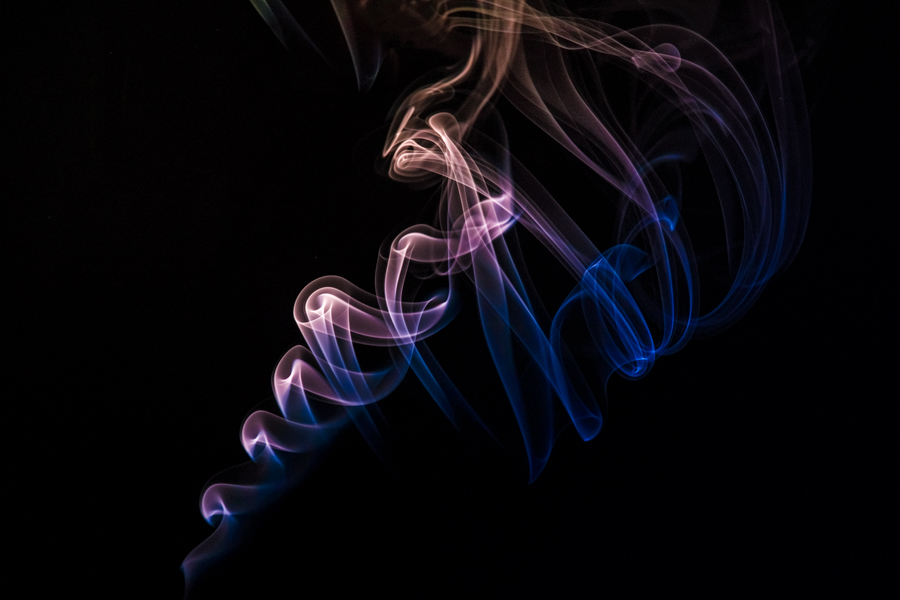
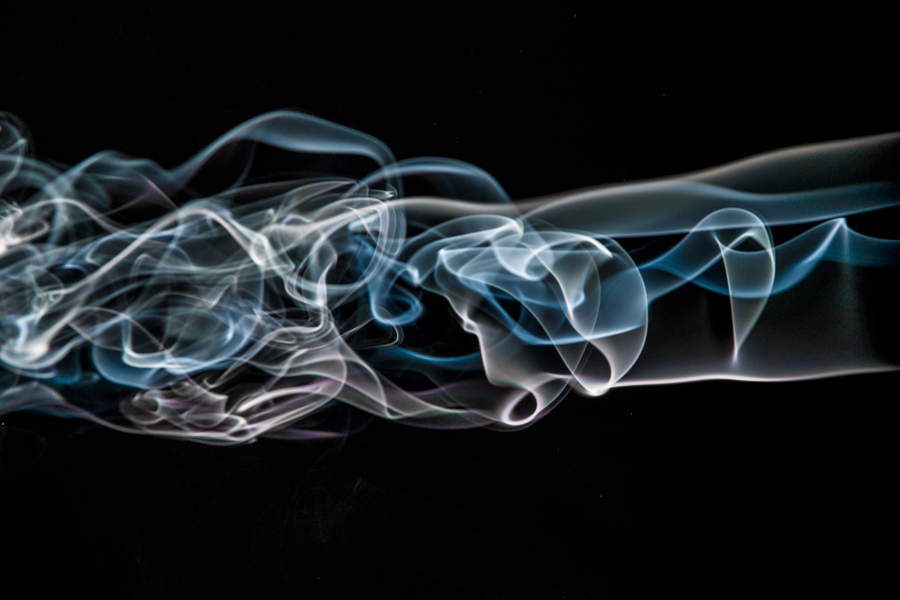
Using the White Balance slider, you can give you shots a colourful tint, while the Clarity slider can help the smoke look a little crisper. Try using the Radial Filter and Graduated Filter tools to add more localised colour to your image as well (like in the image above).
About the Author
Matt Higgs has worked for Practical Photography and Digital Photo magazines, and his live music images have been featured in numerous respected music publications including Rock Sound, Guitarist, Guitar Techniques and Akustik Gitarre. www.matthiggsphotography.co.uk.
Related articles
Creating Oil-Based Abstract Images
Make a DIY Filter for Heart-Shaped Bokeh
How to Build a Field Macro Studio

