From sparkling stars to stunning meteor showers and rare eclipses, the celestial events that occur above us are a constant reminder of the vastness and majesty of our universe. Whether you're a seasoned astronomer or simply someone who loves gazing up at the sky, there's no shortage of fascinating astronomical events to look forward to in 2024.
In this article, we'll explore some of the most exciting and noteworthy celestial events that will be visible from the United Kingdom in the coming year, as well as some common celestial events to photograph and pro tips and techniques.
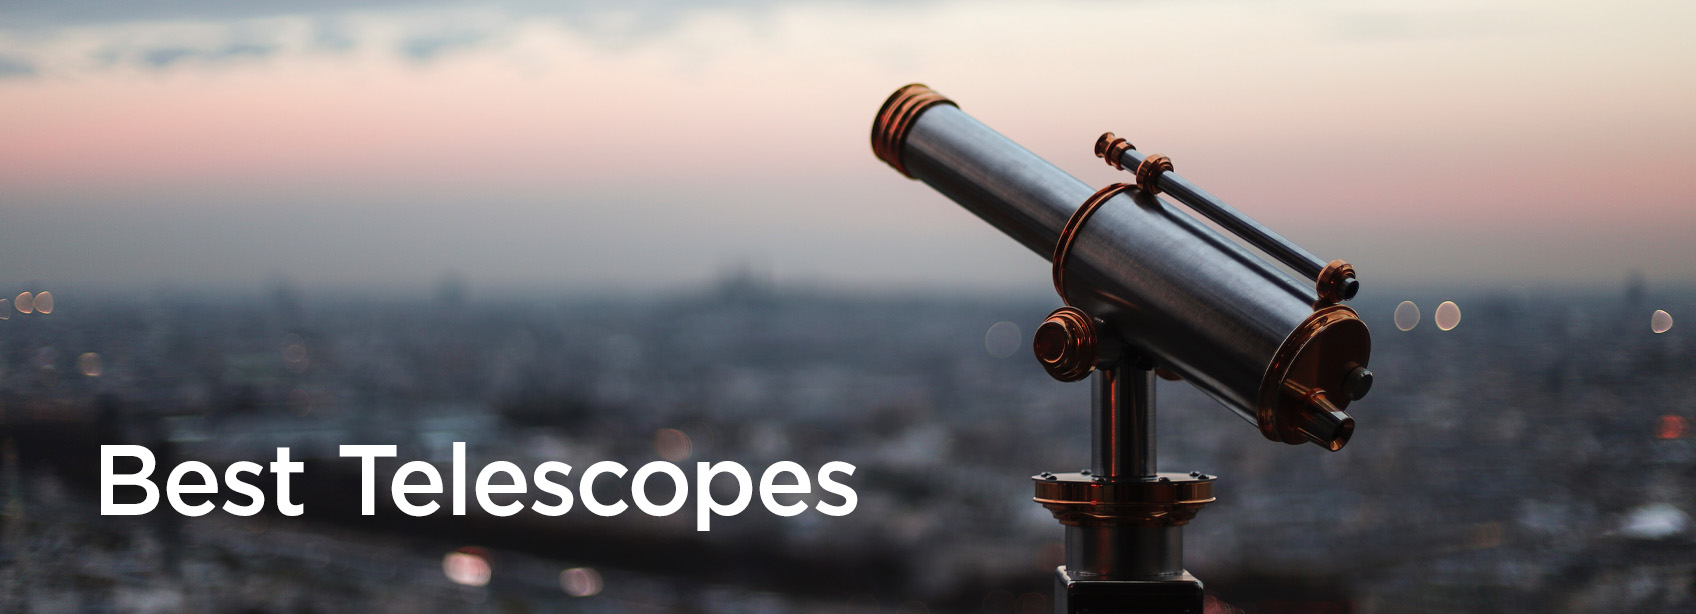
When it comes to telescopes, astronomy kit and optics, we have a wide range to choose from. This equipment is specifically designed to help you view the stars and beyond!
Navigation
Astronomy Calendar 2024
Here we have put together a list of some of the top 2024 celestial events that will occur and be viewable in the UK.
Please note: these dates and times are subject to change and weather conditions can affect visibility. Always research your chosen celestial event and assess any safety concerns before viewing.
Related Buying Guides

Tips and Tricks
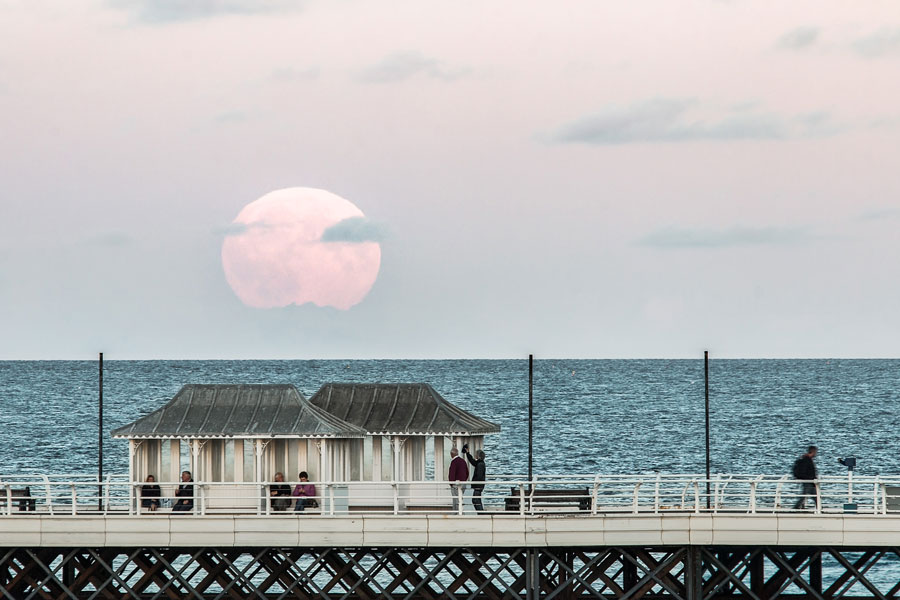
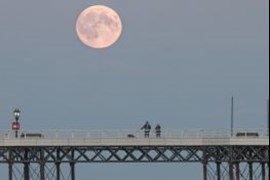
Supermoons
Supermoons occur when the Moon's elliptical orbit brings it closest to Earth during a full moon, resulting in a slightly larger and brighter appearance.
The Moon's orbit is not a perfect circle but rather an ellipse, causing variations in its distance from Earth. When the full moon coincides with the point in its orbit closest to Earth (perigee), it appears slightly larger and brighter than usual. While the difference in size is around 6%, the visual impact can be striking, especially when the moon rises against a scenic backdrop.
Photography Tips:
Plan your shoot: Consider the moon's trajectory and rising location, ensuring you'll be in the right spot to capture it against your desired backdrop.
Foreground selection: Distant landmarks or scenery to create interesting and creative compositions. Even urban landscapes can provide stunning imagery if properly framed.
Camera settings: Using a higher aperture (f11 to f20) ensures both the moon and foreground are sharp. Keep ISO low to minimise noise, which is crucial for post-processing adjustments.
Post-processing: Enhance the moon's appearance while maintaining a balanced foreground by adjusting lighting, shadows, contrast and colour balance. Apps like "PhotoPills" can assist in planning by providing moonrise times and locations.
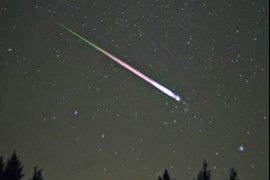
Meteor Showers
Meteor showers are celestial events where meteors or "shooting stars" appear in the night sky as Earth passes through debris trails left by comets or asteroids.
Meteors are small pieces of debris, typically from comets or asteroids, that burn up in Earth's atmosphere as they enter at high speeds. Meteor showers are named after the constellation from which they appear to originate, such as the Perseids, which seem to come from the direction of the constellation Perseus. While most meteors are faint, some can be bright and leave a visible trail across the sky, creating a spectacular sight for observers.
Photography Tips:
Location scouting: Choose dark, unobstructed areas with clear northern views to minimise light pollution and maximise meteor visibility.
Camera settings: Adjust settings such as ISO (1600+), wide aperture, and long exposure to effectively capture faint meteors. Consider using the 500 Rule to determine the maximum exposure time before star trailing occurs.
(Astrophotographers take the number 500 and divide it by the focal length to get the ideal exposure time, resulting in a clear image of stars without trails)
Weather monitoring: Weather forecast apps and social media are ideal for checking meteor activity predictions and ensuring clear skies during the event.
Post-processing techniques: Blend multiple images to enhance meteor visibility while reducing noise. Playing with white balance settings can help you minimise orange skyglow from light pollution.
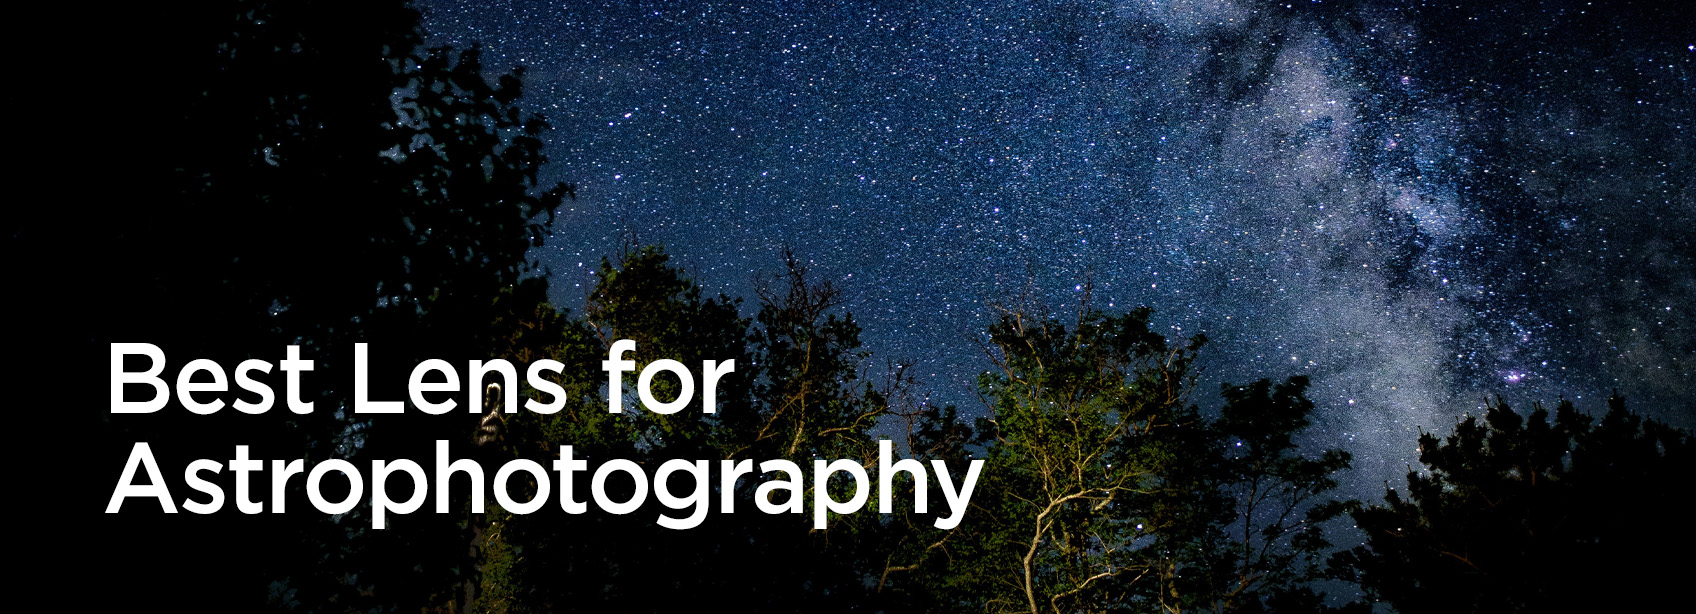
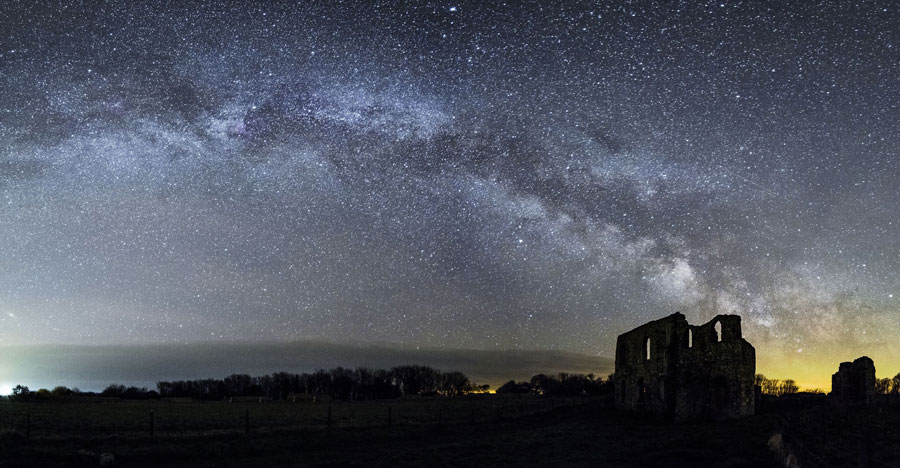
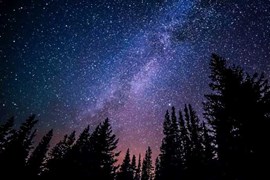
Milky Way
The Milky Way is a barred spiral galaxy containing billions of stars, visible as a hazy band across the night sky.
Our galaxy, the Milky Way, is home to our Solar System and billions of other stars, planets, and celestial objects. From our vantage point within the galaxy, the Milky Way appears as a bright, hazy band of light stretching across the sky. The distinctive appearance of the Milky Way is the combined light of billions of stars and other celestial objects, creating one of the most iconic sights in the night sky. Photographing the Milky Way requires careful planning and patience to capture its beauty.
Photography Tips:
Optimal shooting times: The best time to view and photograph the Milky Way is typically after sunset and before sunrise, when the skies are darkest.
Camera settings: Use wide apertures and low ISO settings to maximise light capture while minimising noise. Panoramic shots help to capture the entire band of the Milky Way.
Post-processing: Shooting in RAW format allows you more control when adjusting settings when editing. Software like Microsoft ICE aids in creating panoramic mosaics for expansive Milky Way shots.
Aurora
The aurora borealis, or northern lights, is a natural light display caused by solar particles interacting with Earth's magnetic field.
The northern lights typically occur in high-latitude regions, such as the Arctic, due to interactions between charged particles from the Sun and Earth's magnetic field. When these charged particles enter the Earth's atmosphere, they collide with atoms and molecules, causing them to emit light in various colours in beautiful patterns in the sky. While the aurora is more commonly seen in polar regions, it can occasionally be visible at lower latitudes during periods of increased solar activity.
Photography Tips:
Location selection: Choose locations with clear northern views to observe the aurora. Coastal areas are often ideal due to their unobstructed horizons.
Aurora prediction: Forecast apps, websites and social media are great for aurora predictions and to monitor geomagnetic activity.
Camera settings: Adjust settings for low-light conditions, such as high ISO, wide aperture, and longer exposures, to capture the subtle hues of the aurora.
Post-processing: Enhance aurora visibility while reducing orange skyglow through post-processing techniques such as colour correction and noise reduction.
Planets and Dwarf Planets
Capture celestial bodies like planets and dwarf planets using long-exposure photography or telescopes.
Planets are celestial bodies that orbit the Sun and shine by reflecting sunlight. They include familiar objects like Mercury, Venus, Earth, Mars, Jupiter, Saturn, Uranus, and Neptune. Dwarf planets, such as Pluto and Makemake, are similar to planets but have not cleared their orbits of other debris. Observing and photographing planets and dwarf planets can provide valuable insights into our solar system's composition and dynamics. Long-exposure photography and telescopic observations allow for detailed views of these fascinating celestial objects.
Photography Tips:
Research and planning: Determine optimal viewing times and locations for planets and dwarf planets to maximise visibility.
Equipment selection: Use long-exposure photography or telescopes to capture detailed views of celestial objects.
Post-processing: Enhance images through post-processing techniques to highlight features and details of planets and dwarf planets.
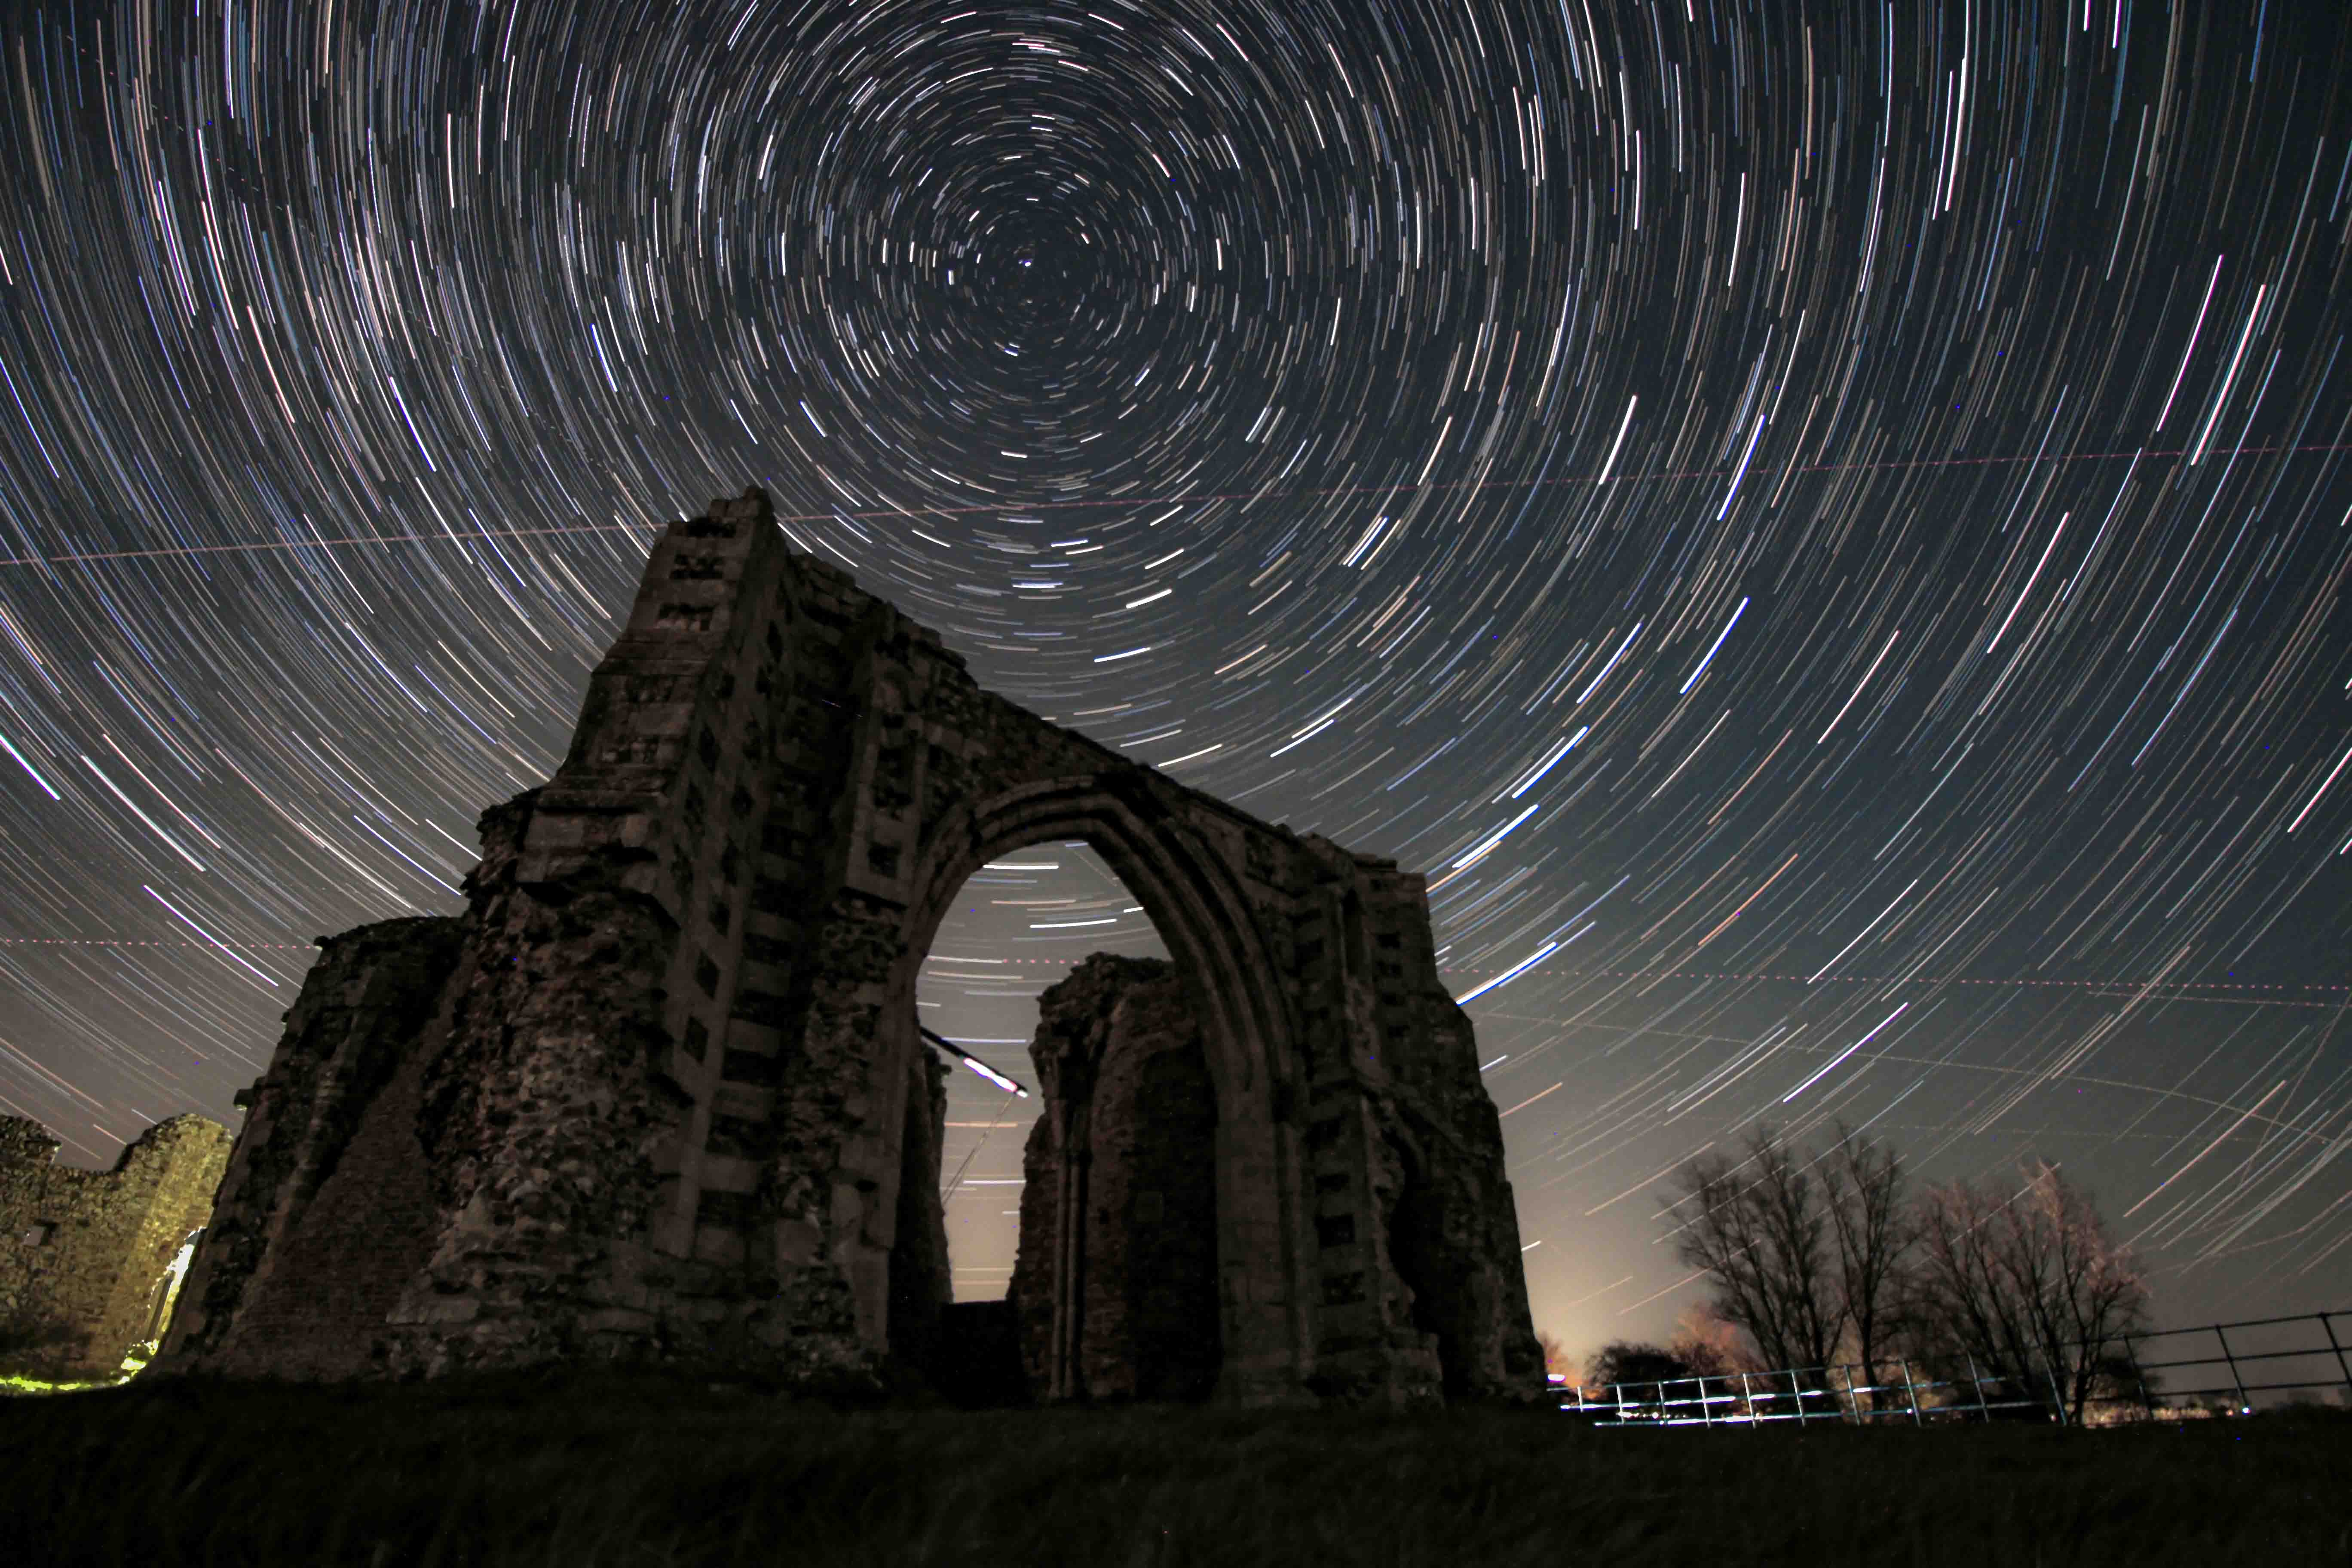
Star Trails
Star trails capture the apparent movement of stars in the night sky due to Earth's rotation.
In a star trail image, the rotation of the Earth causes stars to appear as streaks of light across the sky. While the stars themselves are not moving, Earth's rotation creates the illusion of movement, resulting in captivating circular patterns known as star trails. By capturing long-exposure images over time, you can create stunning visual representations of Earth's rotation and the passing of time.
Photography Tips:
Location consideration: While dark skies are preferred, star trails can still be captured in urban areas with proper framing to avoid light pollution.
Camera settings: Use mid-range apertures, low ISO, and long exposures to create captivating trails. Locate the North Star (Polaris) for circular star trails.
Software assistance: Software like "Startrails" can help simplify the process of stacking images for enhanced visibility.
Satellites
Satellites, including Starlink, provide captivating sights in the night sky.
Satellites are human-made objects that orbit the Earth, ranging from large structures like the International Space Station to smaller devices like Cubesats. They appear as moving points of light against the backdrop of the stars and can often be seen from the ground with the naked eye. Some satellite constellations, like SpaceX's Starlink, consist of multiple satellites positioned in a string or constellation, creating unique visual phenomena in the night sky. Tracking and photographing satellites can be a rewarding activity for astrophotography enthusiasts.
Photography Tips:
Satellite tracking: Use satellite tracking apps and websites to predict satellite appearances and trajectories.
Camera settings: Capture satellite trails with wide-angle lenses and low ISO settings to ensure clear, detailed images.
Post-processing: Stacking software can improve satellite visibility by combining multiple images to enhance contrast and reduce noise.
International Space Station (ISS)
The International Space Station (ISS) is a bright satellite visible to the naked eye.
The ISS is a large spacecraft that orbits the Earth and serves as a space laboratory and living space for astronauts. It travels at a speed of approximately 17,500 miles per hour and orbits the Earth approximately every 90 minutes. Due to its size and reflective surfaces, the ISS can appear as a bright moving object in the night sky, visible to observers on the ground. Tracking the ISS and capturing its passage across the sky can be a thrilling experience for stargazers and photographers alike.
Photography Tips:
Tracking the ISS: Use tracking apps to predict ISS sightings and ensure proper framing of your shot.
Camera settings: Capture ISS trails with similar settings as star trails to ensure clear, detailed images.
Post-processing: Software like Photoshop can facilitate image stacking to enhance ISS visibility and create stunning composite images.

Astro Videos
FAQs
What is astronomy?
Astronomy is the scientific study of celestial objects, such as stars, planets, galaxies, and other phenomena in the universe. It involves a wide range of disciplines, including physics, mathematics, and computer science, and aims to better understand the properties, behaviour, and evolution of these objects.
What is astrophotography?
Astrophotography is the art and science of capturing images of celestial objects using cameras, telescopes, and other specialised equipment. It allows photographers to capture stunning images of the night sky and celestial objects, such as stars, planets, galaxies, and nebulae.
What equipment do I need to get started with astrophotography?
To get started with astrophotography, you will need a camera that is capable of taking long exposure shots, a tripod or other support for your camera, and a lens with a wide aperture. Additionally, a telescope or specialised astrophotography equipment can be used to capture more detailed images.
How do I find a good location for astrophotography?
To find a good location for astrophotography, you should look for areas with minimal light pollution, such as rural areas or designated dark sky sites. You should also consider factors like weather conditions, accessibility, and safety.
How can I identify different celestial objects in the night sky?
There are several tools and resources available to help identify celestial objects in the night sky, including star charts, mobile apps, and online resources. Additionally, many astronomy clubs and organisations offer guided stargazing sessions and educational events to help people learn more about the night sky.
When is the best time for stargazing?
The best time of year for stargazing depends on your location and the specific celestial events you are interested in observing. Generally, clear and cool nights during the fall, winter, and spring months offer the best conditions for stargazing in most regions.
Keep a close eye on the weather as clear skies are essential. Apps such as “Clear Outside” and the website YR.no (a Norwegian weather site) are useful and very reliable. Sat 24 is good for satellite maps for cloud cover.
How do you calculate the maximum exposure time?
There is what is known as the 500 rule. 500 Divided By the Focal Length of Your Lens = The Longest Exposure in Seconds Before Stars Start to the trail. (Remember to multiply your focal length by 1.5/1.6 for crop sensors.)
How do you focus in the dark?
Autofocus is useless at night, so get used to using manual focus. Most lenses will show 'infinity' on the focusing ring, although this will not give perfect focus. If your camera has a live view, aim at a bright star, push your ISO high and use the Zoom function on your LCD screen to get in close to a bright star. Then adjust the focus until the star appears as small as possible.
Do I need to use red lights?
It takes around 20 minutes for your eyes to adapt to the dark and any exposure to white light ruins this. When out in the dark, use a red torch instead. Using red light will allow you to see, but maintain your dark adaption, making it easier to move around in the dark.
Dominic Ford of In-The-Sky.org, the original author and copyright holder owns all information within the astronomy calendar. For more information including contact details, click here.
Buying Guides