Matty Graham shares four great projects you can try for Father’s Day with the most minimal of equipment…
There’s no bond quite like that of a father and child! It’s official: dads rock, and on the 18th of June, we all get a chance to say thank you!
For photographers, this lovely occasion also serves up a unique opportunity to create some sentimental pictures that come right from the heart, pictures that can not only look great but can also serve as the perfect present.
We’ve put together four excellent projects for you to try. These can be done quickly, and don’t need a load of expensive equipment or technical expertise to achieve. We’ll walk you through each project, so let’s get started...
1. Shoot a silhouette

Silhouettes work well when there is an easily-identifiable subject, so a father and child setup is perfect. A silhouette allows the view to focus on the form, shape and pose of the subject, rather than have their eye distracted by colours of clothing, or by facial expressions. This may be the father and child holding hands, or the dad lifting the child into the air.
A silhouette is created by underexposing the main subject, so the best time to try this project is at dawn or dusk when the sun is low in the sky, providing a source of high-contrast light. Place the subject between the lens and the sun, and then expose for detail in the sky, and you’ll find your subjects should transform into inky black silhouettes.
Switch the mode dial to Manual (M), and select a mid-range aperture of f/8 with an ISO setting of 100. Set a starting shutter speed of 1/320sec and take a test shot, then review the image. If the subject is too light, increase the shutter speed; if the overall scene is too dark, lower the shutter speed.
When shooting in high-contrast light, remember to watch out for flare – caused by the rays hitting the front element of your lens. Although it can be used to creative effect, too much can prove distracting. If you’re struggling against too much flare, simply add a hood to your lens.
2. Play with scale

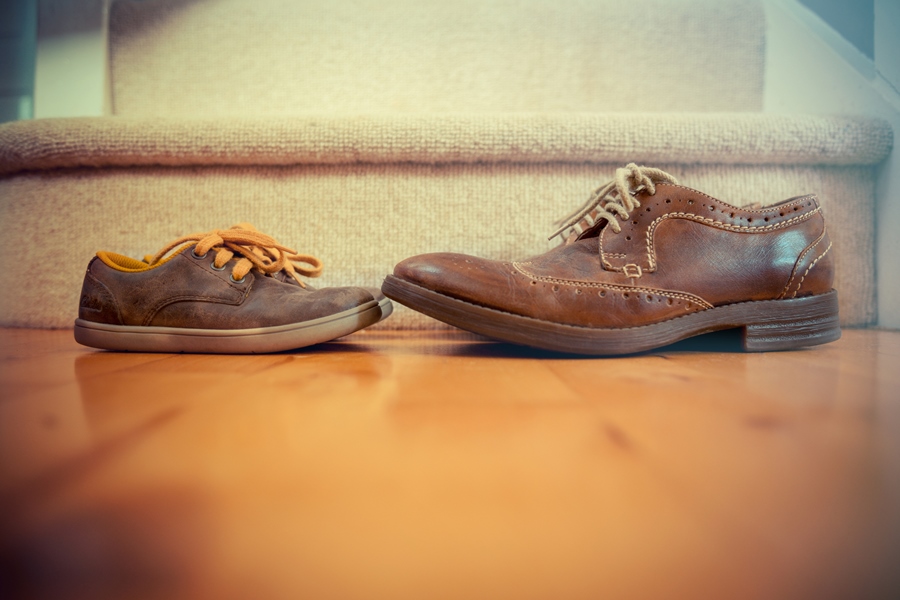
One popular technique for Father’s Day images is to show juxtaposition between father and child by illustrating a difference in scale. This can be illustrated using a number of subjects and props. My image of a dad’s shoes next to the child’s demonstrates one example of this approach, but there are plenty of other ideas you could try. For example: large hands versus small, an adult’s knife and fork versus a child’s knife and fork, and so on. Although no human subjects are present in the frame, it still tells a story that viewers can instantly see.
The key to this image is finding good place to position the subject. Try and find somewhere without any distractions in the background – the hallway of your house is a good starting point, as there’s usually a good deal of natural light streaming in from the windows or doorways.
Set the exposure mode to Aperture Priority (A or Av on the mode dial) and select a large f-number such as f/3.5. This will create a shallow depth of field, meaning that the shoes (or whatever prop you choose) will stay in sharp focus but the rest of the frame will blur, minimising distractions and helping your subjects stand out.
3. Layer a portrait

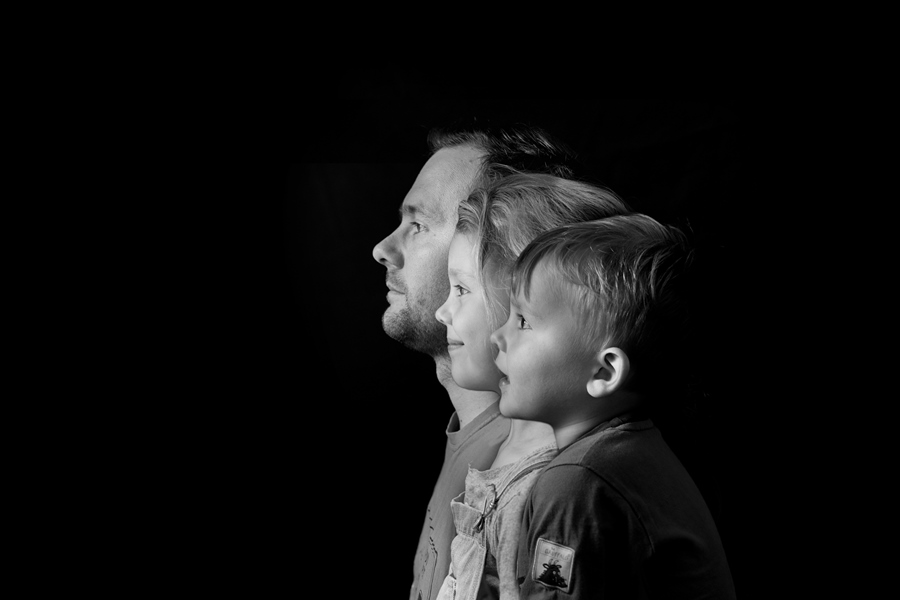
If you can use a little bit of Photoshop, you can make more creative Father’s Day photos and this project is a great example of how combining simple photography and a little image-edging can produce a memorable picture. The idea is to show a profile of both the father and child (or children in my case) in one frame.
Start by setting up a dark background – a black studio background is the best choice, but if you don’t have one, simply use a black sheet or similar. Place your first subject in front of the black background and have them turn to the side so they’re facing a light source – a window will do the job, though if you’re skilled in studio lighting, a little off-camera flash wouldn’t go amiss.
Shoot in Aperture Priority mode, and dial in some negative Exposure Compensation to really darken the background, as this will help when it comes to post-processing.
Once you’ve got a shot you’re happy with, repeat it with your other subject(s). Try to match the poses as much as possible and get the same amount of head and shoulders in the frame.
Next, load your images into Photoshop. Select the picture of the dad and then copy and paste the other images onto this base photo. The next job is to change the Blending Mode (which is set to Default in the Layers Panel) to Lighten, as this will remove the black and perfectly layer one portrait onto another.
4. Spell out a still-life

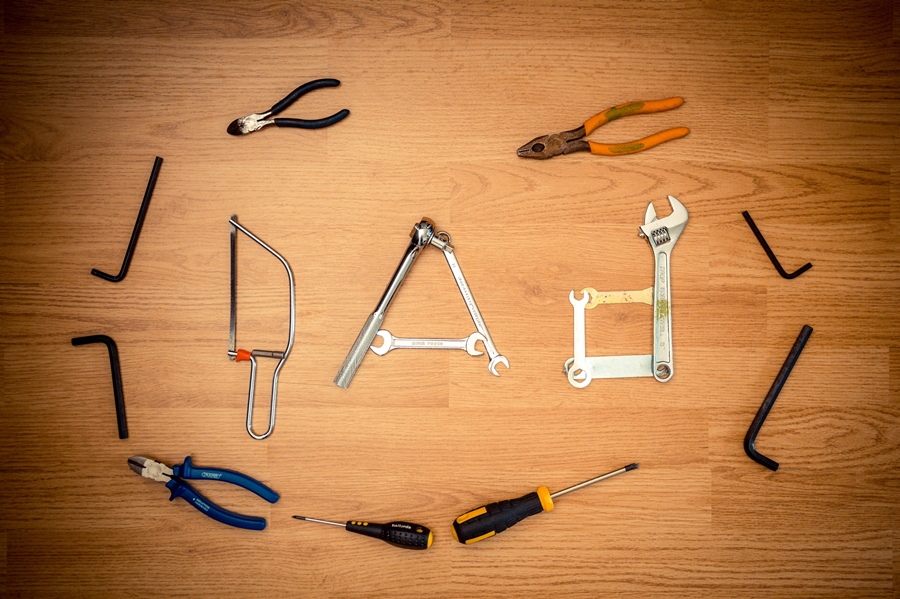
Sometimes you won’t have subjects on hand to capture portraits so you have to be a little more creative. One idea that’s perfect to be printed out and used as a Father’s Day card is to spell out the word “Dad” using items that have a personal significance to your father.
In our case, tools from the shed proved to be the perfect props. Thanks to their various sizes and shapes, it didn’t take long to spell out the letters “D-a-d”. This type of creative image is all about composition, and the trick is to take up an aerial point of view. Most tripods have flip-out centre columns, which make such a composition simple to achieve; if yours doesn’t, simply hand-hold the camera, making sure you keep the lens parallel to the ground so that it keeps all the lines level.
Once you’ve made your creative Father’s Day image, why not print it out, make it into a card and give it to Dad? It’ll make a welcome change from the traditional gifts, and you’ll have improved your photographic skills at the same time!
Browse our Father's Day offers here
About the Author
Matty Graham is a photographer and writer based in Lincolnshire. www.mattygraham.com
Related articles
Focus on Family Portraits
How to Create Beautiful Dog Portraits
Make a DIY Filter for Heart-Shaped Bokeh

