So we’ve made it – part three of our “how to shoot film” series. By now, you’ll have begged, borrowed or bought a film camera and there will be more 35mm film in your fridge than there are eggs. There might be a new scanner sitting in pride of place on your desk, and your Instagram algorithm will have been comprehensively retuned to Reels of people loading film into increasingly exotic antique cameras.
But, have you actually shot a roll of film yet? It can be daunting – how much of your experience with digital photography translates to film, anyway? How much can you edit? How much should you edit?
Shoot more, and read on.
Film vs digital: the verdict
As a professional photographer – theoretically, a person capable of waving a camera to reasonably impactful consequence – realising the number of skills that translate directly from shooting film to shooting digital was really nice. If you have a grasp of stops, shutter speeds, apertures and ISOs, you’ll find yourself in a good place. For example, my beloved, £18 Canon T70 offers average and centre-weighted metering, and, in terms of both practice and accuracy, compares really well to my EOS R5 and R6.
It’s true, of course, that you need to be more attentive. The result of what you’ve shot isn’t fed back to you immediately, and building up the confidence that you’ve measured your metering correctly can take a little while. Interestingly, I feel this goes doubly now we’re in the heady world of being able to see what your exposure will look like before you’ve even pressed the shutter button! But that lesson does double duty – I really like that film photography forces you to slow down and think about your exposures. No longer can you just snap away “practice” images and make adjustments based on them; you need to get it right the first time, which requires a level of mindfulness that digital does not.
How does shooting film compare technically? It is similar but not the same. A hundredth of a second is still a hundredth of a second, and aperture size is still the square root of focal length. ISO 100 is still pretty dark, and ISO 200 is still twice as sensitive. If you have an exposure of 1/250th, f8 and ISO 200; and you increase the shutter speed to 1/500th, your image will be halve in brightness. It is, in all kinds of gorgeous, filmic ways, business as usual.
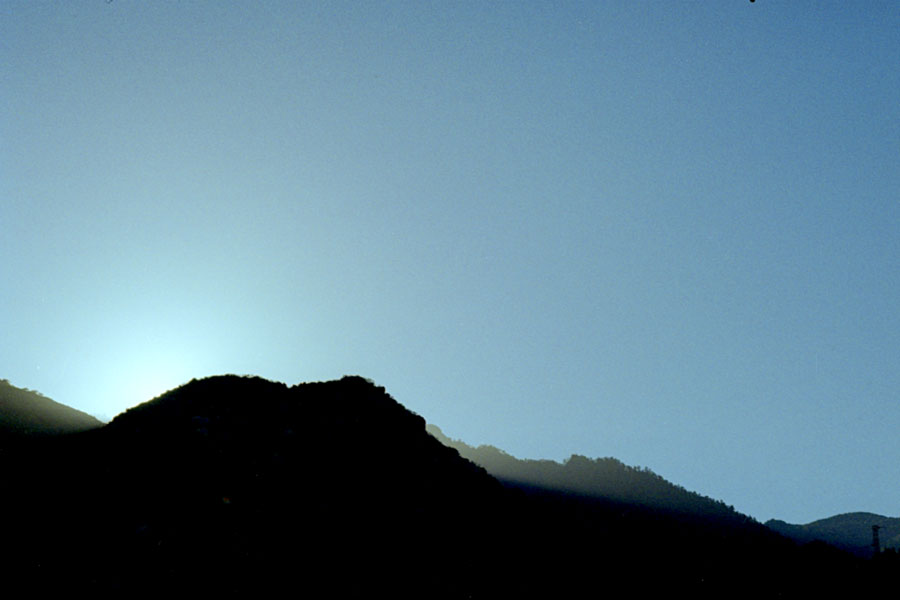
Timing is everything
How’s your trigger discipline? If you’re the type to fire off two thousand frames on a week’s holiday, film will be a rude – and expensive – shock. Depending on the film you shoot, a single frame might cost you around a pound from buying the film to getting it digitised, and that’s generously ignoring the fact that you just bought that scanner, isn’t it?
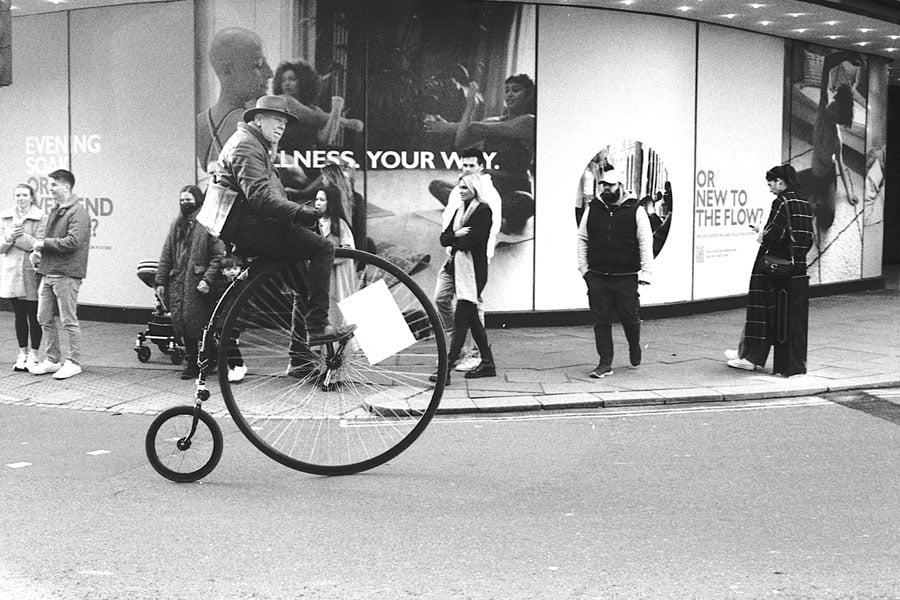
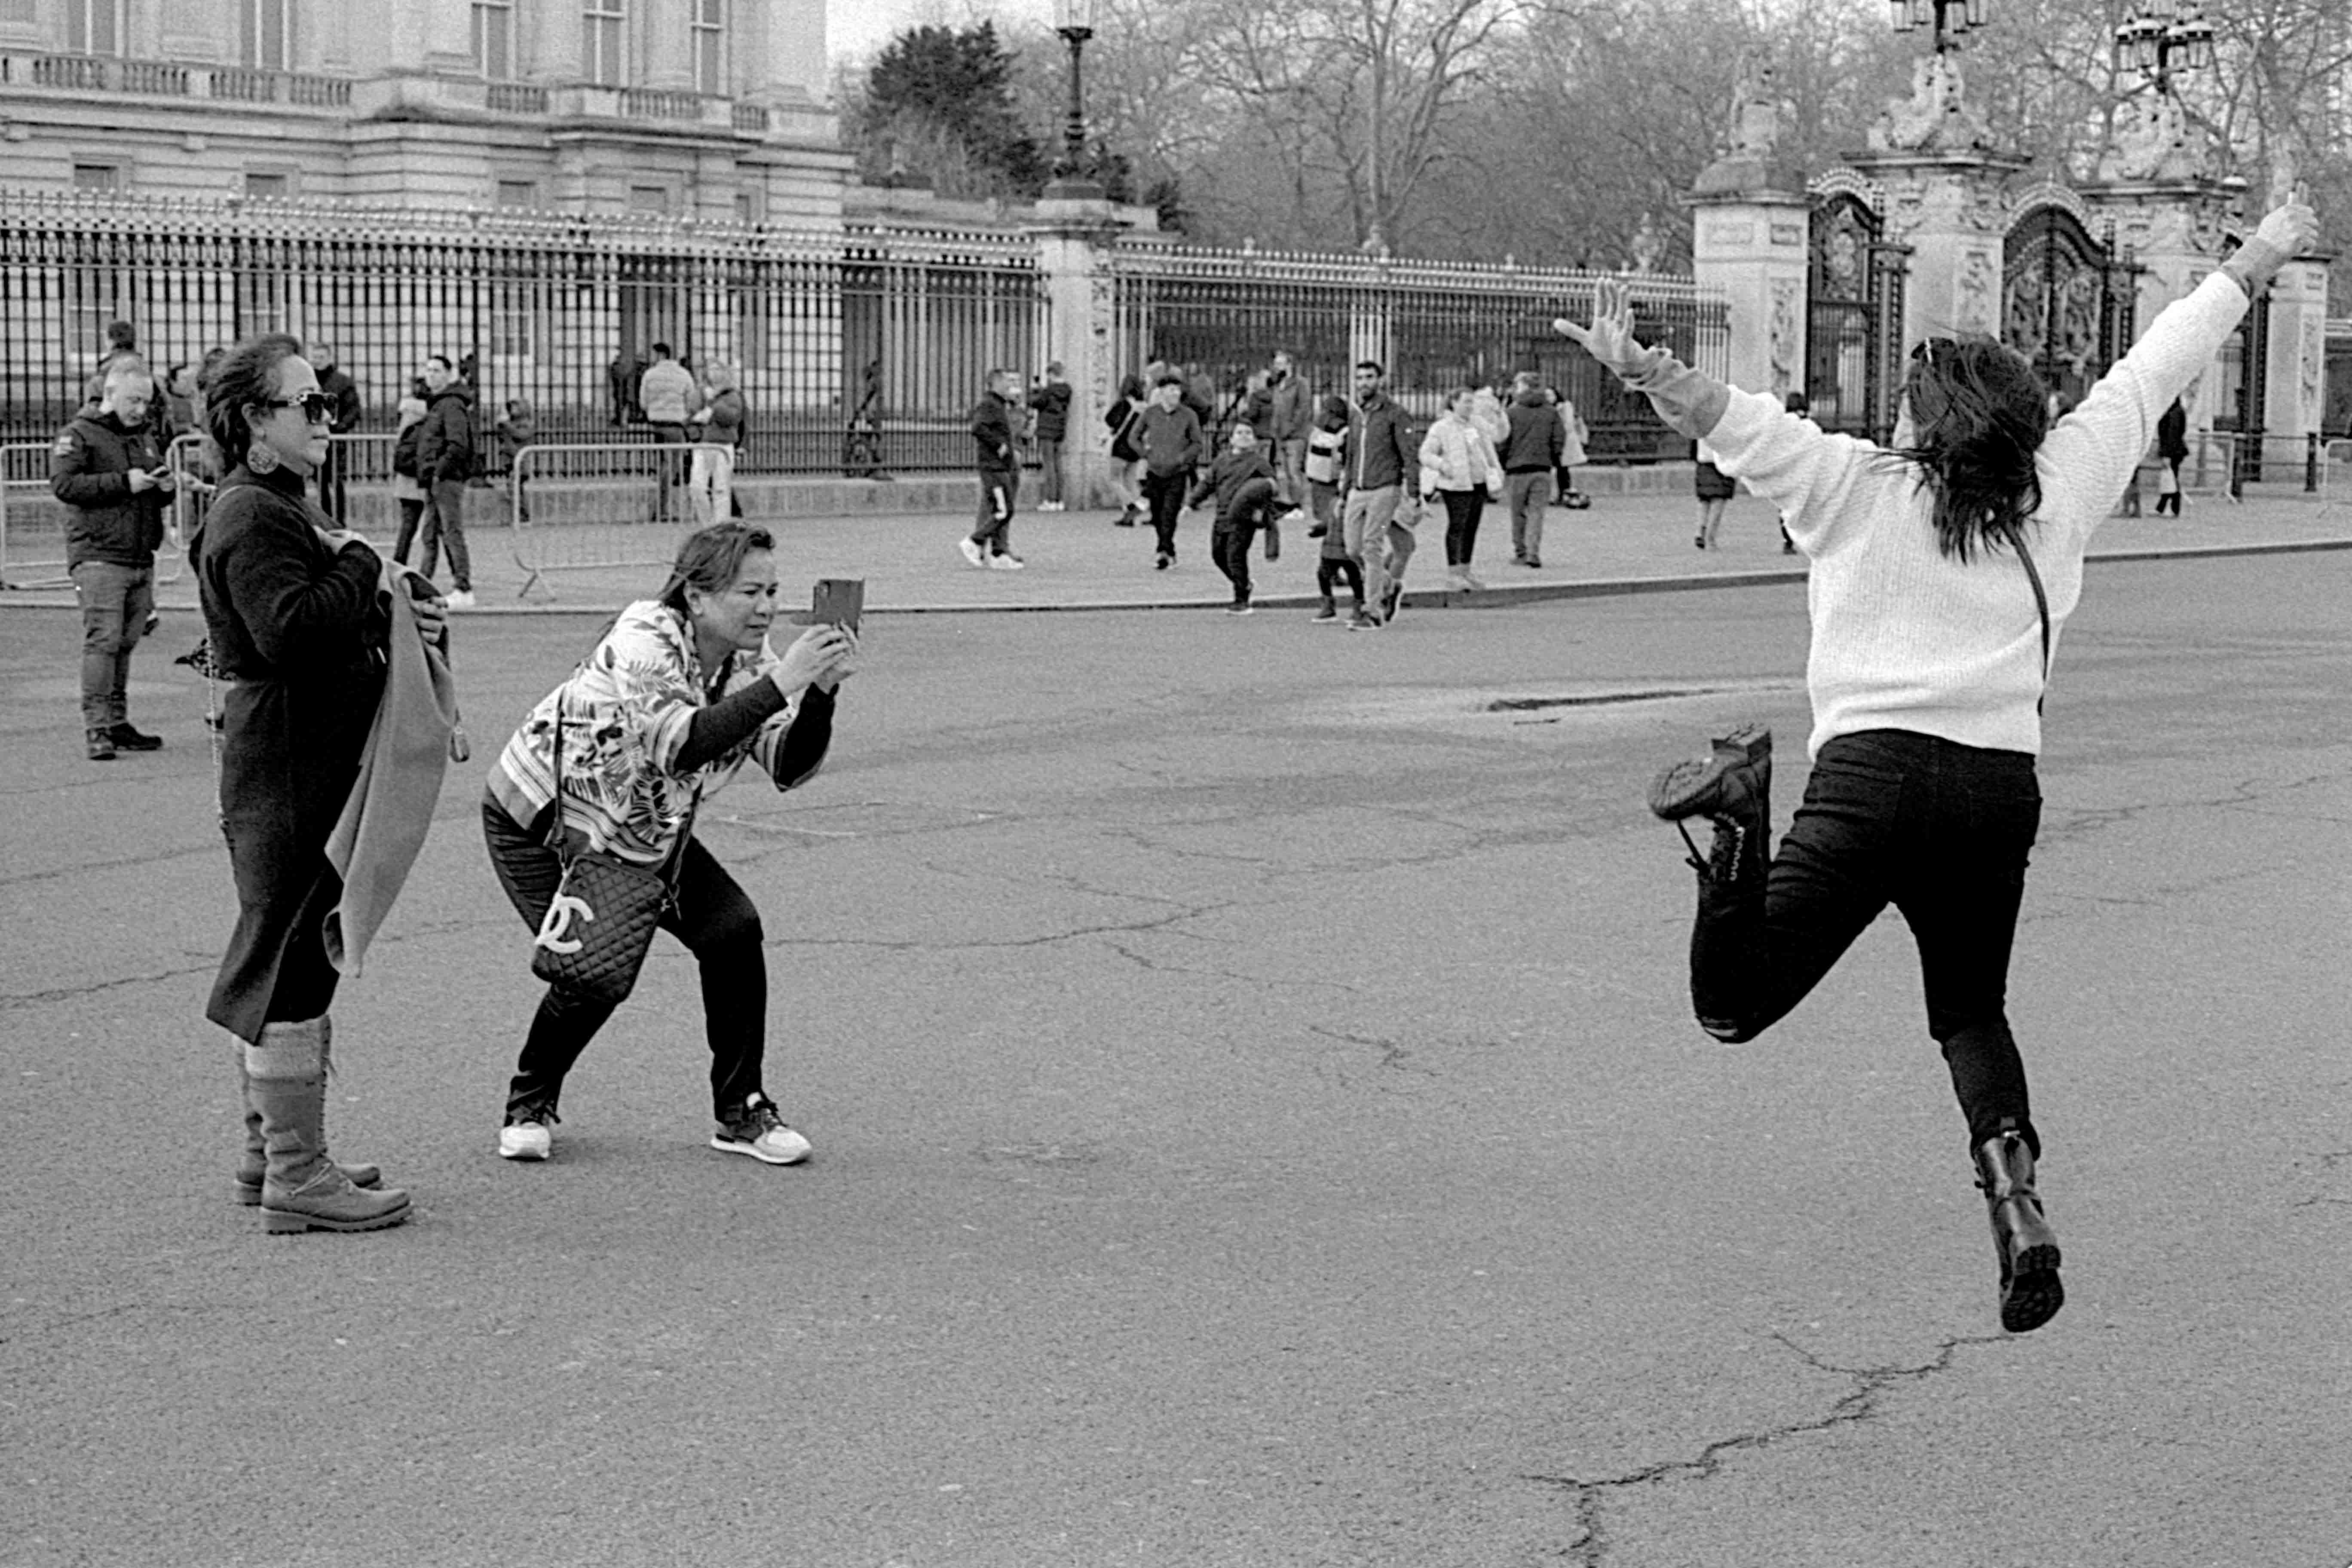
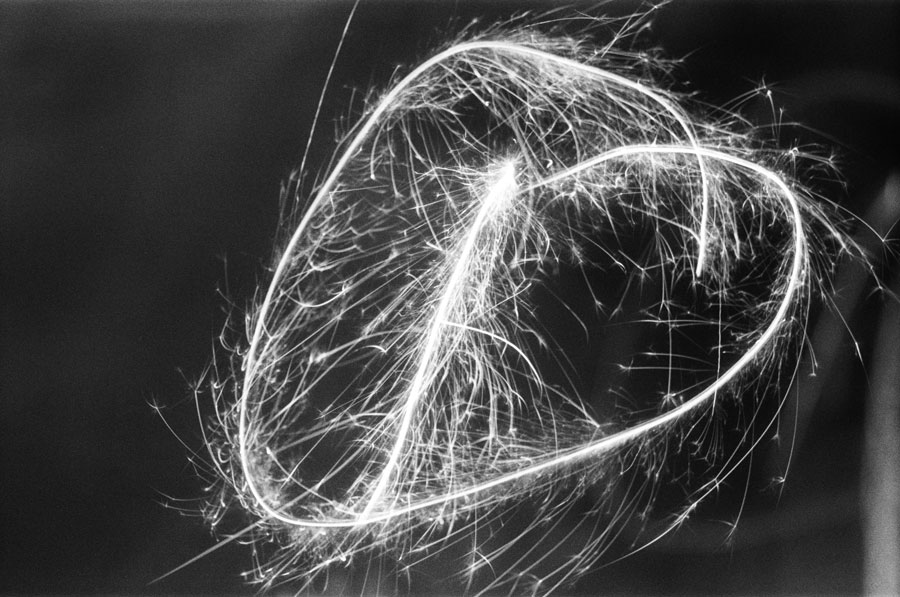
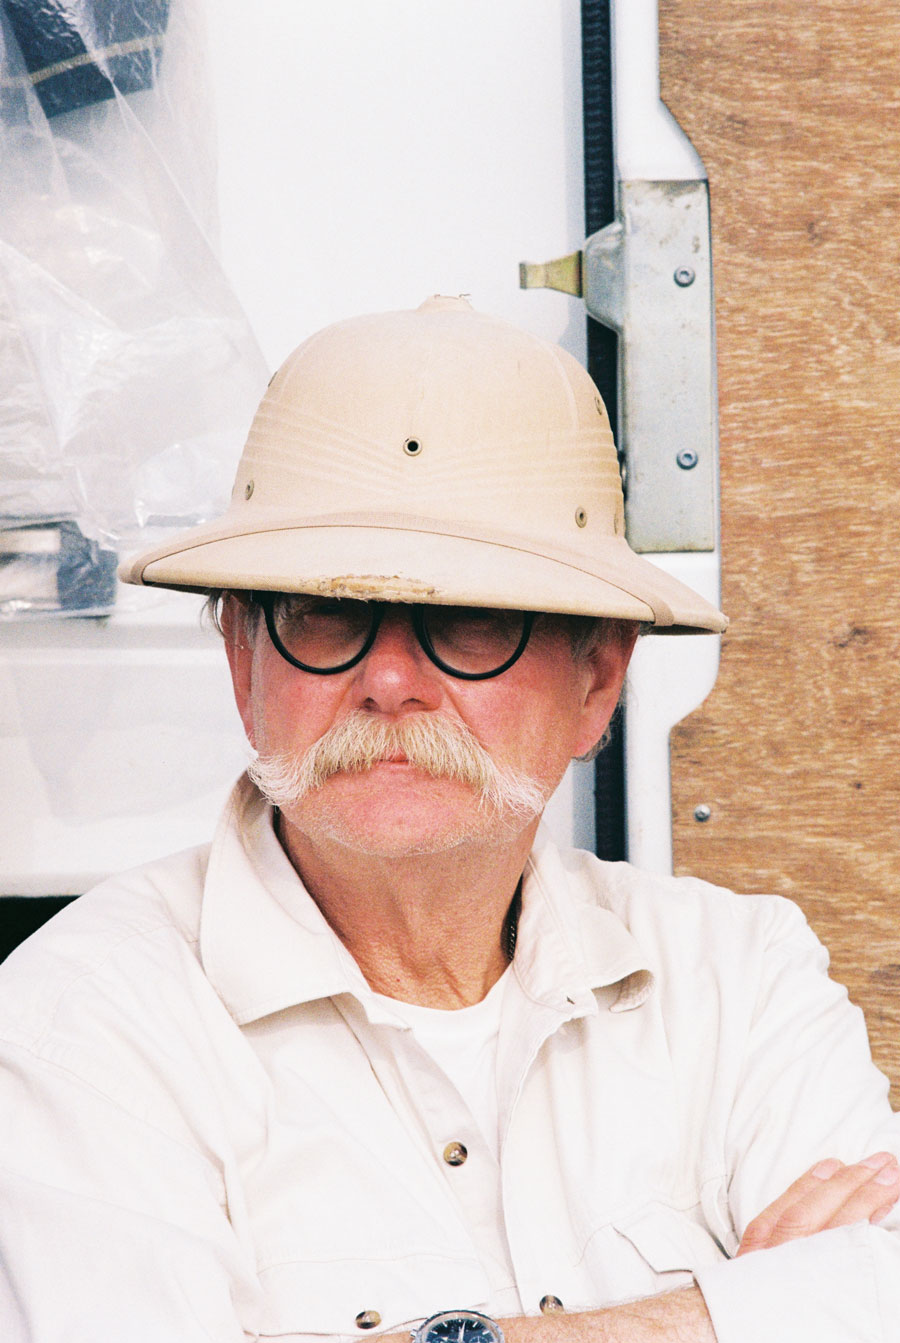
Not only is blasting through a roll of film expensive, it’s also impossible to get through a roll of film at the same rate you do digital images. Even moderately-priced digital cameras can shoot upwards of 8 frames per second, which is a rate all but the most expensive, sports-specialist film cameras ever managed. That’s obviously very restrictive, and means that film photography and, say, sports, will never mix satisfyingly. But it also means that you need to be precise when it comes to e.g. portrait photography, as your chances of accidentally catching the perfect facial expression are that much lower. If you’ve ever wanted to improve your timing and directing skills, film is the way to do it.
What’s the best light meter for film photography?
There are a few useful tools that will ease your transition into film photography. Of these, allow us to mix the modern and the antique by introducing you to the exceedingly useful world of smartphone light meters. There are a bunch about, for various different platforms; my experience is with the excellent Light Meter for iOS.
This marvellous – and free – piece of kit allows you to choose from either average or spot metering, inputting your fixed variables (for film cameras, typically ISO, and then working out what the other two settings should be for an average exposure. You can force the app to over or under-expose, see a live histogram as well as a few other handy features. In my experience the results on offer from the app line up nicely with a known, accurate camera meter, making it more or less a must-download, at least until you’re confident that your newly acquired film camera’s meter is doing the business.
Of course, you have the option of buying a standalone light meter, which has the twin benefits of a) making it look like you really know what you’re doing, as well as allowing you to take incidental meter readings; that is, a meter reading that takes into account the light falling onto your subject, rather than the light being bounced off it. Do you need one? Strictly speaking - probably not. But it will make you look you know what you’re doing, and there’s much to be said for that.
Bear in mind that more recent film cameras – think circa the mid-80s onwards – will have more accurate meters, so your need for external hardware, or at least a decent, trustworthy camera app, will go up with your appetite for old-school adventure.
How do you edit film photography?
As ever, shooting and editing go hand in hand, and if you’re more of a ballpark photographer when it comes to exposure, as opposed to someone who likes to get things exactly where they want in-camera, you’ll need to make some adjustments.
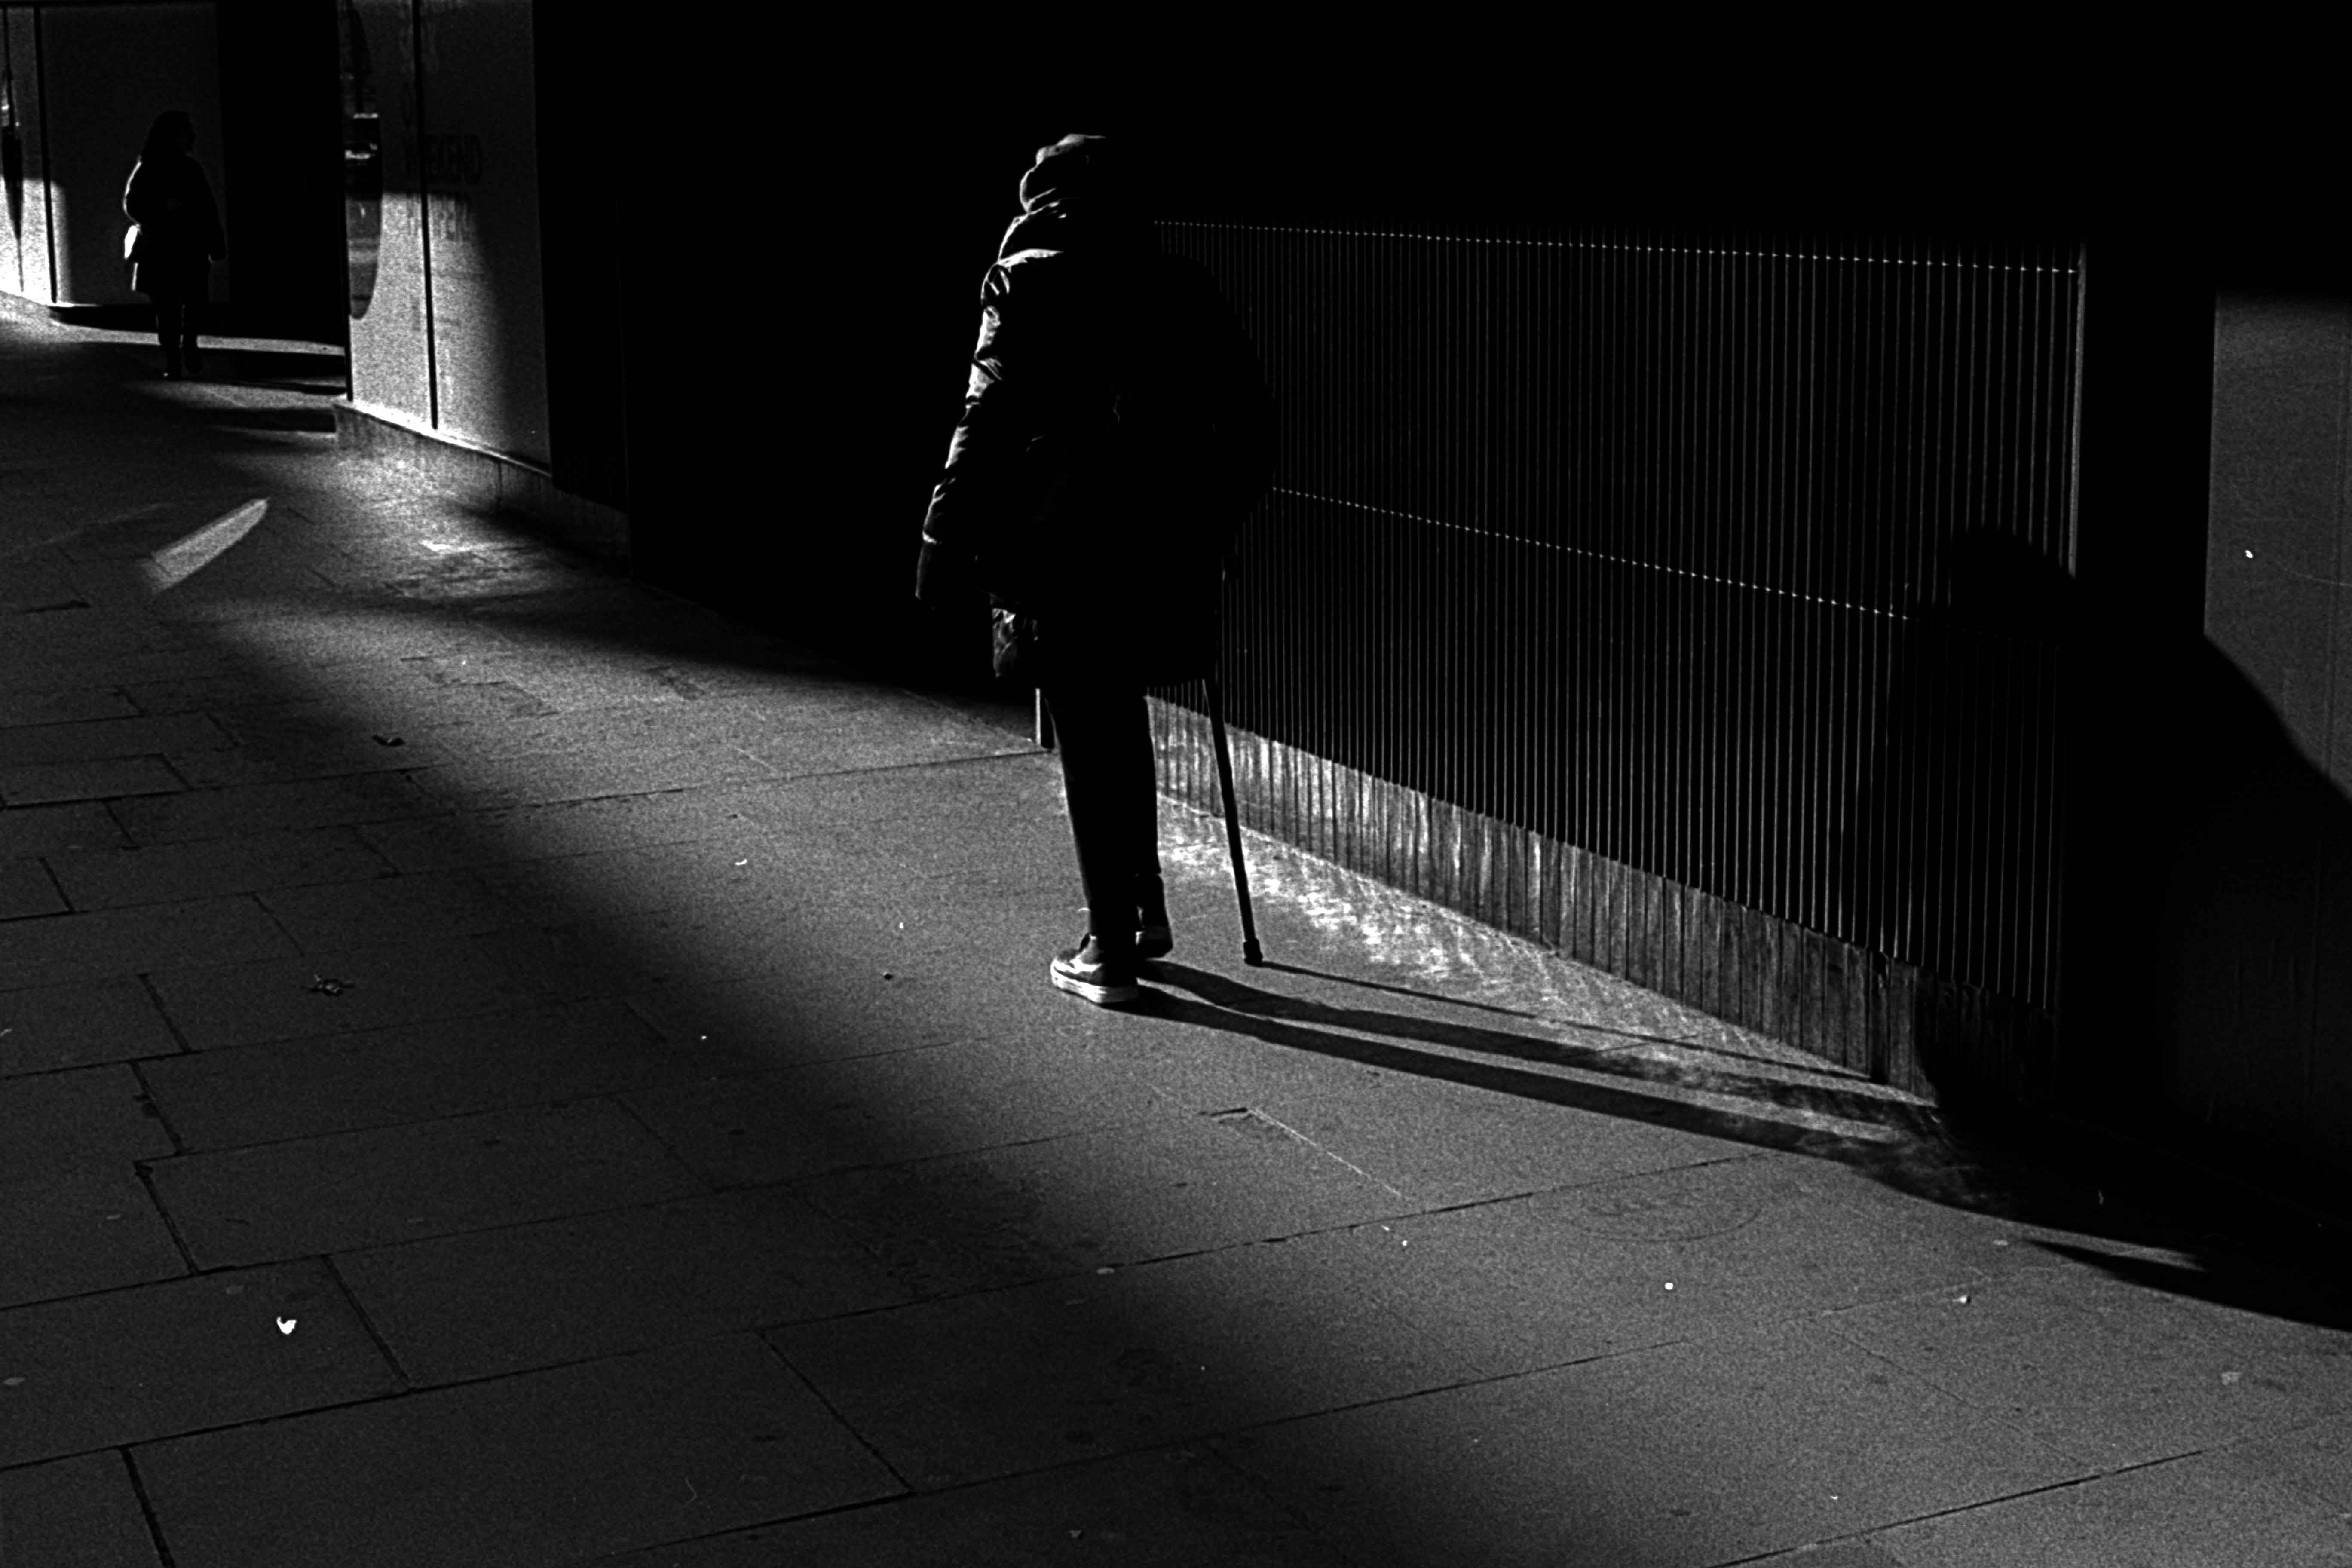
Film photography has nowhere near the exposure latitude of digital photography, and as someone used to being able to make monumental misjudgements when exposing for digital and still end up with a presentable image, film might come as a rude shock. Consumer film – think Kodak Gold 200 and so on – might offer you about eight stops of dynamic range, often weighted to the highlights, which means it’s better to over- rather than under-expose.
This means you may need to considerably tighten your game when getting your exposures right. Expect light areas to bleach into over-exposure faster, and shadows to descend into crushed black much earlier than you might expect from a current-generation, full-frame camera. On the plus side, that reduced editing latitude does mean that you’ll spend less time putting lipstick on pigs: if an image is under-exposed as its comes out of the darkroom, it will probably continue to be under-exposed no matter how much time you spend on editing it, allowing you to cut your losses and move on to other, more promising images.

Otherwise, it’s best to get used to using levels adjustment layers in Photoshop. You can make use of adjustable opacity and clipping masks, and powerful filters such as the fast pass filter for sharpening. These powerful tools are far more fine-grained and customisable than Adobe Lightroom. I’d suggest using multiple layers and where possible, work on Smart Object. This gives you the ultimate combination of flexibility and non-destructive editing. One caveat of this editing method is that instead of creating relatively low-res, compressed JPEG scans, the file sizes will be enormous. If you really want to keep every edit you’ve made to a frame of film between the scanner and its final export, expect a single roll to cost tens of gigabytes.
Show us your images!
Speaking as someone whose photography is a living, I have found that getting back into film photography completely rejuvenated my enthusiasm for creating new images. I really love how shooting film requires a totally different level of technical and creative focus compared to digital; without wishing to go all “kids don’t know how good they’ve got it,” there’s definitely a difficulty level to film that makes it incredibly satisfying when you get it right!
If you’ve started shooting film, the good folk at Wex would love to see it! Make sure you tag us @wexphotovideo on Instagram, and don’t forget to let us know which camera and filmstock you used!