James Abbott proves that bad weather can still result in a successful landscape shoot.
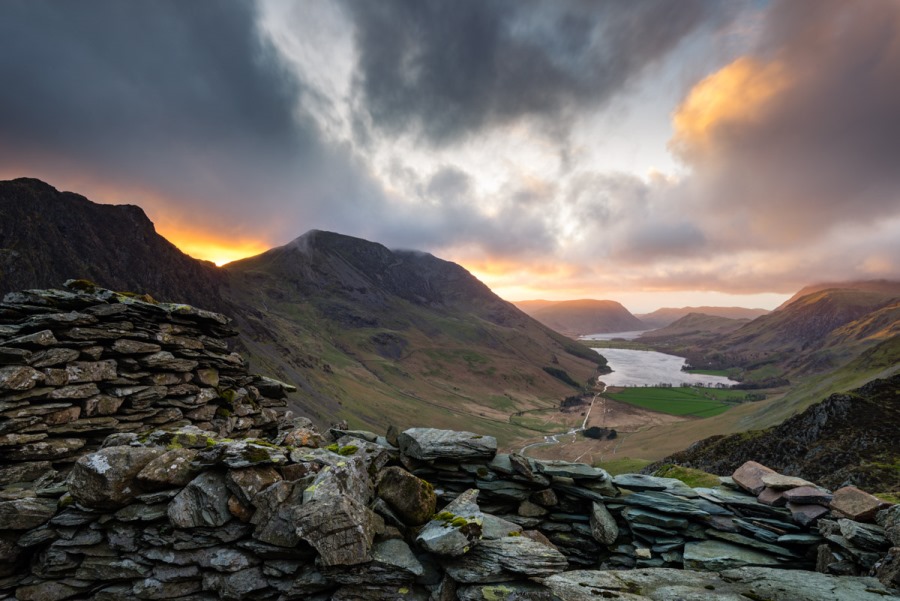
All images by James Abbott.
Landscapes are arguably the most popular genre of photography, and with so many incredible locations around the world, it’s easy to see why. But, being in a great location at sunrise or sunset is only half the battle; landscape photography also relies on the weather.
As a resident of the oftentimes wet and overcast UK, I've learned to use seemingly poor weather conditions to my advantage.
The best thing about changeable weather is that one minute it can be raining and the next, the sun is breaking dramatically through the clouds. This type of weather can yield the most dramatic and moody results. Of course, cloud-filled skies with excellent visibility are always welcome, but when you’re aiming for moodiness, heavy cloud with fleeting moments of sunlight is ideal.
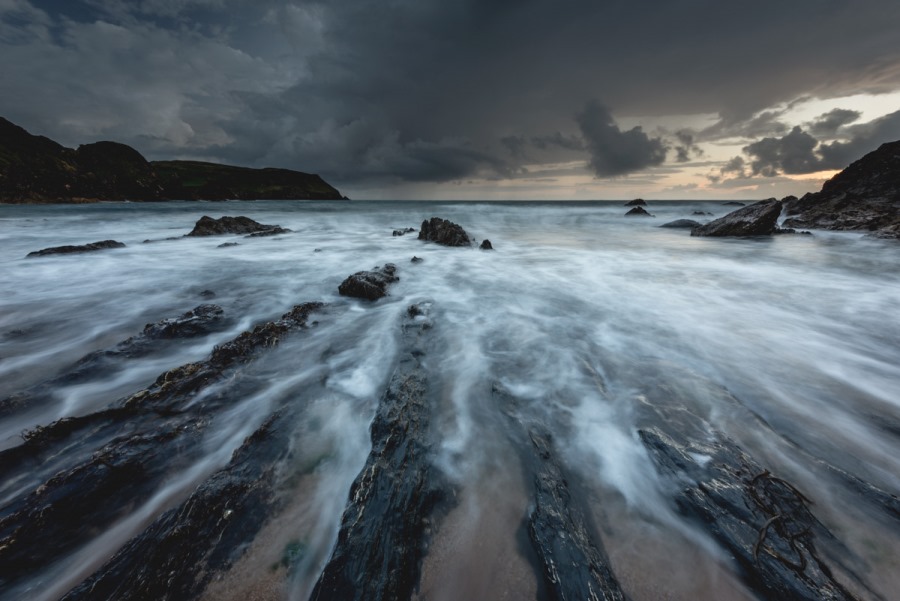
Conditions trump equipment when it comes to shooting moody landscapes, but one type of filter that will help to add drama to skies is the neutral density graduated filter (ND grad, for short).
Simply put, ND grads are partially tinted (around 50%), which means you can expose for the ground without overexposing the brighter sky.
Want to find out what a filter actually is and how they work? Check out our comprehensive guide.
ND grads are generally available in one, two, three and four f-stops of light reduction, along with hard, medium or soft – relating to the intensity of the tint gradient. Having at least one of each will cover you in most situations. Their uses are as follows...
Hard: Flatter horizons such as the coast.
Medium: Horizons with tall, protruding objects such as buildings.
Soft: Hilly and mountainous landscapes.
If you don’t have ND grads, another technique you could use is high dynamic range photography (HDR), which is explained here.
The HDR technique can create some truly stunning results, but it puts more emphasis on post-processing – using an ND grad filter allows you to get closer to your final image in-camera, which ultimately gives you more time to get out there and take photos!
Let's take a look at how ND grads work…
Attaching the filters
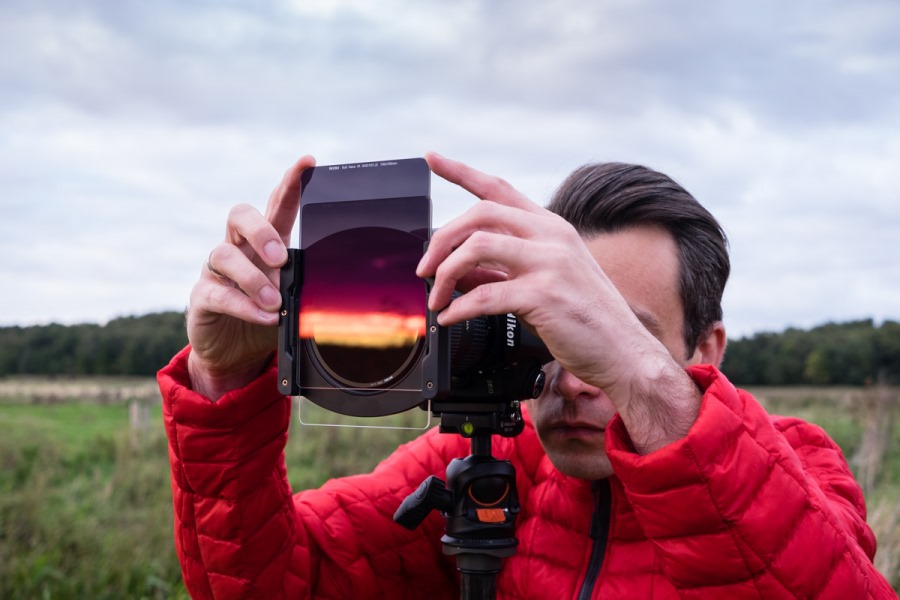
Compose your shot and attach the filter holder. Position the ND grad while looking through the viewfinder or using the LCD screen. A two or three stop filter should work well on a dull day. You can also try using more than one filter. Here, I used a two stop medium ND grad as a base filter – to darken the top of the frame – with the bottom of a soft grad, overlaid to gently darken the clouds further.
.
Camera settings
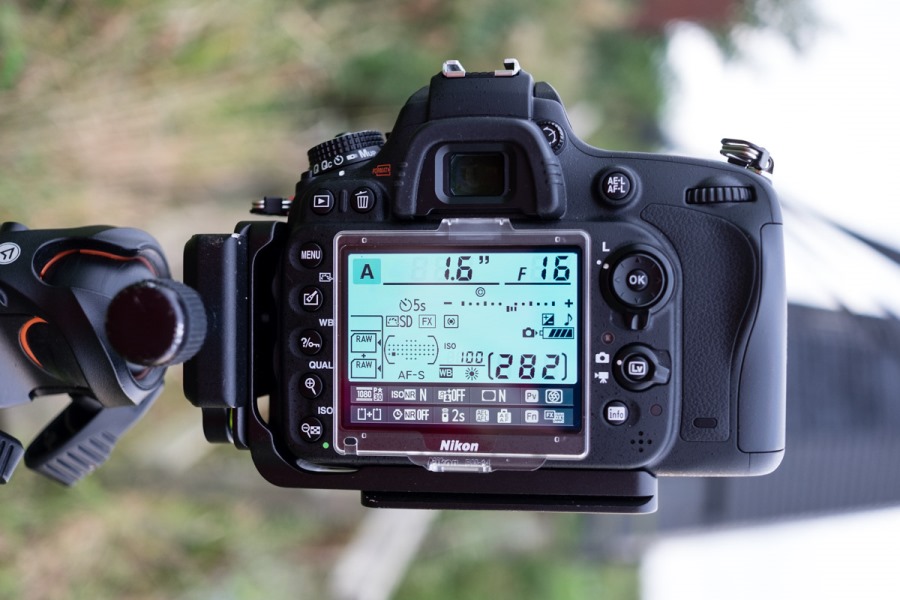
Camera settings should follow standard landscape procedure: manually focus 1/3 of the distance between the foreground interest and the background. Then, set the camera to aperture priority at f/11 or f/16, with ISO set to 100. Setting metering to centre-weighted can work well, but whether you do this or use evaluative metering, you’ll likely need to use a touch of exposure compensation too.
Test shots
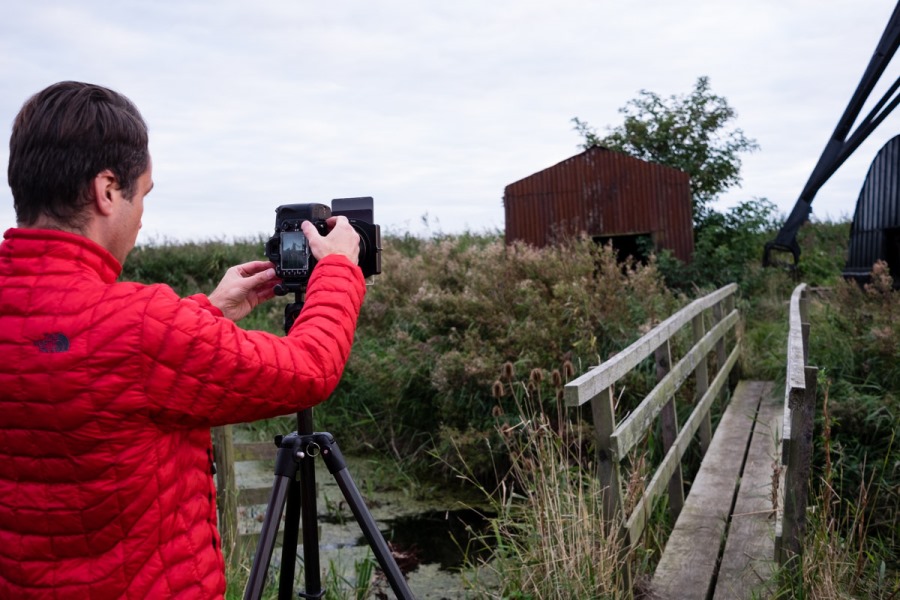
With the filters in place, it’s a case of taking test shots to ensure that both filters are in the desired position and the exposure is right. If you need to lighten or darken the shot, use exposure compensation – the histogram can be a great way to assess whether enough detail has been captured, from shadows to highlights. Once you're happy, it's time to start shooting as the light changes.
Processing
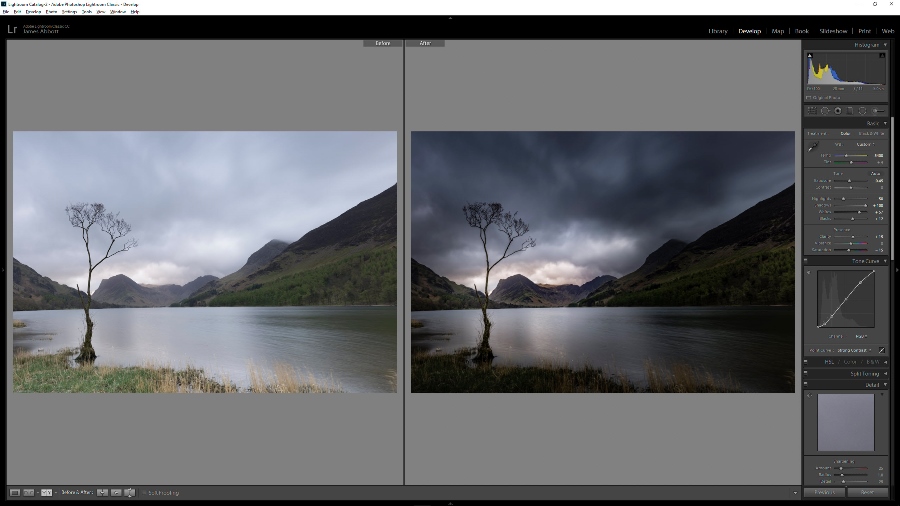
Assuming you’re shooting RAW (although you can also process JPEGs), Adobe Lightroom CC is perfect for processing moody imagery, thanks to its powerful controls and localised adjustments (which target a specific portion of an image).
To transform a well-exposed landscape with detail in the sky and foreground, underexposure is your first port of call. Darkening the image will immediately make it look moody, but you’ll also lose detail in the darker areas of the photo.
One way of combating this is to increase shadows to recover detail. If you’ve darkened the image already, the Highlights slider is a great control for darkening highlights without affecting other darker tones in the image.
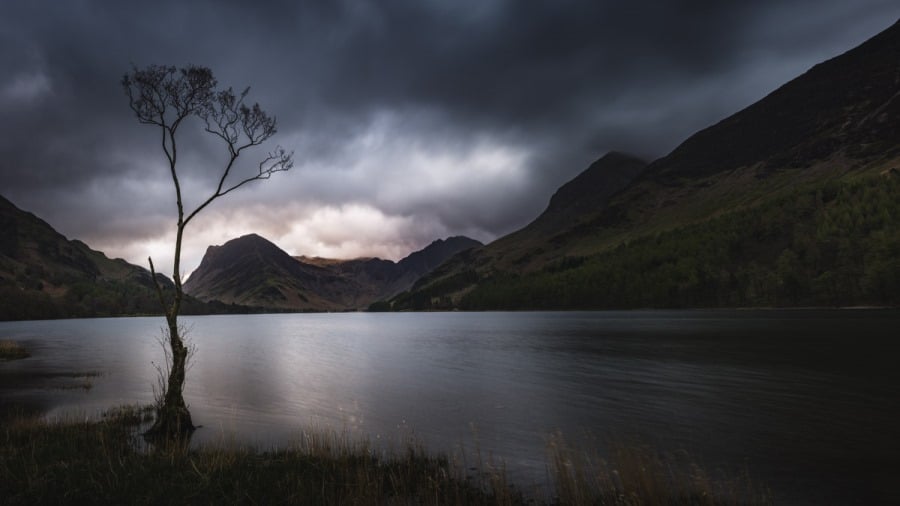
My processing regime would be to darken your image first before applying basic editing processes such as adjusting the contrast and applying lens corrections. After this, I would then introduce localised adjustments using the Graduated Filter, Radial Filter and Adjustment Brush to darken areas around the focal point of the image – it’s amazing how a simple vignette can accentuate moodiness.
There’s no exact recipe for adding mood, but follow these basic tips and you’ll be well on your way to producing your moodiest landscape yet.
About the Author
James Abbott is a Cambridge-based landscape and portrait photographer. He’s also a Photoshop expert with years of experience teaching Photoshop. Check out his work at www.jamesaphoto.co.uk.
Related articles
Why You Should Revisit Landscape Locations
Shooting Landscapes with an Ultra-Wide Lens
Best Filters for Landscape Photographers

