Neutral Density (ND) filters allow you to lengthen your exposures in bright and dark conditions alike. In this article, Kirk Norbury explains how to use them.
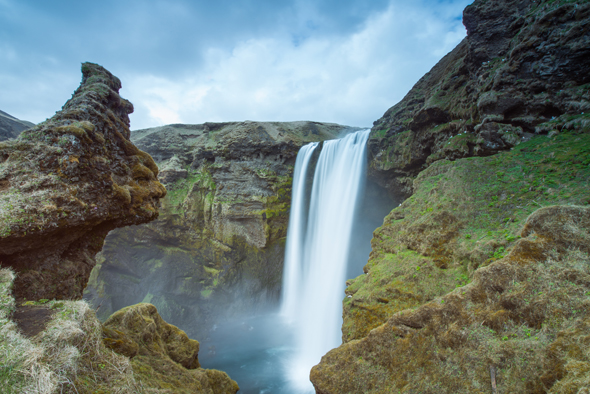
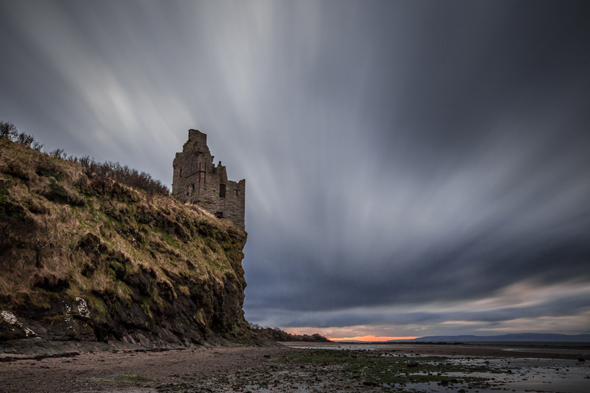
A neutral density (ND) filter is a filter that reduces the amount of light that passes through to the sensor. This means the camera has to perform a longer exposure than usual to create an evenly exposed image, which can be beneficial when you want to be more creative with your photography. You can, for example, use them to reduce light due to an overexposed scene or for more control over the shutter speed for a desired effect such as blurring water.
What types of ND filter are there?
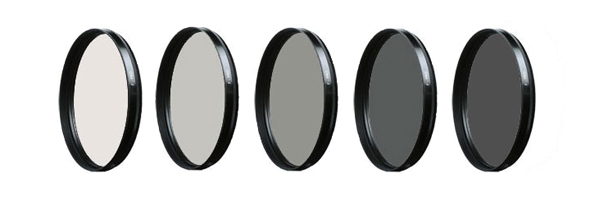
ND filters come in various styles, from circular ones that screw into the lens thread to square ones that slot into a filter holder. Each can be used to achieve the same effect, although I find using a filter holder more beneficial as I can then slot multiple filters into them (stacking screw-in ND filters is possible, although you risk introducing vignetting). On the other hand, when using screw-in filters you can still use a lens hood, which you may prefer. You can also get graduated ND filters, where one half of it is clear before it gradually gets darker towards the opposite side, but in this article we’re going to focus on using a standard ND filter.
The density of the filters varies significantly, from 1-stop all the way up to a 10-stops. There’s lots of different terminology used to describe the density of the filters and how much light they prevent from reaching the sensor, so I’ve created the following table below to help explain them.
|
F-stop Reduction (EV) |
Optical Density (EV) |
ND Factor |
|
1 |
0.3 |
2 |
|
2 |
0.6 |
4 |
|
3 |
0.9 |
8 |
|
4 |
1.2 |
16 |
|
5 |
1.5 |
32 |
|
6 |
1.8 |
64 |
|
7 |
2.1 |
128 |
|
8 |
2.4 |
256 |
|
9 |
2.7 |
512 |
|
10 |
3 |
1024 |
To some these numbers may look confusing but they really aren’t. Each column is a unit of measurement to describe how much light a particular filter will cut out. For example, if you are using a 0.9 filter it will reduce your shutter speed by 3EV stops. So, supposing you have a shutter speed of ¼sec before you fit the filter in place, it would have the effect of slowing down your exposure to 2 seconds.
Below I’ve created another table to show you what different ND filters can do to a single exposure reading. Imagine your camera gave you a reading of 1/60th of a second without a filter; the table below will show the difference that can be made when attaching different filters.
|
ND Filter |
F Stop Reduction (EV) |
Shutter Speed (sec) |
|
No Filter |
0 |
1/60th |
|
ND 0.3 |
1 |
1/30th |
|
ND 0.6 |
2 |
1/15th |
|
ND 1.2 |
4 |
1/4th |
|
ND 1.8 |
6 |
1 |
|
ND 2.4 |
8 |
4 |
|
ND 3.0 |
10 |
15 |
Equipment
As you can tell from looking at the table above, when dealing with an ND filter your shutter speeds will be quite long – so don’t even consider handholding your camera when shooting long exposures of a scene as your images will come out blurry! Of course, this may be the intended effect. Here are few items of equipment I feel you need when capturing long exposures:
Tripod

A sturdy tripod will help to keep your images sharp when shooting long exposures.
Remote release
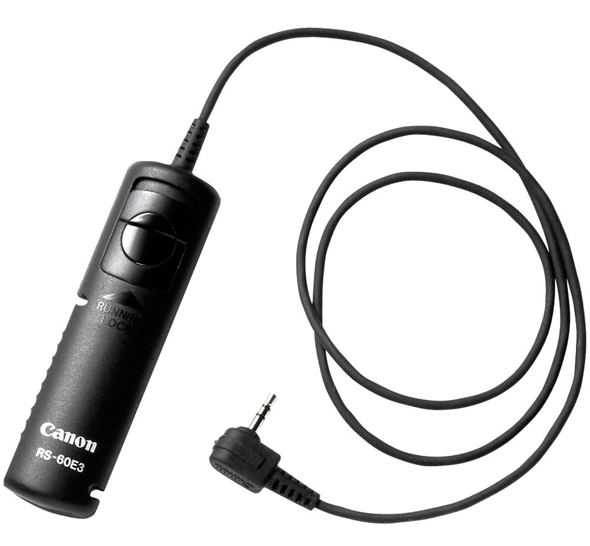
These are great as it means you don’t have to touch the camera when you take the shot (and you can also use these with your camera’s Bulb mode for exposures longer than your camera normally allows).
Filter holder
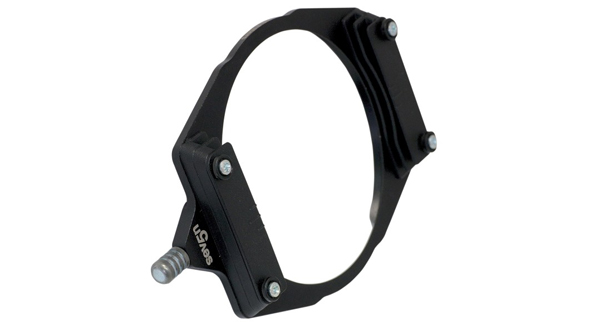
If you are using square ND filters then you will need a holder and adaptor rings to hold it onto your lens.
Exposure mode
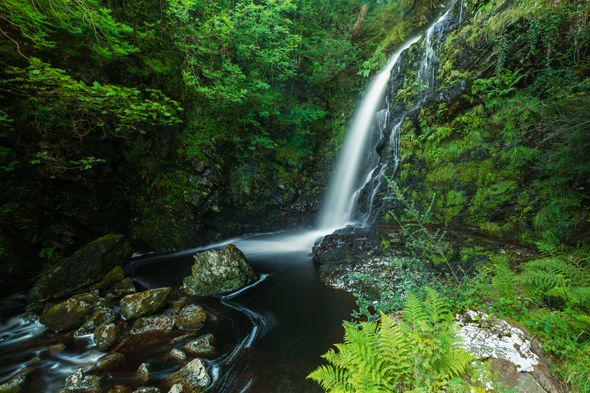
If your camera is set to the Aperture-priority mode it will automatically adjust the shutter speed to compensate for the effect of the filter you’re using. If, however, you’re shooting in the Manual mode, you will need to adjust the shutter speed yourself. When using most of the lighter ND filters, such as those ranging from around 1-6EV stops, you will still be able to see through your viewfinder and use autofocus. Filters of a greater density, however, will prevent you from seeing anything through the viewfinder, so you’ll have to focus and calculate your exposure before you fit into position.
10-stop filters
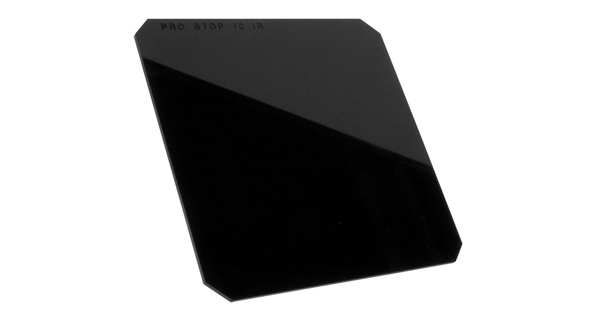
10-stop ND filters are a godsend for landscape photographers. They can bring a new element to your photography and help push your creativity to a whole new level. As you can’t see through the viewfinder when they are attached they can be awkward to use at first, but don’t let that put you off as they help teach you to be more calculated and concentrate on the shot.
As most of the shots you will take with this filter will be longer than 30 seconds, a remote shutter or intervalometer is required so you can use the camera in its Bulb mode. You will have to calculate the shutter speed by taking a reading without the filter on and then work out what the equivalent exposure will be with the filter. You can do this with either a cheat sheet or an app on your phone or tablet (see below).
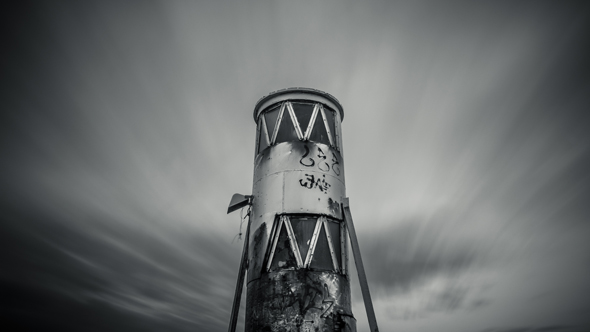
I use the Bulb mode when shooting with my 10-stop ND filter as it enables me to create exposures as long as I like. To do this, I simply lock down the shutter-release button, which can only be done on an intervalometer or remote release. I prefer using an intervalometer as it shows on the screen how long the shutter has been open; this can be useful if the shot could take minutes to create.
Helpful apps
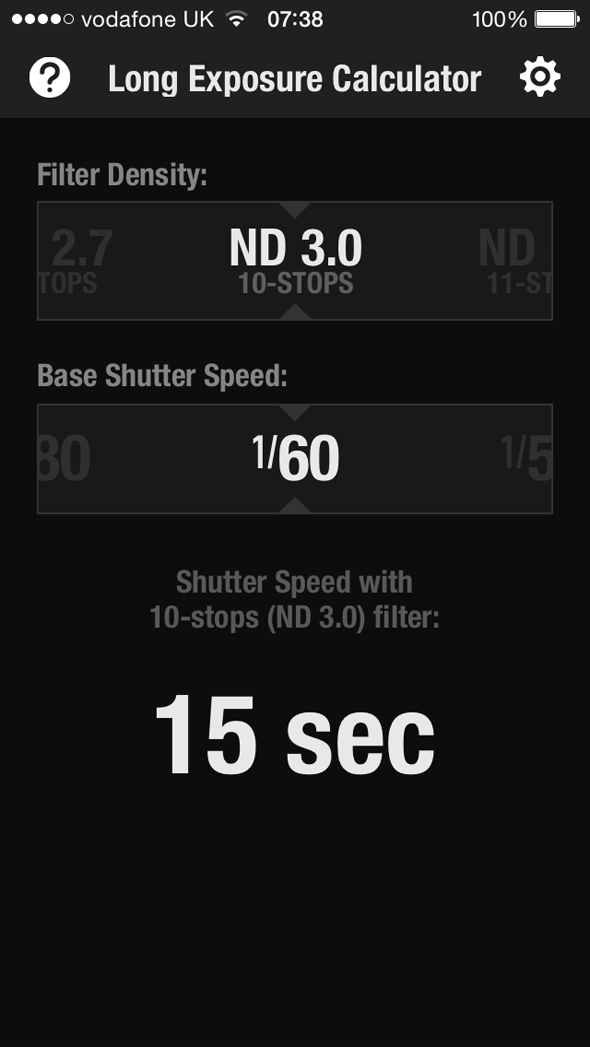
When calculating long exposures I always use an app on my iPhone as it’s easy to use and saves me the hassle of working out the calculations in my head. The best two apps that I’ve found helpful are NDTimer (69p) and Long Exposure Calculator (Free). There aren’t as many apps for Android users but one I did find that was similar to the iPhone apps above is called Exposure Calculator.
Things to remember
- Shoot in Raw for optimal quality.
- For better control over your shutter speed I recommend shooting in Manual mode.
- When setting up your tripod make sure to push it down so it gets a firm grip into the ground. This will help to keep your shots sharp.
- Shoot with the camera set at its lowest ISO value – preferably around ISO 100 – to reduce the chances of noise in your images.
- Try to cover the viewfinder as light can leak in and ruin the shot. I usually place a piece of tape over the viewfinder, although some viewfinders have their own built-in blind. You may even have a small blind attached to your camera strap designed for this purpose.
- Some filters can create a slight colour cast on the final image, particularly when you stack multiple filters. Shooting in Raw is particularly useful here as your images will be easily editable.
- When composing your images use Live View. Even when it’s too dark to look through the viewfinder, you will be able to see things clearer in the Live View mode. It’s also useful when manually focusing the scene as you can zoom into the image 5 or 10 times to make sure it’s perfectly sharp.
- Use the camera’s internal spirit level if it has one, or attach one to the top of your camera to keep those horizons nice and straight.
- Check the scene to see if it’s worth using a strong ND filter. If there is no water and the clouds are moving very slowly, I wouldn’t use a filter. Fast-flowing water and clouds that are moving quickly look great on long exposures, so make sure to plan your shot beforehand.
About the Author
Kirk Norbury is a nature photographer and cinematographer based in Ayr, Scotland. You can find out about the workshops he runs and view more of his work on his website.

