Tired of capturing the same old landscapes? Hit the mountains for a hike, says Matt Parry
All images by Matt Parry
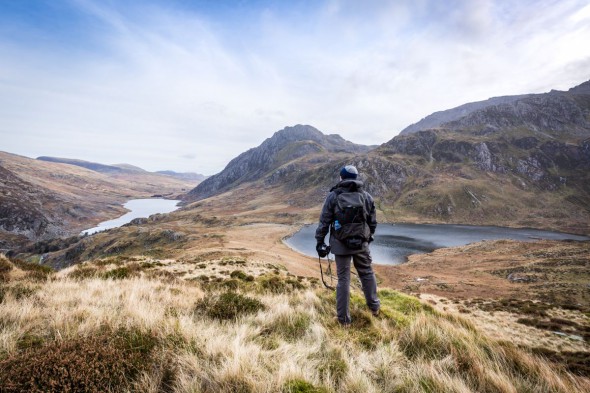
Hiking and photography have been entwined pastimes for many years, whether it’s hikers using a camera to document a walk in the mountains or photographers using hiking as a means of accessing epic views and landscapes.
Changing light and weather mean even well-wandered paths can look very different on different days, and virtually endless vantage points make it easy to capture unique shots wherever you are.
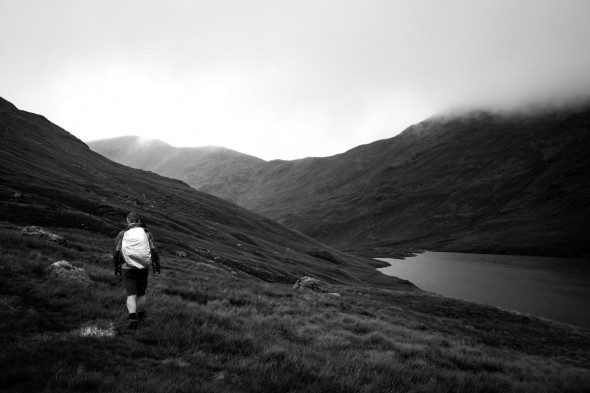
The following tips will help you make the most of your hikes.
Before you go
Plan and research your route. From where to park the car to the route you will hike, it pays to be prepared. There are many websites that detail popular walking routes which will give you a good idea on what to expect as well as the difficulty of the hike.
Research potential photo opportunities beforehand, as this will dictate the kit you take. Google Earth is a handy tool for looking at the terrain, but you can’t beat an OS Explorer map, which show landscape features and points of interest.
Check your kit. This includes change for parking as well as fully-charged batteries and empty memory cards. I pack everything the night before and give my lenses and filters a good clean. Make sure you have the right map and your phone is fully charged. Also don’t forget the essentials such as water and food.
Prepare for the weather. Regardless of where you are, the weather on hills and mountains can change in a heartbeat. Temperatures can drop quickly regardless of the season. Check the forecast and ensure you are adequately prepared – the last thing you want to worry about is protecting your camera gear from a downpour.
Limit your gear. Once you have started your hike you are stuck with your bag on your back for many miles to come. While it may seem light during the first mile or two, it could soon start to feel like it’s full of bricks. You will enjoy the hike far more if you have prepared the kit wisely.
On the hike
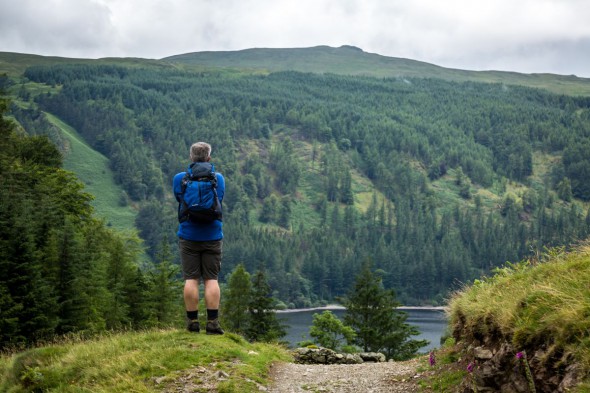
Make it about the hike, not the photos. This may sound odd advice on a photography blog, but the physical challenge of hiking allows you to step back from a traditional landscape photography mindset. Enjoy it!
Spontaneous shooting. Depending on the length of your hike, you could be walking for a number of hours. You are not constrained by typical golden-hour landscape photography principles, and should be reactive to what you see around you.
Battery power. Camera batteries run out much quicker in cold temperatures. To help squeeze additional life out of a dying battery, take it out of the camera and keep it close to your body’s heat allowing it to warm up while you use a spare.
Stay safe. It is vitally important to stay safe in the mountains. The temptation to get close to a precipitous edge for a better foreground or to climb those rocks for a selfie may be great, but it’s a fact that people die every year in the mountains, in the UK and elsewhere. When your body is tired you are more prone to accidents, so think carefully before pushing yourself. A shot means nothing if you get seriously hurt in taking it.
What to shoot
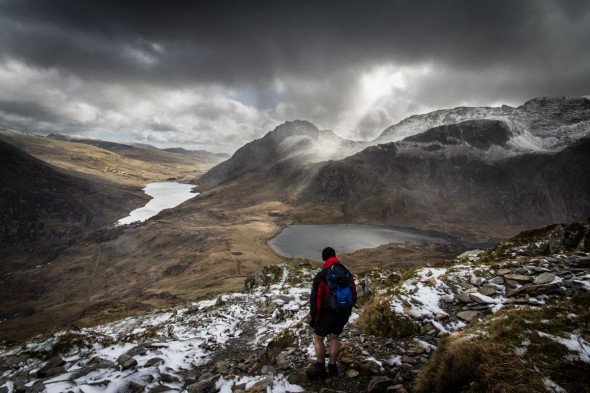
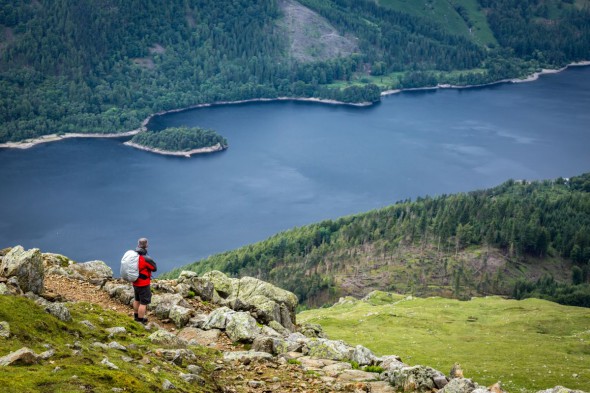
This will depend on where you are walking. I enjoy capturing images of fellow hikers in my pictures as they add scale and context to the scenery (and sometimes a splash of colour on overcast days). Hiking with a friend can give you motivation and company on tough stretches of path as well as a willing model to participate in your photographs.
Other options include geology, flora and fauna, changing seasons, abstracts, mountain streams, the weather or simply just the views!
Whether documenting the hike or creating personal or commercial photography projects, the options for shooting are only limited by your selection of kit (and on the odd occasion the weather).
What to take
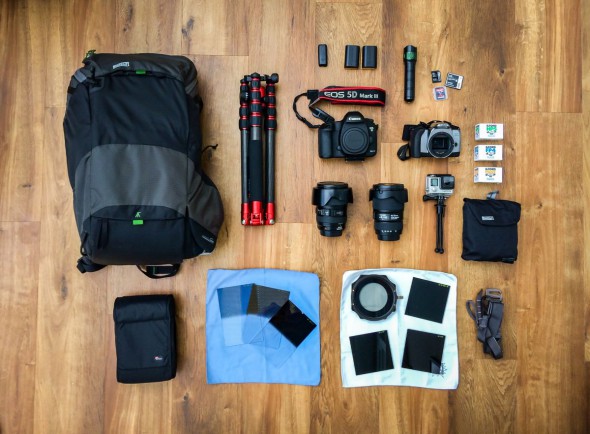
Depending on what I’m shooting and how long my walk will be, my typical mountain hiking camera kit will include a selection of the above. The image shows: Mindshift Gear rotation180°, Panorama 22L bag, Canon EOS 5D Mark III, spare batteries and memory cards, Canon RC1 remote shutter release, Canon EF 16-35 f/4L, Canon EF 24-105 f/4L, Canon 3000V SLR & spare film, Mindshift Gear Rain Cover and Tripod Suspension Kit, GoPro Hero 4 Silver with mini tripod, torch, Lee Filters: 3 x ND filters and 3 x ND Grad filters, Lee Landscape Polariser, Lowe Pro filter pouch, MeFOTO Roadtrip Carbon Fibre.
Many enthusiast landscape photographers head out for a typical location shoot with the majority of the gear they own – a bag full of cameras, lenses, filters and a heavy tripod. This de facto kit is ideal in the vast majority of circumstances but hiking is an exception. On long and strenuous hikes the weight of your kit can sap both your enjoyment and energy – pack only what you can comfortably carry for long periods of time.
Camera bag
In many ways your camera bag is the most important photographic accessory you will take hiking. It will be on your back for hours on end, so comfort is paramount, and it needs to protect your gear from the elements while also providing quick access. It also needs to carry more than just a camera and accessories – your food and drink, extra layers, perhaps an OS Explorer map.
Good options for carrying camera gear on long hikes in the mountains have traditionally been limited. This is because hiking backpacks are not designed to have quick and easy access to camera gear while most camera bags are not suited to the rigours or necessary support required for hiking.
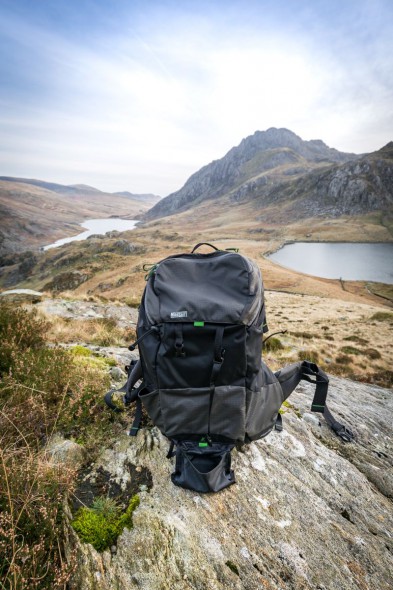
If your camera sits at the bottom of a typical hiking bag underneath layers of clothing and a packed lunch, you will be less inclined to stop and get it out. Spontaneous shots will be gone. Carrying the camera around your neck is an option but can be uncomfortable for long periods of time and putting it away every time you need to scramble over some tricky rocks or encounter rain can be frustrating.
Thankfully, over the last few years manufacturers have recognised this gap in the market and have engineered a number of hybrid carrying solutions for hiking photographers that adopt the best of both worlds.
An excellent example of this is the Mindshift Gear rotation180° series. The 22L Panorama is essentially two separate bags, with the camera stored in a waist pack that can easily swivel around your middle while the bag is still on your back, providing quick access to your kit.
Tripod
A tripod is invaluable, but carrying one on long hikes can add a significant extra weight to your pack. You should therefore consider what you plan on shooting and whether it justifies that extra weight. The chance to capture a long exposure of a mountain stream or the fading light of a beautiful sunset hitting the mountain peaks may be too good to miss.
Consider a travel tripod. I use the ultra-lightweight and compact carbon fibre MeFOTO Roadtrip. Weighing in at just 1.44kg, this well-constructed tripod is fantastic for long hikes as it extends to a surprisingly generous height (1565mm) and has the flexibility to be used on mountainous terrain.
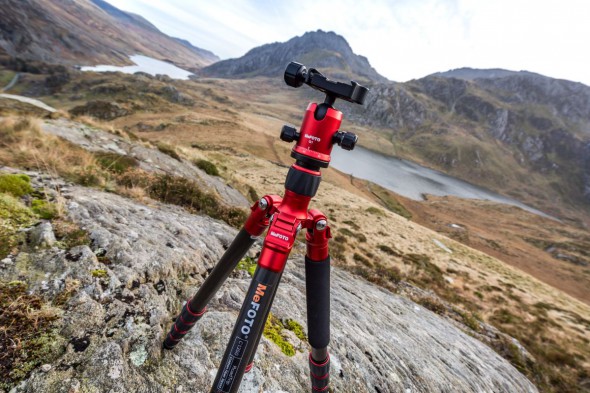
Despite its small size it has an 8kg load capacity and easily takes my Canon EOS 5D Mark III with any L-series lens. What’s more, it can quickly convert into a monopod.
Camera
The best camera for any hike is the one you are prepared to carry. Every hike is different, so balance your options against your shooting plans. Are you willing and able to carry that gear for the full distance of your walk? A phone or compact camera may not have the quality of a DSLR, but ultimately be a better option considering its minimal weight.
Make sure your camera is suitable for changeable weather conditions and lower temperatures. On a wet and windy hike, a weather-sealed DSLR will get more use than a compact camera you don’t dare take out of your bag.
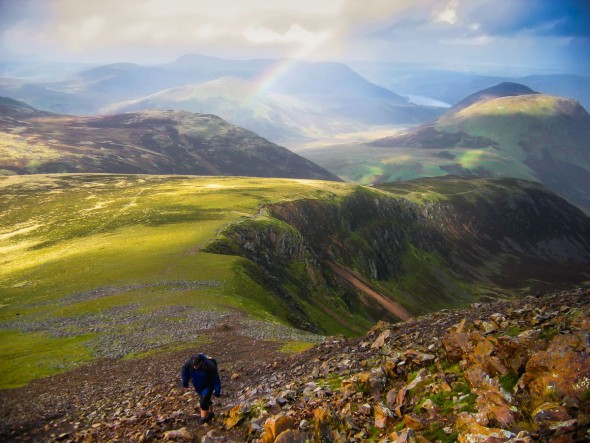
Lake District 2006: One of my first hiking shots taken using a compact 4MP Canon A80
Good options for hiking are mirrorless cameras. They’re generally smaller and lighter than DSLRs, and the quality gap is undoubtedly narrowing. This doesn’t mean however that you need to jump systems – it is always possible to make the kit you have work for you.
I use a Canon EOS 5D Mark III, and this is without question a great camera. It is robust, weather-sealed, produces excellent images and works consistently in reasonable extremes of temperature. It isn’t light, but I can make it work for me by restricting the number of lenses I carry.
As an alternative, I use an old Canon 3000V SLR film camera and some black-and-white film. The SLR is compatible with all my EF lenses, which means I can easily switch between shooting film and digital. What’s more, it weighs next to nothing, and along with a couple of spare rolls of film it takes up little space in my bag.
Lenses
Fight the temptation to pack every lens you own – this isn’t a normal landscape photography outing.
Think carefully about what you want to photograph on your hike. Will you see wildlife? If not, ditch the telephoto. Do you need multiple prime lenses, or will a good zoom lens give you more versatility and weigh a lot less?
Canon EOS EOS 5D Mark III and Canon EF 24-105 f/4L
The less you need to swap lenses while on a hike, the more you will enjoy the walk and the more motivated you will be to shoot. I typically take a 16-35mm wide angle and/or a 24-105mm zoom lens if I think I will benefit from the extra reach.
If you do carry multiple lenses, try and make them as accessible as your camera. If they don’t fit into the camera compartment of your bag, they may fit in the pockets of your jacket or into an accessory pouch attached to your waist strap or belt.
Filters
From circular polarisers to NDs and ND grads, filters are a staple accessory of the landscape photographer.
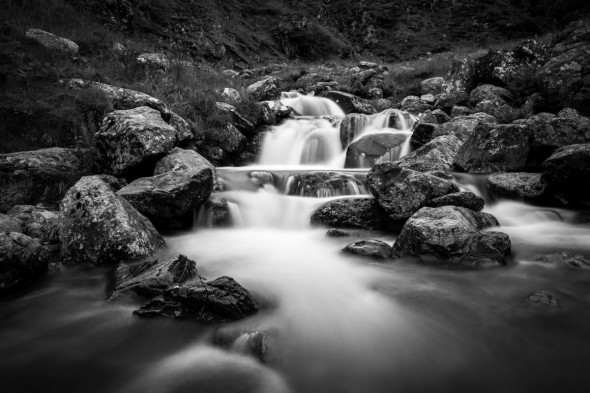
Long exposure of a mountain stream taken with the camera resting on a rock and using a Hoya ND400 filter.
My primary kit consists of a range of Lee Filters but when I need space for that extra layer of clothing I instead opt for a Hoya ND400 filter. This screw-in option is optically excellent, with no colour cast, and takes up virtually no space in my bag. A 77mm thread version ensures it fits either of the two lenses I take hiking. Even if I don’t take a tripod I may still pack this filter, as there are other ways to give the camera stability for longer exposures – a flat rock, or even my bag.
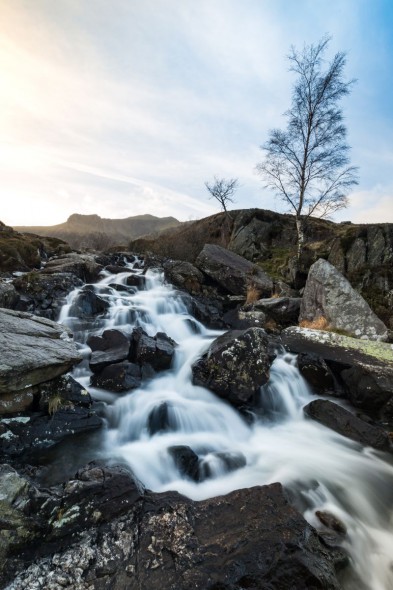
Long exposure of a mountain stream using Lee Filters Landscape Polariser and 0.3 ND and 0.6 ND grad filters
Drones and action cameras
An increasingly popular way to capture images on a hike is through drones and action cameras. I frequently hear the buzzing of a drone on a mountaintop and love them or loathe them there is no denying the unique perspective they offer.
Similarly action cameras are often seen wielded by tired but proud hikers capturing their summit selfies or documenting their journeys through video. The improving quality of these as stills cameras can make them an ideal backup to your main camera.
I take my GoPro Hero 4 on hikes along with a cheap, flexible tabletop tripod. The Go Pro’s all-weather housing, compact form and light weight means I can always bring it for use in particularly bad weather, when I want a very wide angle perspective or if I want to do any video or time-lapses.
About the Author
Matt Parry is an award-winning travel photographer whose images and articles have featured in leading travel and photography publications. He has presented videos, led workshops, and given talks on travel and cityscape photography. To date, Matt has visited 60 countries across six continents. Follow his travels by visiting @mattparryphotography on Instagram or mattparryphoto.com.
Related articles
A Winter Escape – A Photographic Guide to South Africa
Three European City Breaks for Autumn and Winter
A Photographic Tour of Iceland

