Focus stacking is a clever technique that lets you keep all aspects of your scene sharp, something which isn’t always possible through conventional means. Kirk Norbury shows you how it’s done…
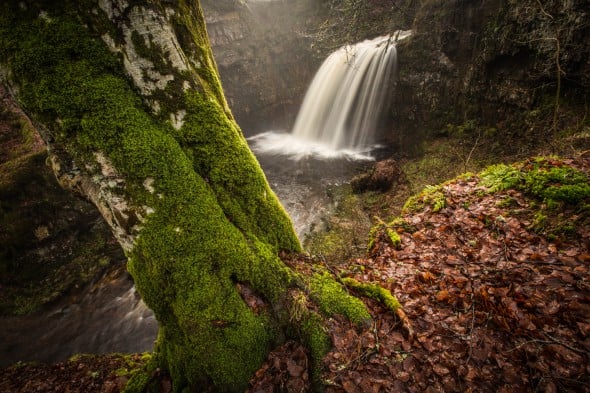
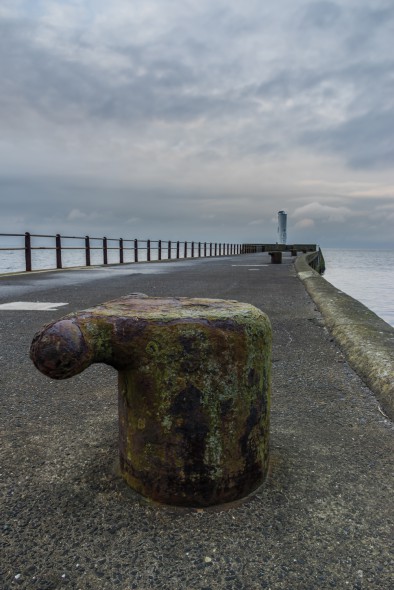
Focus stacking is a great technique for extending the depth of field in an image. It’s mainly used for macro photography, as the depth of field in macro can be so narrow, and the focusing distance so close, that not everything in the image will be in focus even at the smallest apertures. I also find it to be helpful in landscape photography, particularly in situations where I have an element in the foreground of a scene, close to the lens, but want everything in the background to be sharp too.
In this article I’ll show you how I focus stack my images for ultimate sharpness.
When To Use Focus Stacking
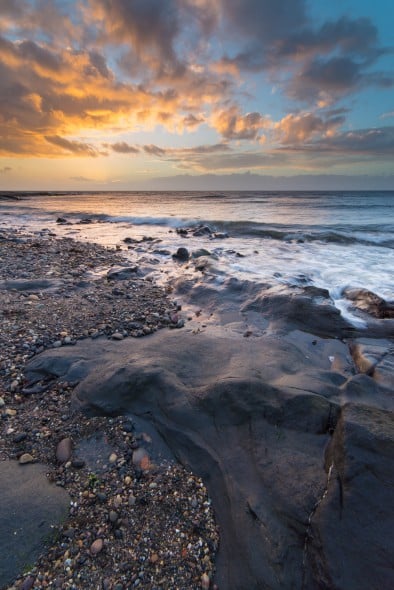
Not all images require focus stacking, but it’s useful when you cannot keep everything in a scene sharp across a range of distances. The standard way of achieving greater depth of field is to make your aperture smaller, but this isn’t always appropriate. Diffraction, an optical effect that softens images, tends to be visible at particularly small apertures such as f/22. Furthermore, the smaller your aperture, the longer your exposure will be, which will create motion blur in moving subjects.
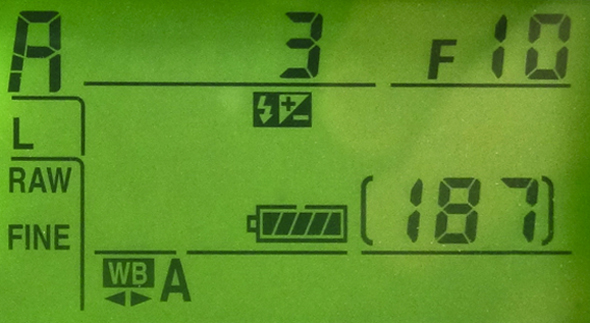
When I compose my shots I tend to have the aperture around f/8 to f/16; for me, this where the sharpness of the lens is at its best. First I take a test shot, and then review the image on the back of my camera to check how sharp it is in different areas. If I’m not happy with the sharpness then this is where I will take multiple images at different focus areas so I can combine them later.
Focus stacking can be used for many different kinds of photography, including landscapes, low-light, and most commonly macro. In low-light photography, for example, using a small aperture will create very long exposure times, which may not be ideal if there are elements moving and you want the shot to be still and sharp. Using focus stacking, you could set your aperture to around f/4 and take multiple exposures. With macro photography the focus area can be very shallow, so taking a lot of images will get the whole subject in focus.
Equipment
Here’s what you need:
Camera
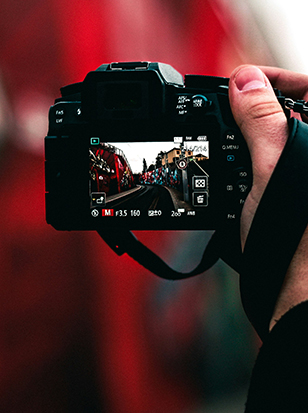
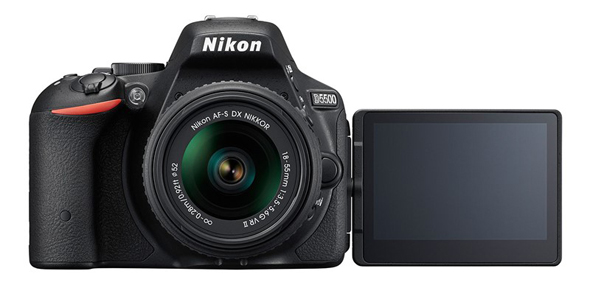
Any camera will do, as long as it can shoot in manual mode. So you can use a DSLR, a compact system camera or even an enthusiast compact.
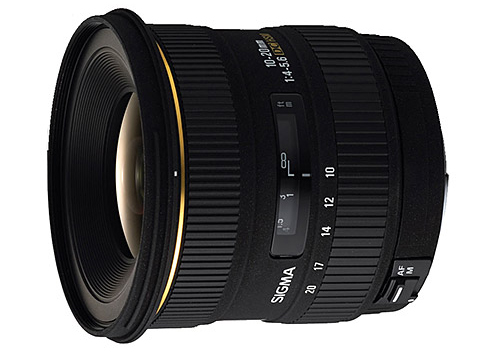
Lens
Any lens is fine for this technique.
Tripod
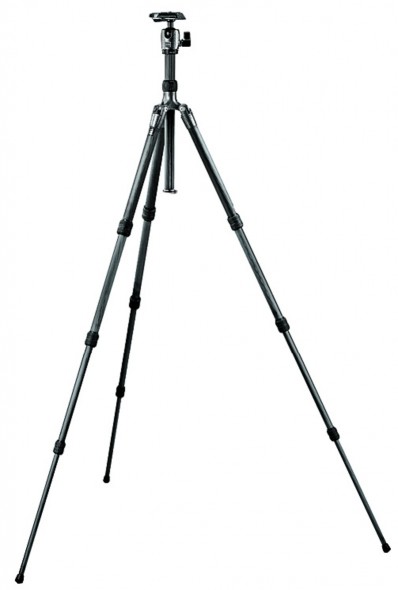
For a sharp and even shot, you will need a tripod and tripod head.
Shutter release
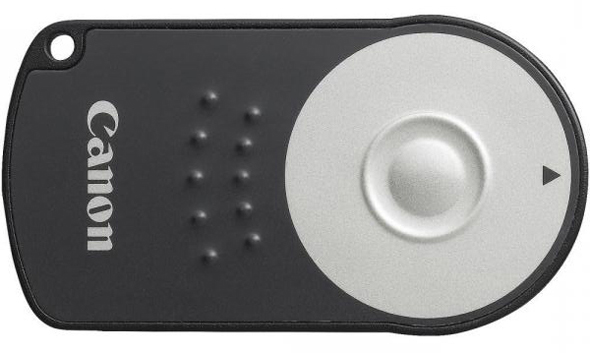
A shutter release will help reduce camera shake when taking the shots.
Taking The Shots
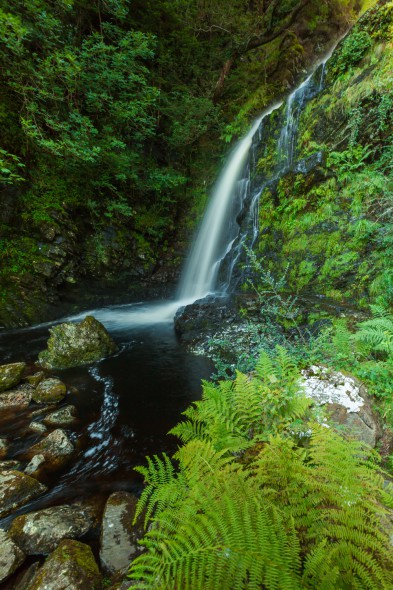
I always have my camera on a tripod as this eliminates camera movement. For focus stacking, all the images need to be aligned on top of each other, meaning the camera shouldn’t be able to move at all when taking the shots.
When I have the composition the way that I want it, I put the camera and lens into manual mode, meaning that my exposures will remain consistent and I will be able to focus the lens myself. I then focus on an element in the foreground and, using live-view to check my focus, slowly start to move the focus ring. After every small movement I take a shot, and keep doing this until I’m focused on the background. I usually have anywhere between four to ten shots for one image. The more shots you have, the easier you make it for Photoshop when it comes to compiling the images.
Editing The Shots
I always upload my images into Adobe Lightroom as I find it to be the best for editing and transferring images over to Photoshop. First I edit one of the images from the sequence, making small adjustments to exposure, highlights, shadows and white balance. I recommend also adding Lens Correction to the images as this will correct any distortion or vignetting created by the lens.
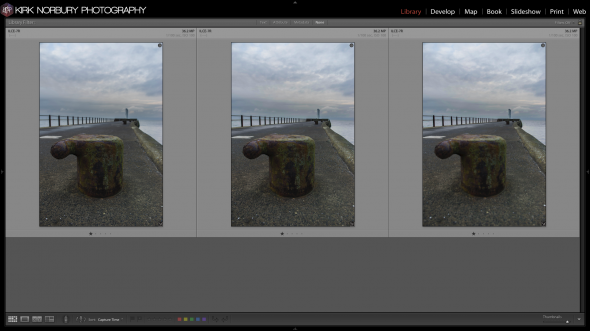
When I’m happy with my editing, I then copy all the settings of the image over to all the other shots from the sequence. From here you’ll want to open all the images in Photoshop – there are many ways do to this, but what I recommend is to first select the images, then right-click on one of them, and then select “Edit In” > “Open As Layers In Photoshop”. Photoshop will then open all the images as layers.
Once you’re there, it’s time to align and focus-stack all the shots into one image.
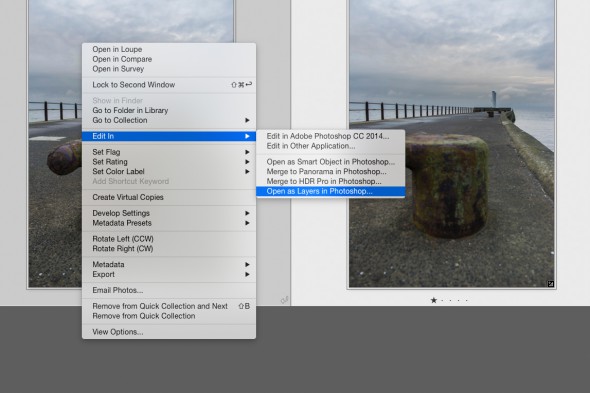
Applying The Focus Stack
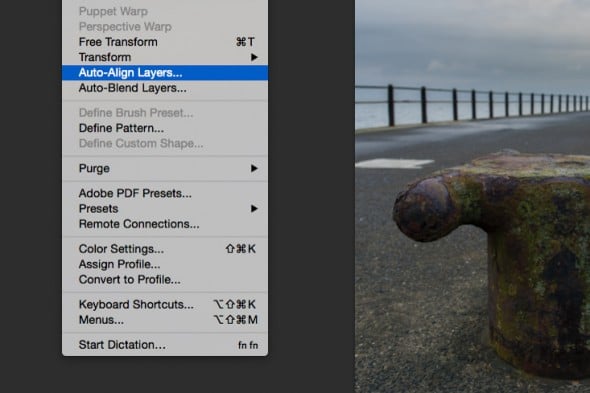
Once your images are open in Photoshop, the first thing you will need to do is align all the layers so they are perfectly on top of each other. First, select all the layers by holding the shift key and clicking the first layer and then the last. From here go to “Edit” > “Auto-Align Layers”.
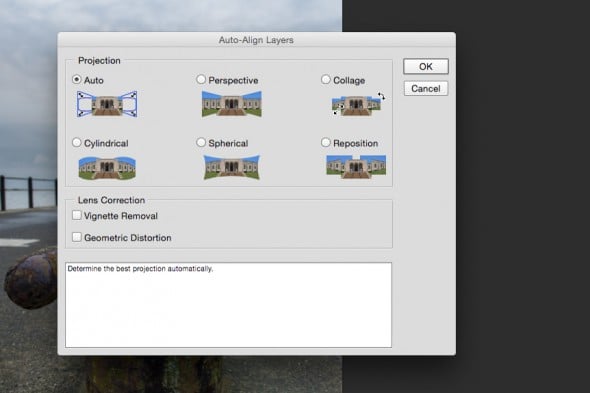
A box will pop up with more options on how you want to align the images; I tend to leave it on “Auto-Align”and let Photoshop do the thinking for me. When Photoshop has finished processing the images, the resulting shot will have a mushy mess around the edge of the frame, due to the slight movements of the shots. You can crop this away now if you want, but I tend to leave it until the end.
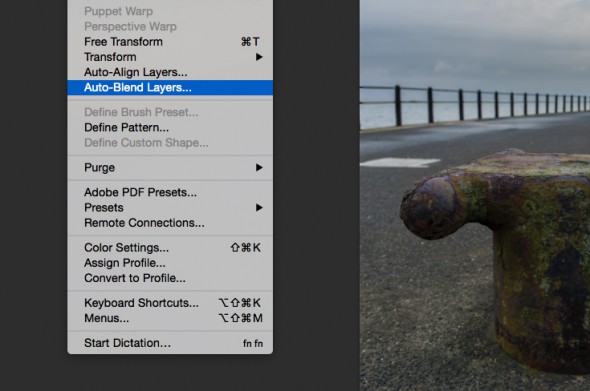
Next, with all the layers still selected, you want to go “Edit” > “Auto-Blend Layers”.
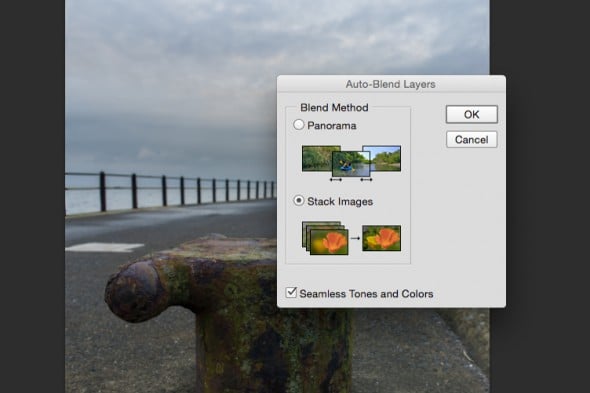
A box will now appear. Make sure to check “Stack Images” and leave “Seamless Tones And Colors”checked as well. Photoshop will now render all the layers, pick the sharpest parts of each image, and combine them into one for ultimate sharpness.
Now you are left with your final image, which you can feel free to crop to remove the mess around the edges, as well as adding any more editing tweaks you feel necessary. I tend to click “Save” at this point, which in my setup causes the image to be automatically opened in my Adobe Lightroom catalogue, where I can finish editing.
If You Don’t Have Photoshop…
If you don’t have access to Adobe Photoshop there are lots of other options out there that won’t cost too much. The most popular one I’ve found is Helicon Focus, which works great for combining images and doesn’t cost that much either. You can get unlimited use of their Lite version for a one-off payment of $115 (£74.13), which isn’t bad at all.
Conclusion

Focus stacking is great for getting a wider depth of field than what your camera can create, and it also keeps your shots nice and sharp. It will take you a while to get used to the techniques involved – the amount of shots you need to take will vary, and different lenses will require you to work differently. There are a few lenses out there in the market that are designed to reduce the amount you might need to focus stack – these are called tilt-shift lenses, as they can physically move the plane of focus to make everything sharp. These lenses are, however, expensive, meaning that using software is a much better option if you’re on a budget.
You need to be patient when creating focus stacked images, as there are a fair few steps you need to remember in order to pull the final shot together. With time though, you will get used to the editing process, and I personally find combining Lightroom and Photoshop together makes for a quick workflow. Remember, patience is required when creating focus-stacked images, but it can really help make your shots stand out. Have fun with it, and make sure to practice the technique before going out too far!
About the Author
Kirk Norbury is a nature photographer and cinematographer based in Ayr, Scotland. You can find out about the workshops he runs and view more of his work on his website.
