This is a neat little trick that I learned during my first year of an undergrad photography course, many a moon ago. I think that overall it works and can be a great way to shoot better quality images with a little bit of added drama on zero budget, well maybe £5 give or take.
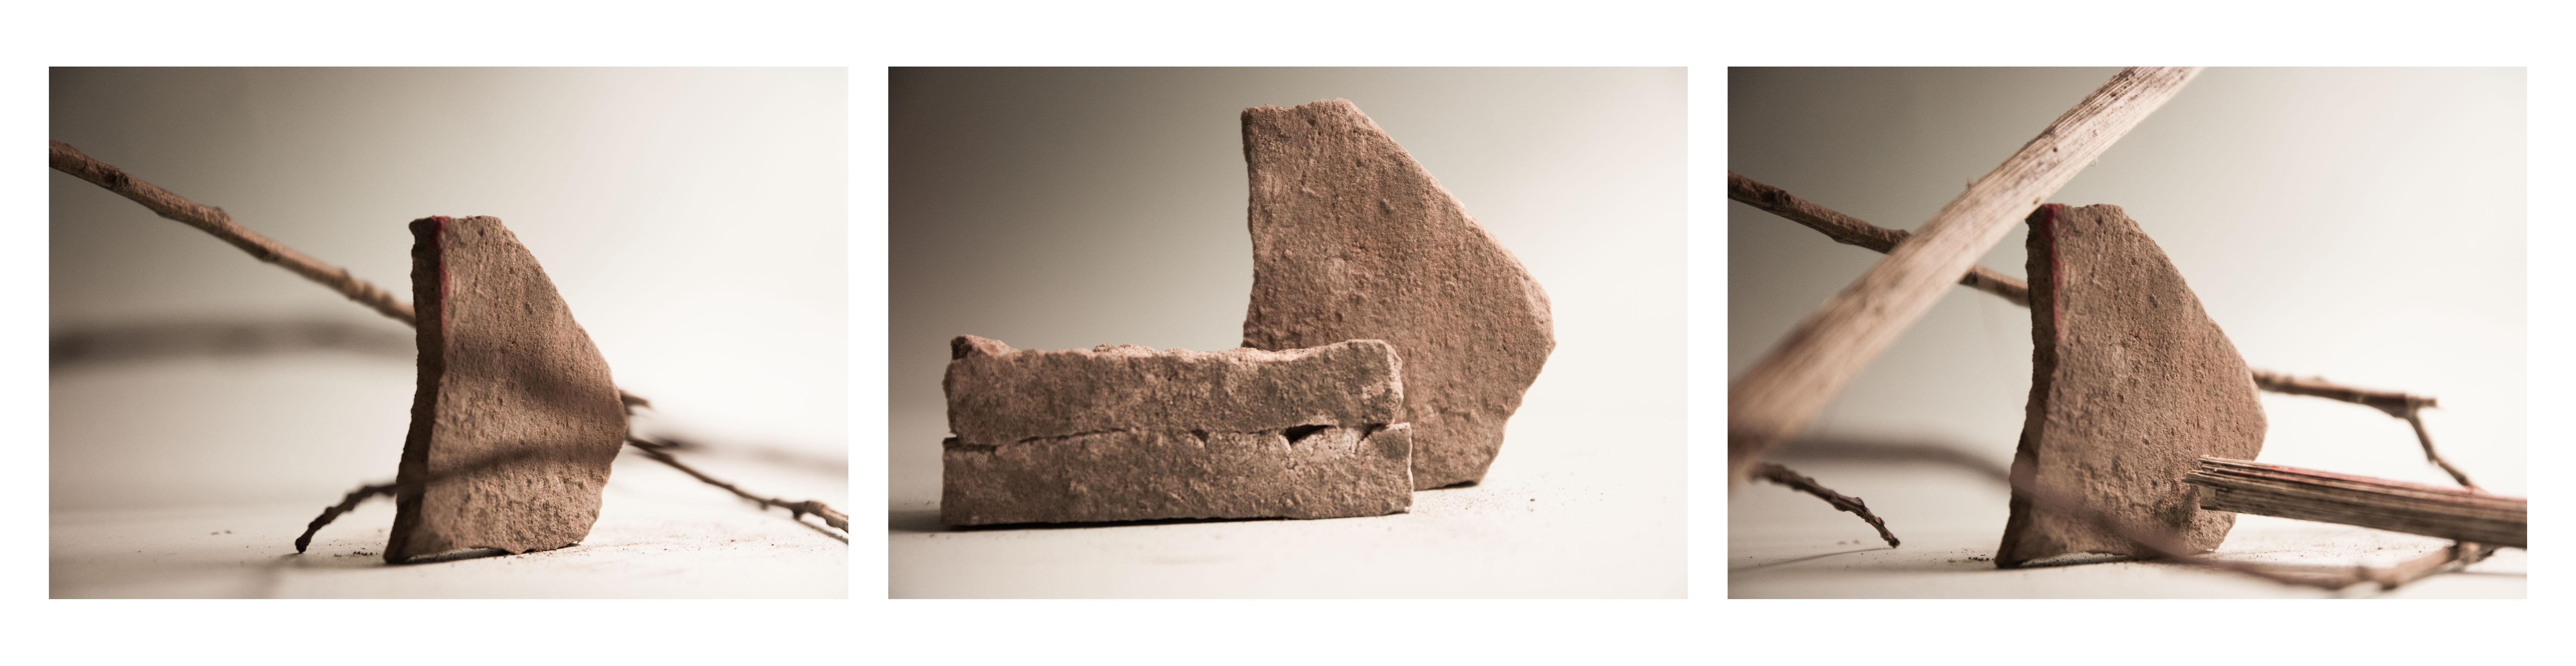
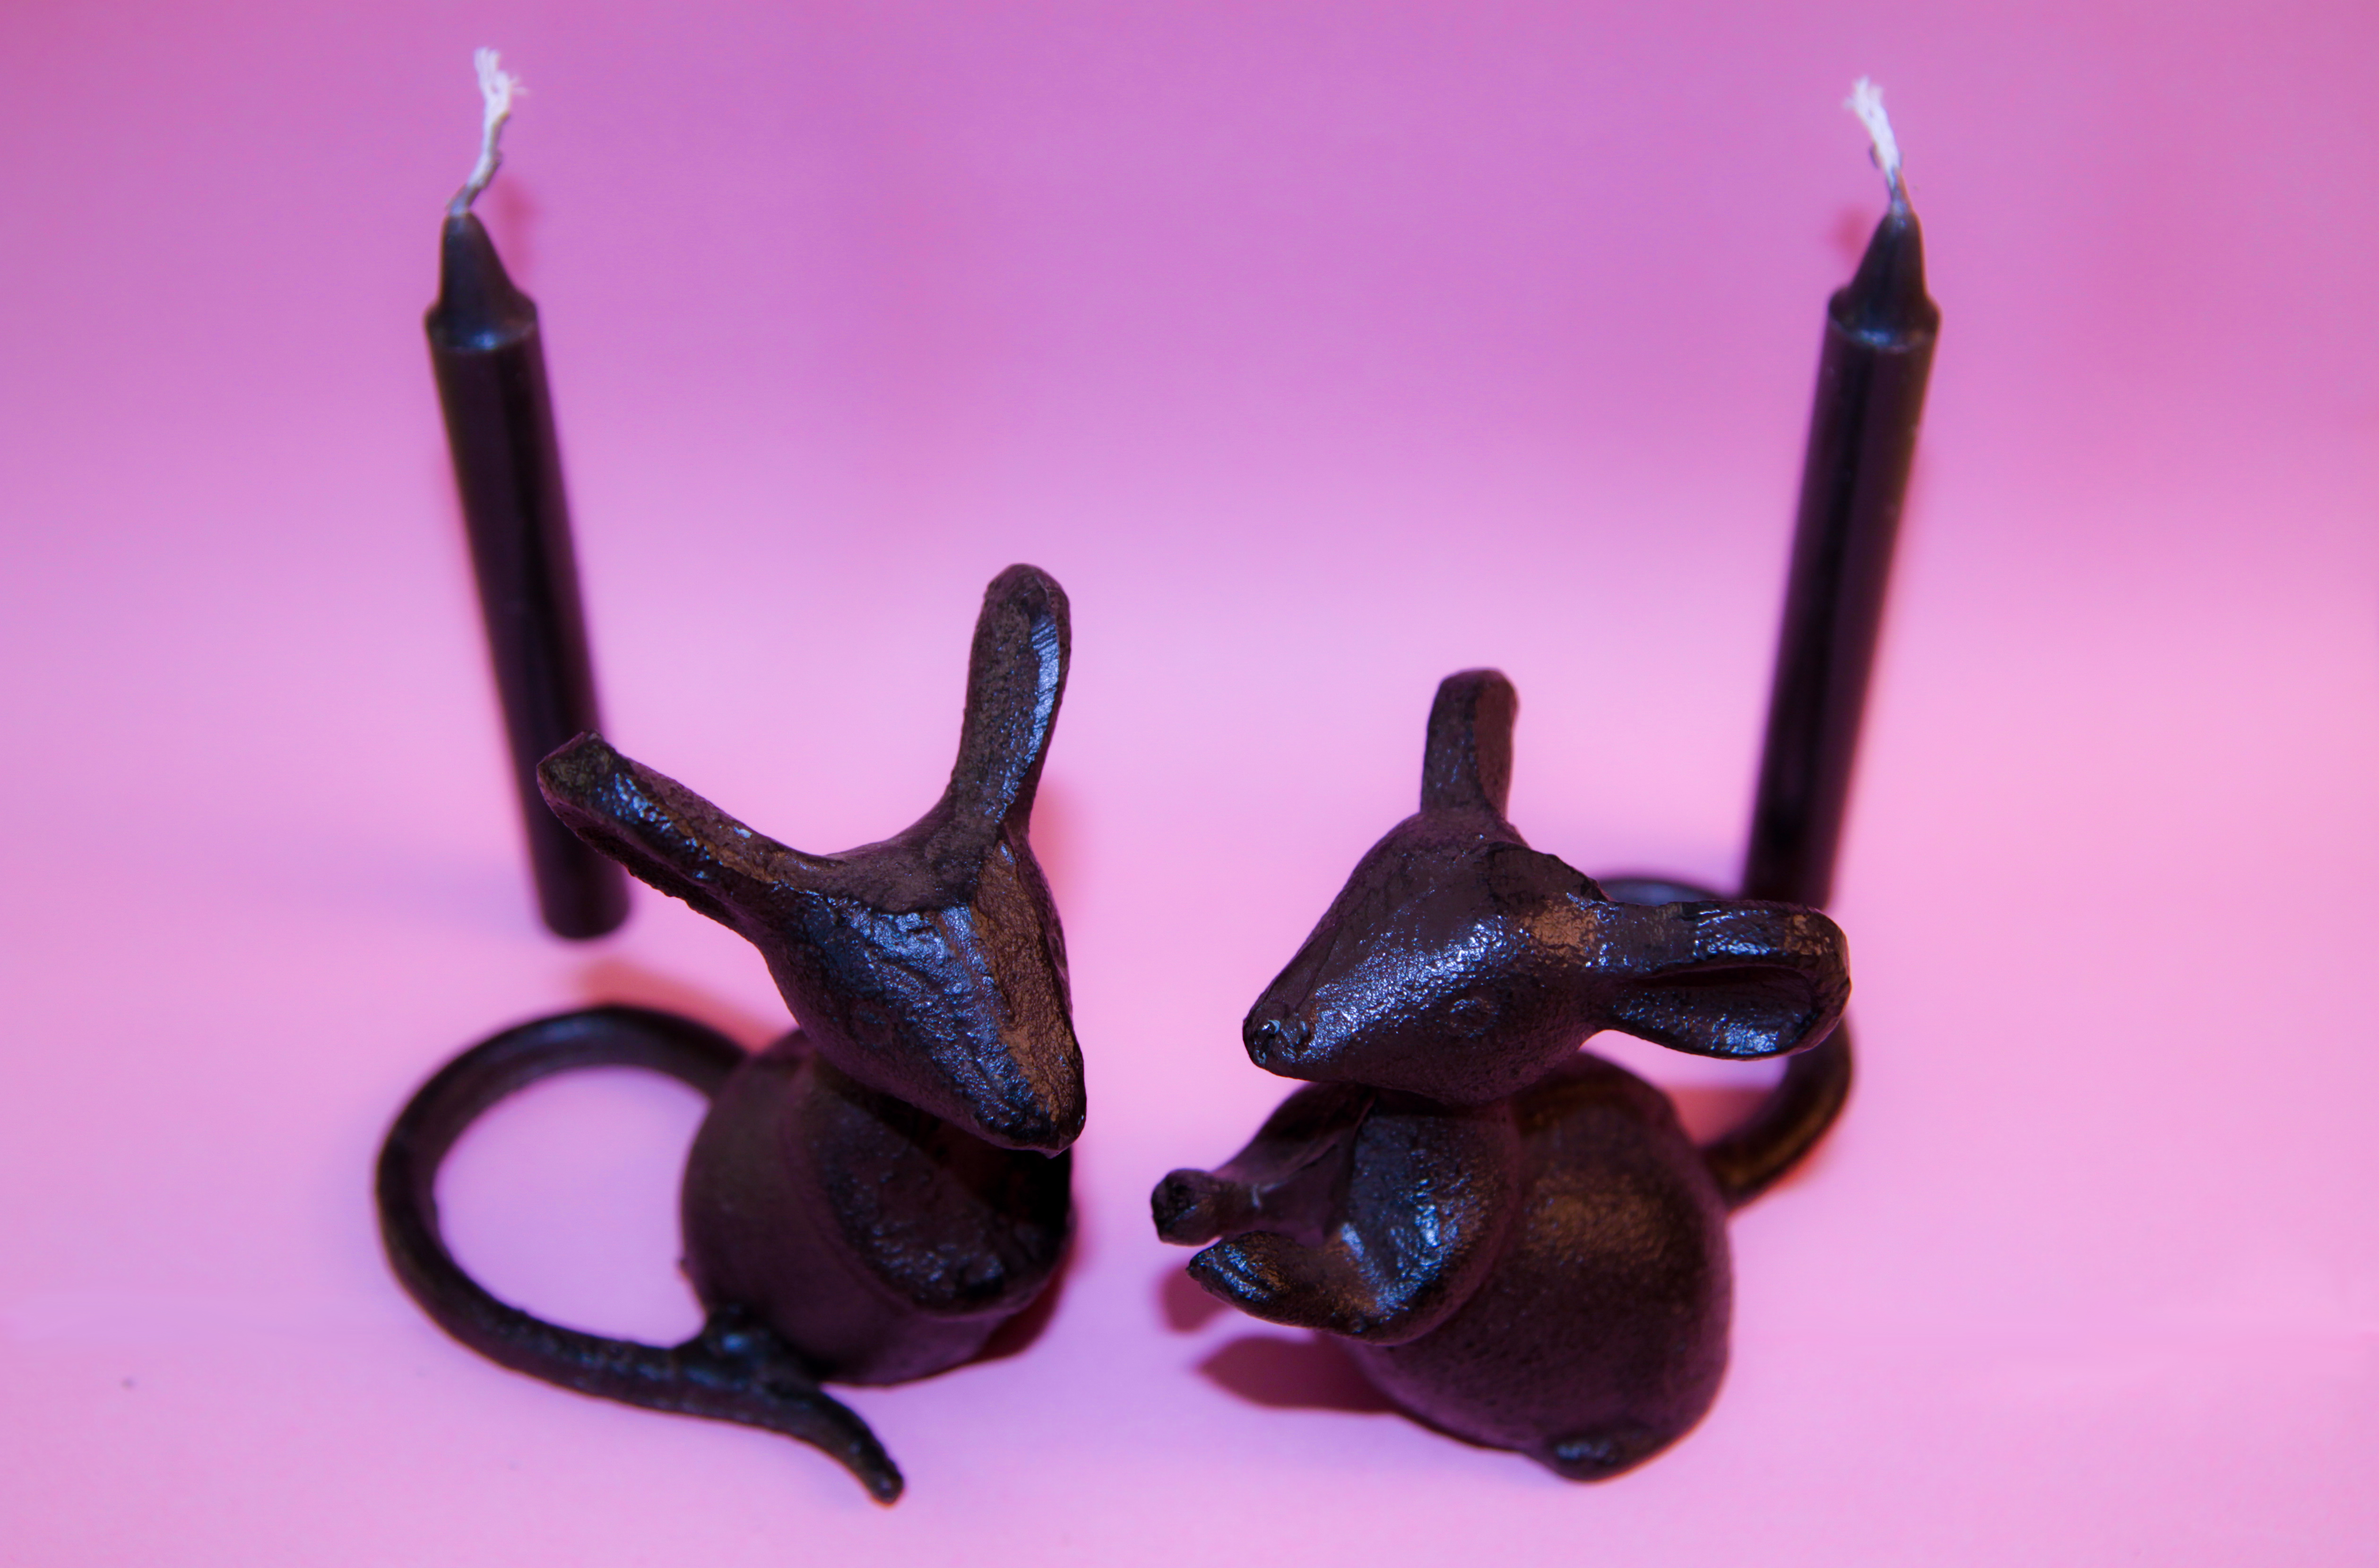
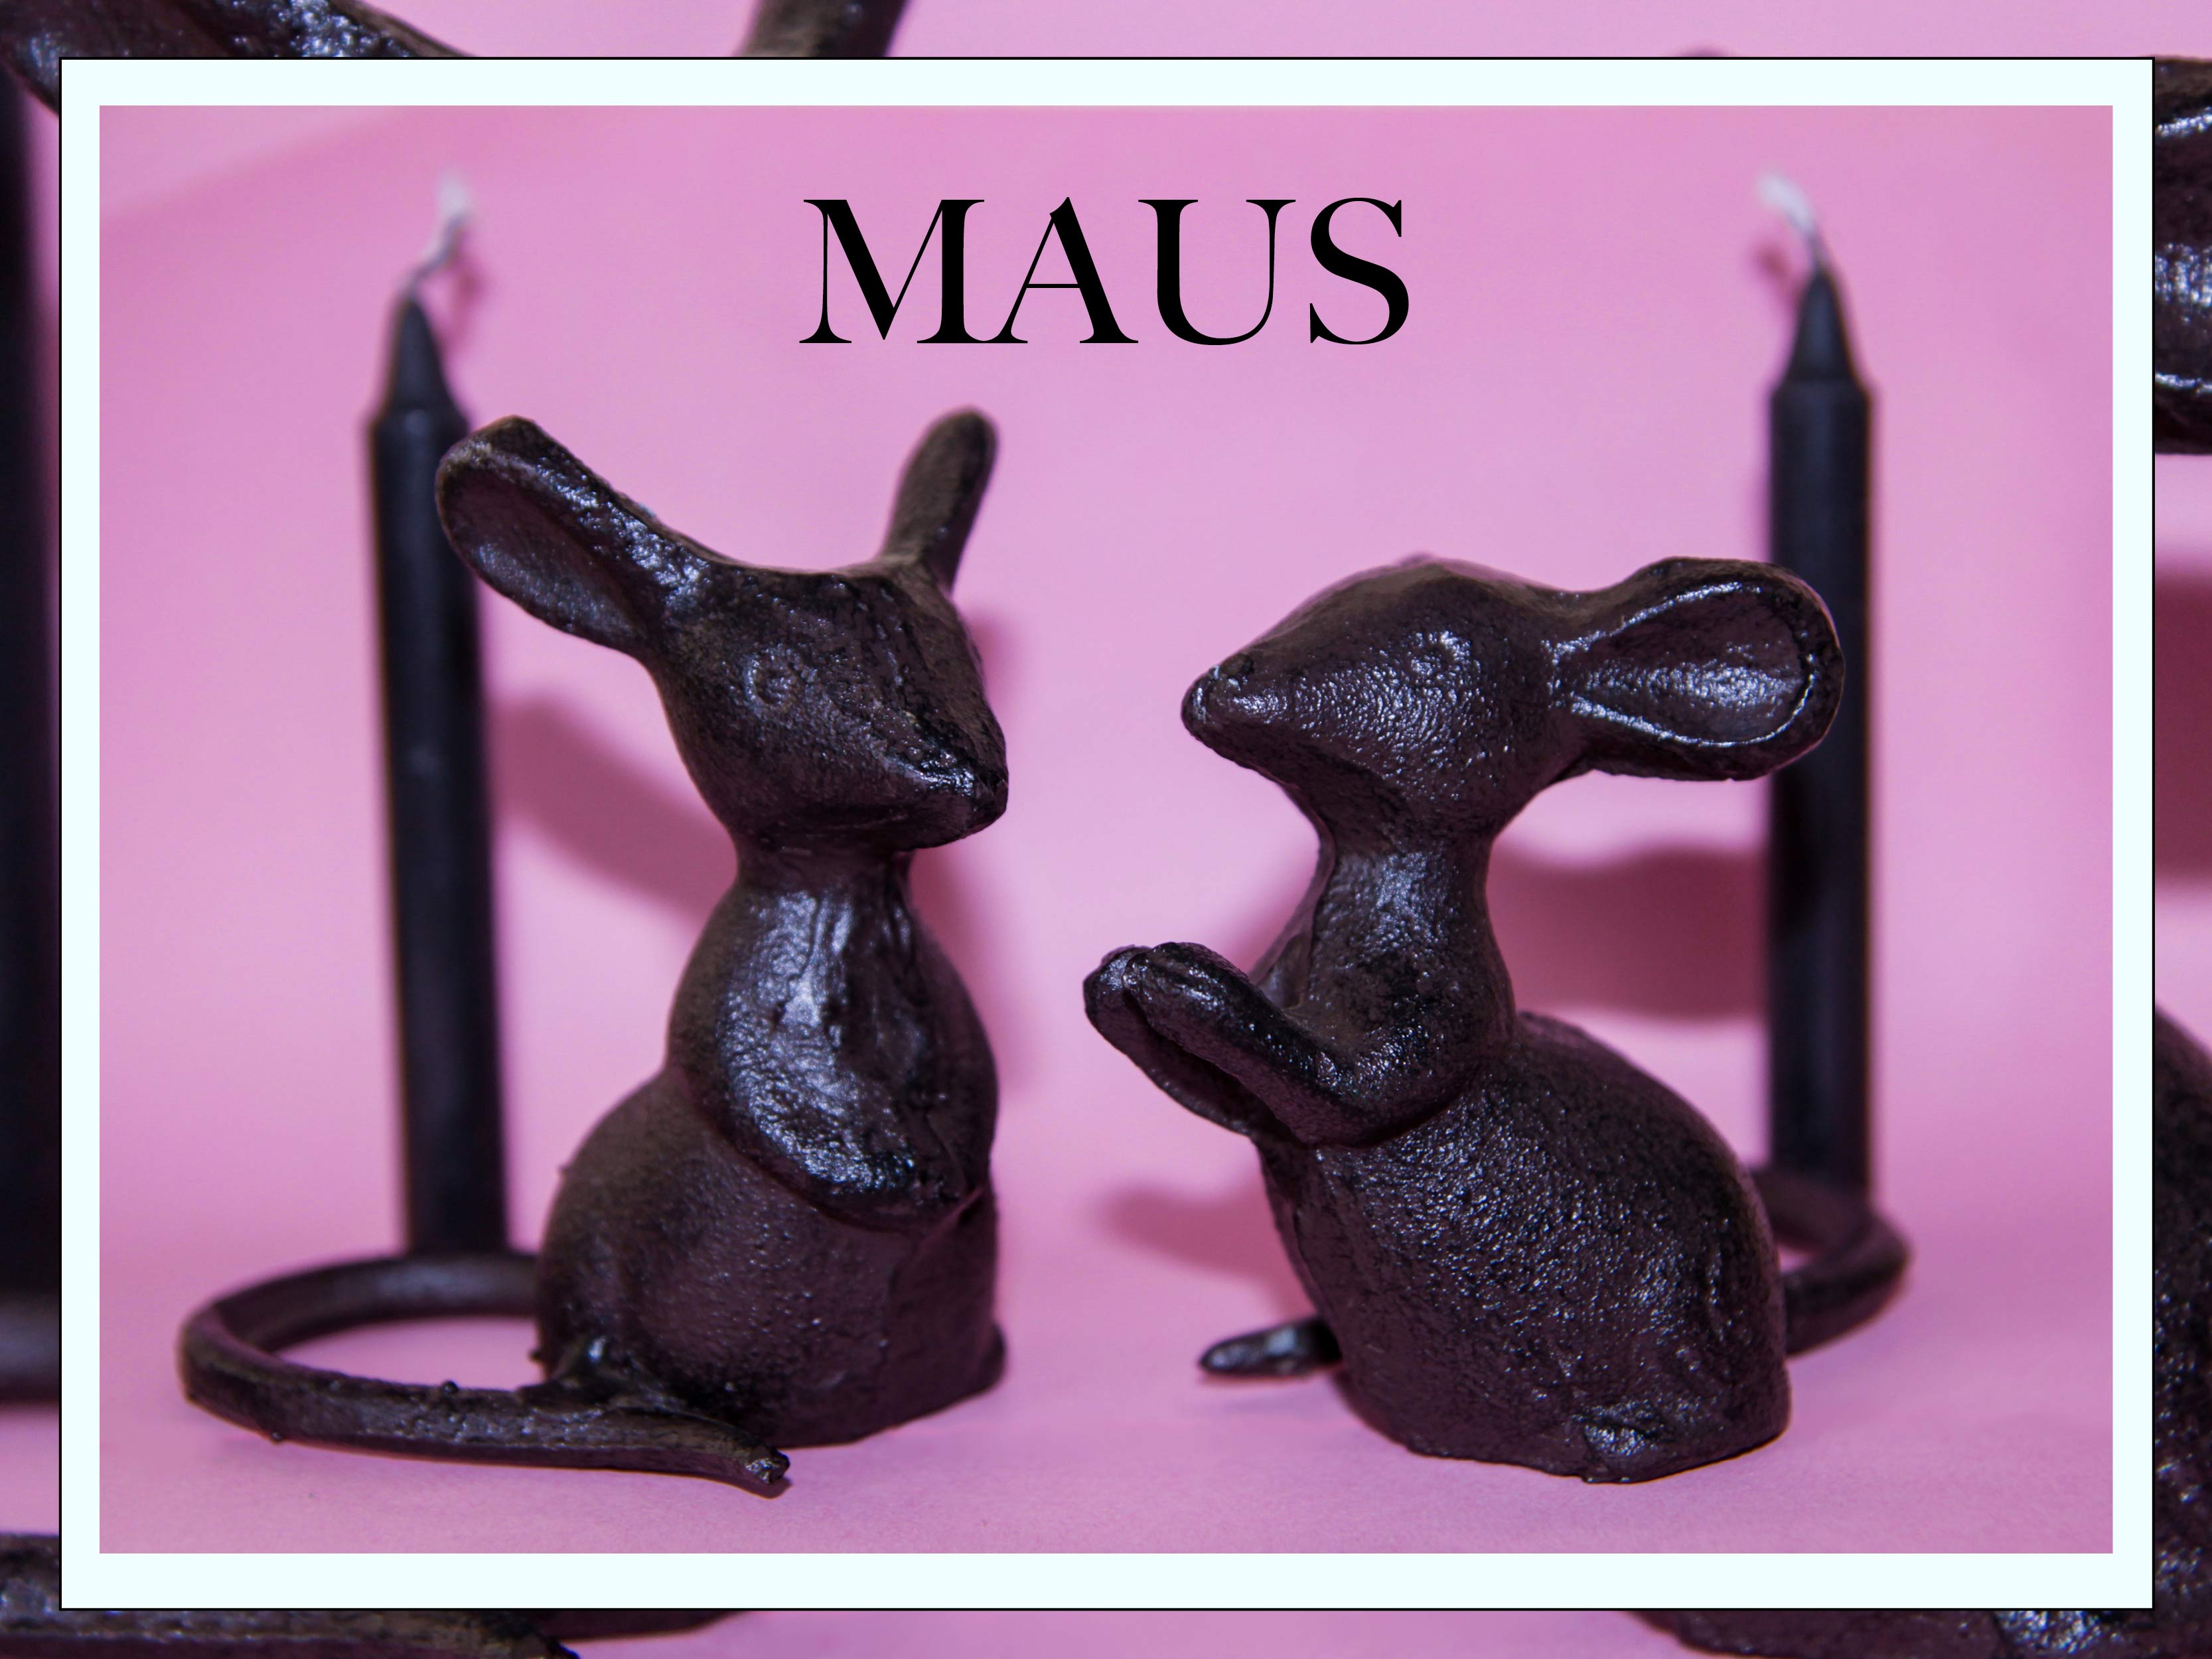
Triptych from my undergraduate photography course created with this technique
Materials
All you need is a flat surface positioned close to a wall, a bedside table lamp, and two pieces of paper that are a minimum A4 size. I would recommend two pieces of A3 paper to accommodate for some wiggle room and more exciting angles. Be creative with the background colours. Go outside the box with some bright pinks and yellows. Depending on the size of the item you are photographing you will need different sized paper. This is an alternative to the professional roll of paper that hangs on the background support. Those are not as expensive as one would expect. For example, Calumet Arctic White 1.35m x 11m Seamless Background Paper is only £34.00. The cheapest background support that can be found on our website is the Interfit Background Support with Telescopic Crossbar – Large for £124.99 (okay this one is a bit more expensive but it does its job well and would last you a long time).
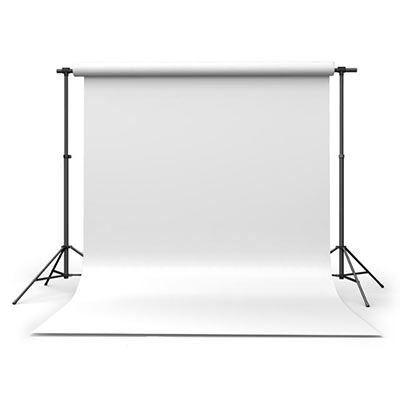
Calumet Arctic White 1.35m x 11m Seamless Background Paper
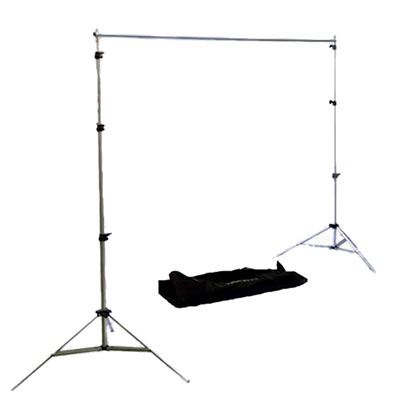
Interfit Background Support with Telescopic Crossbar – Large
Set-Up
Once you have procured the pieces of paper for about £3.99 find a stable surface to place these on. For example, a desk that is located very close to a wall. Simply place one piece of paper flat on the desk and get it as close to the wall as possible. Then place the other piece of paper against the wall but right where it meets with the other piece of paper bend it like so:
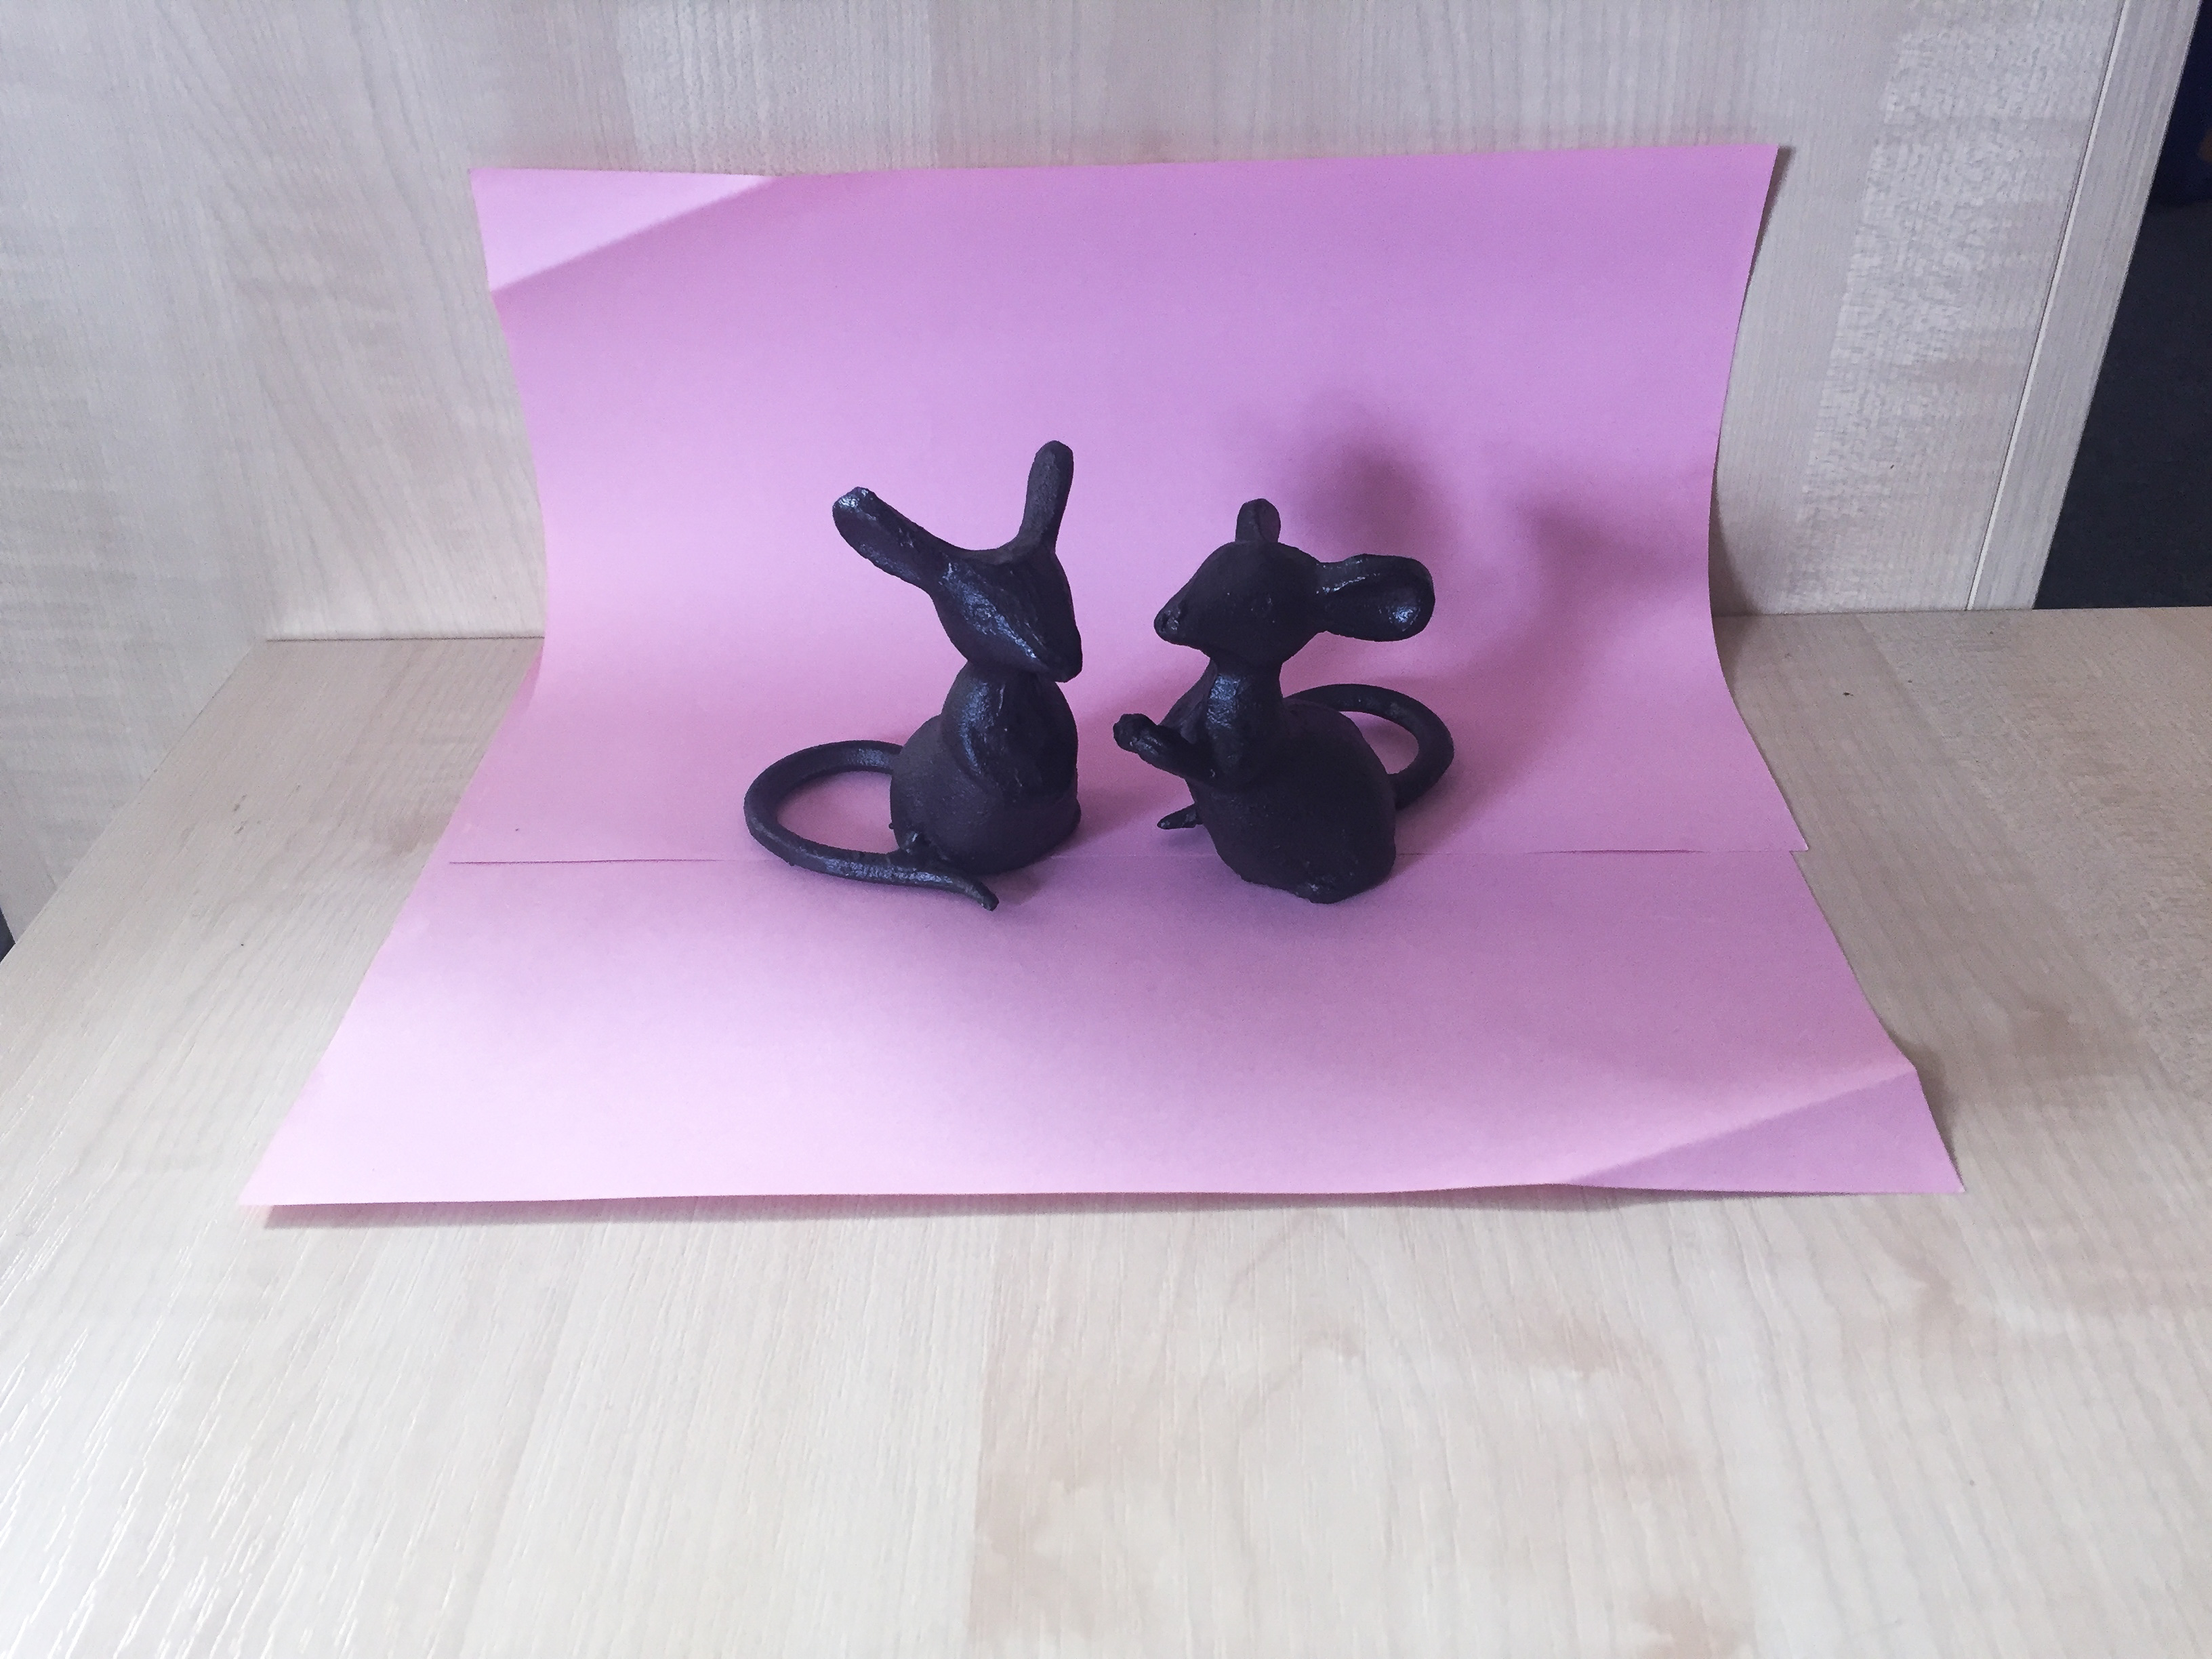
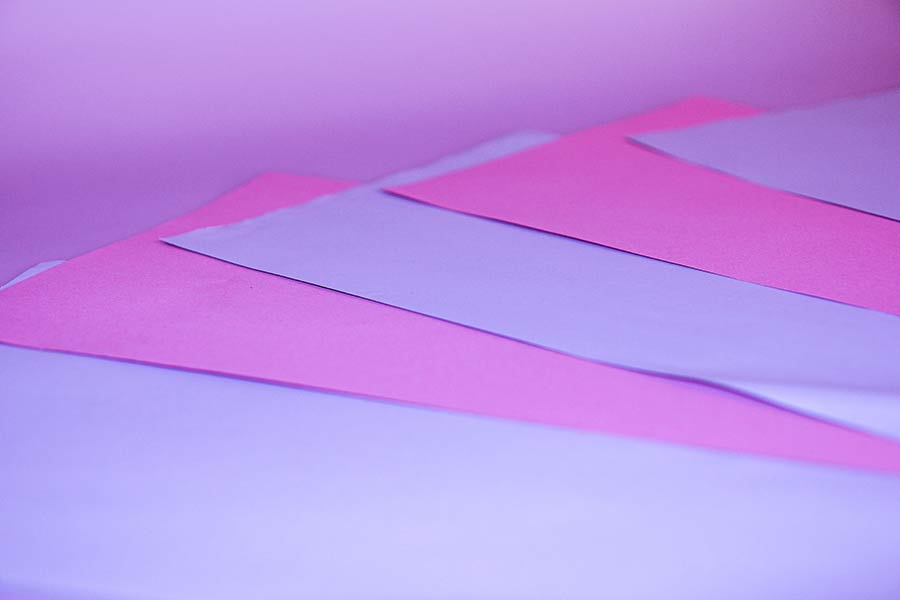
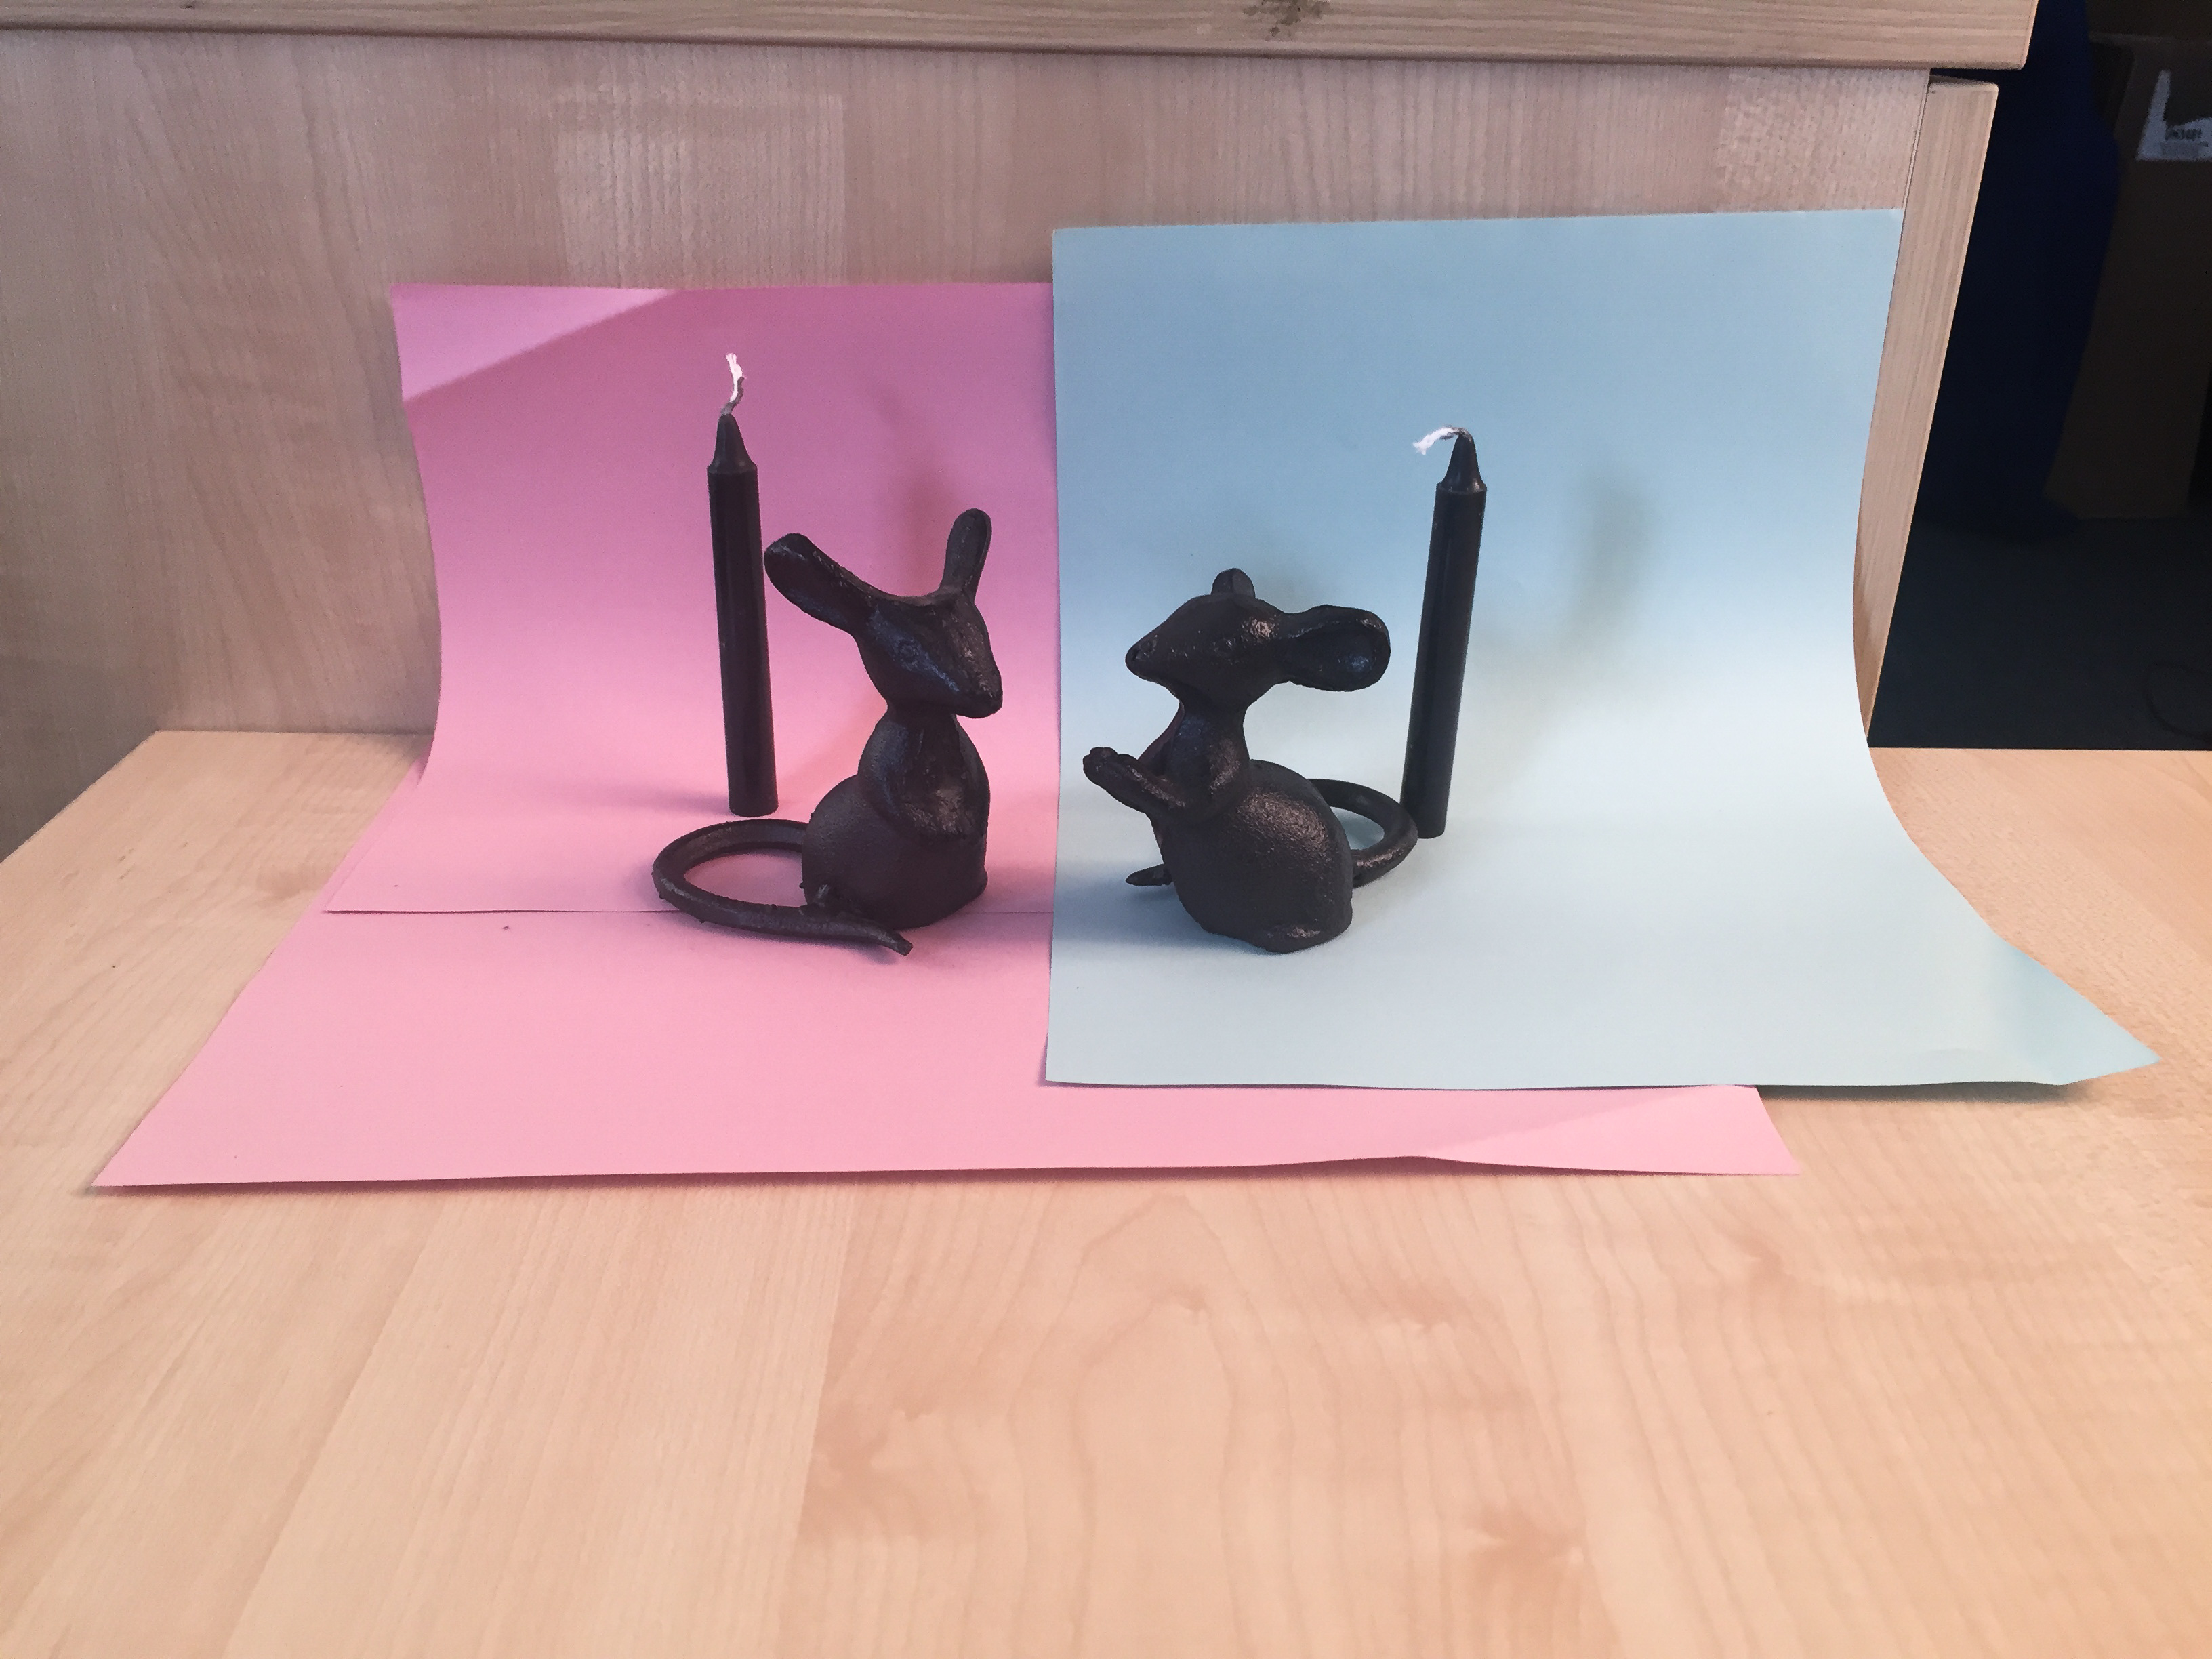
Don’t forget to get creative and experiment with colour! You can create some interesting backgrounds by using different coloured papers combined.
Thanks to this you will avoid a harsh line forming. Instead, you will achieve that smooth studio background effect. Position your bedside light where you want the light to hit your subject. I think that this technique is fantastic for harsh shadows and dramatic images, mainly because if you’re going for a little bit of natural lighting this might not work. I would recommend making the rest of the room as dark as possible as well. For example, shooting at night or just having your blinds closed as it could diminish the drama that, at least, I’m going for.
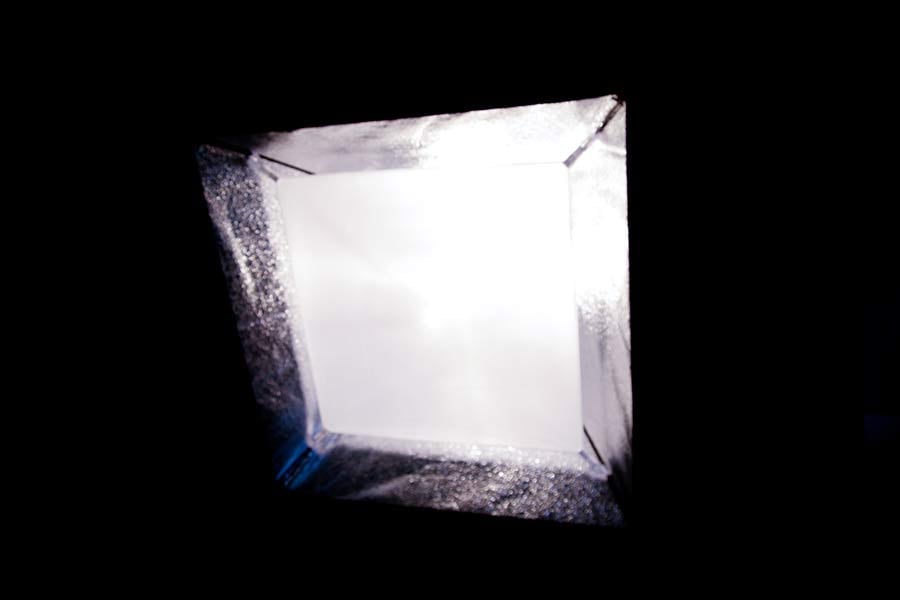
Because I was creating assets for this blog post in the office I didn’t have access to a bedside table lamp. I had to settle for a Bowens studio light with a softbox. I assure you that a regular, small light will work and would give you even harsher shadows if that’s what you’re after!
Final Results & Conclusion
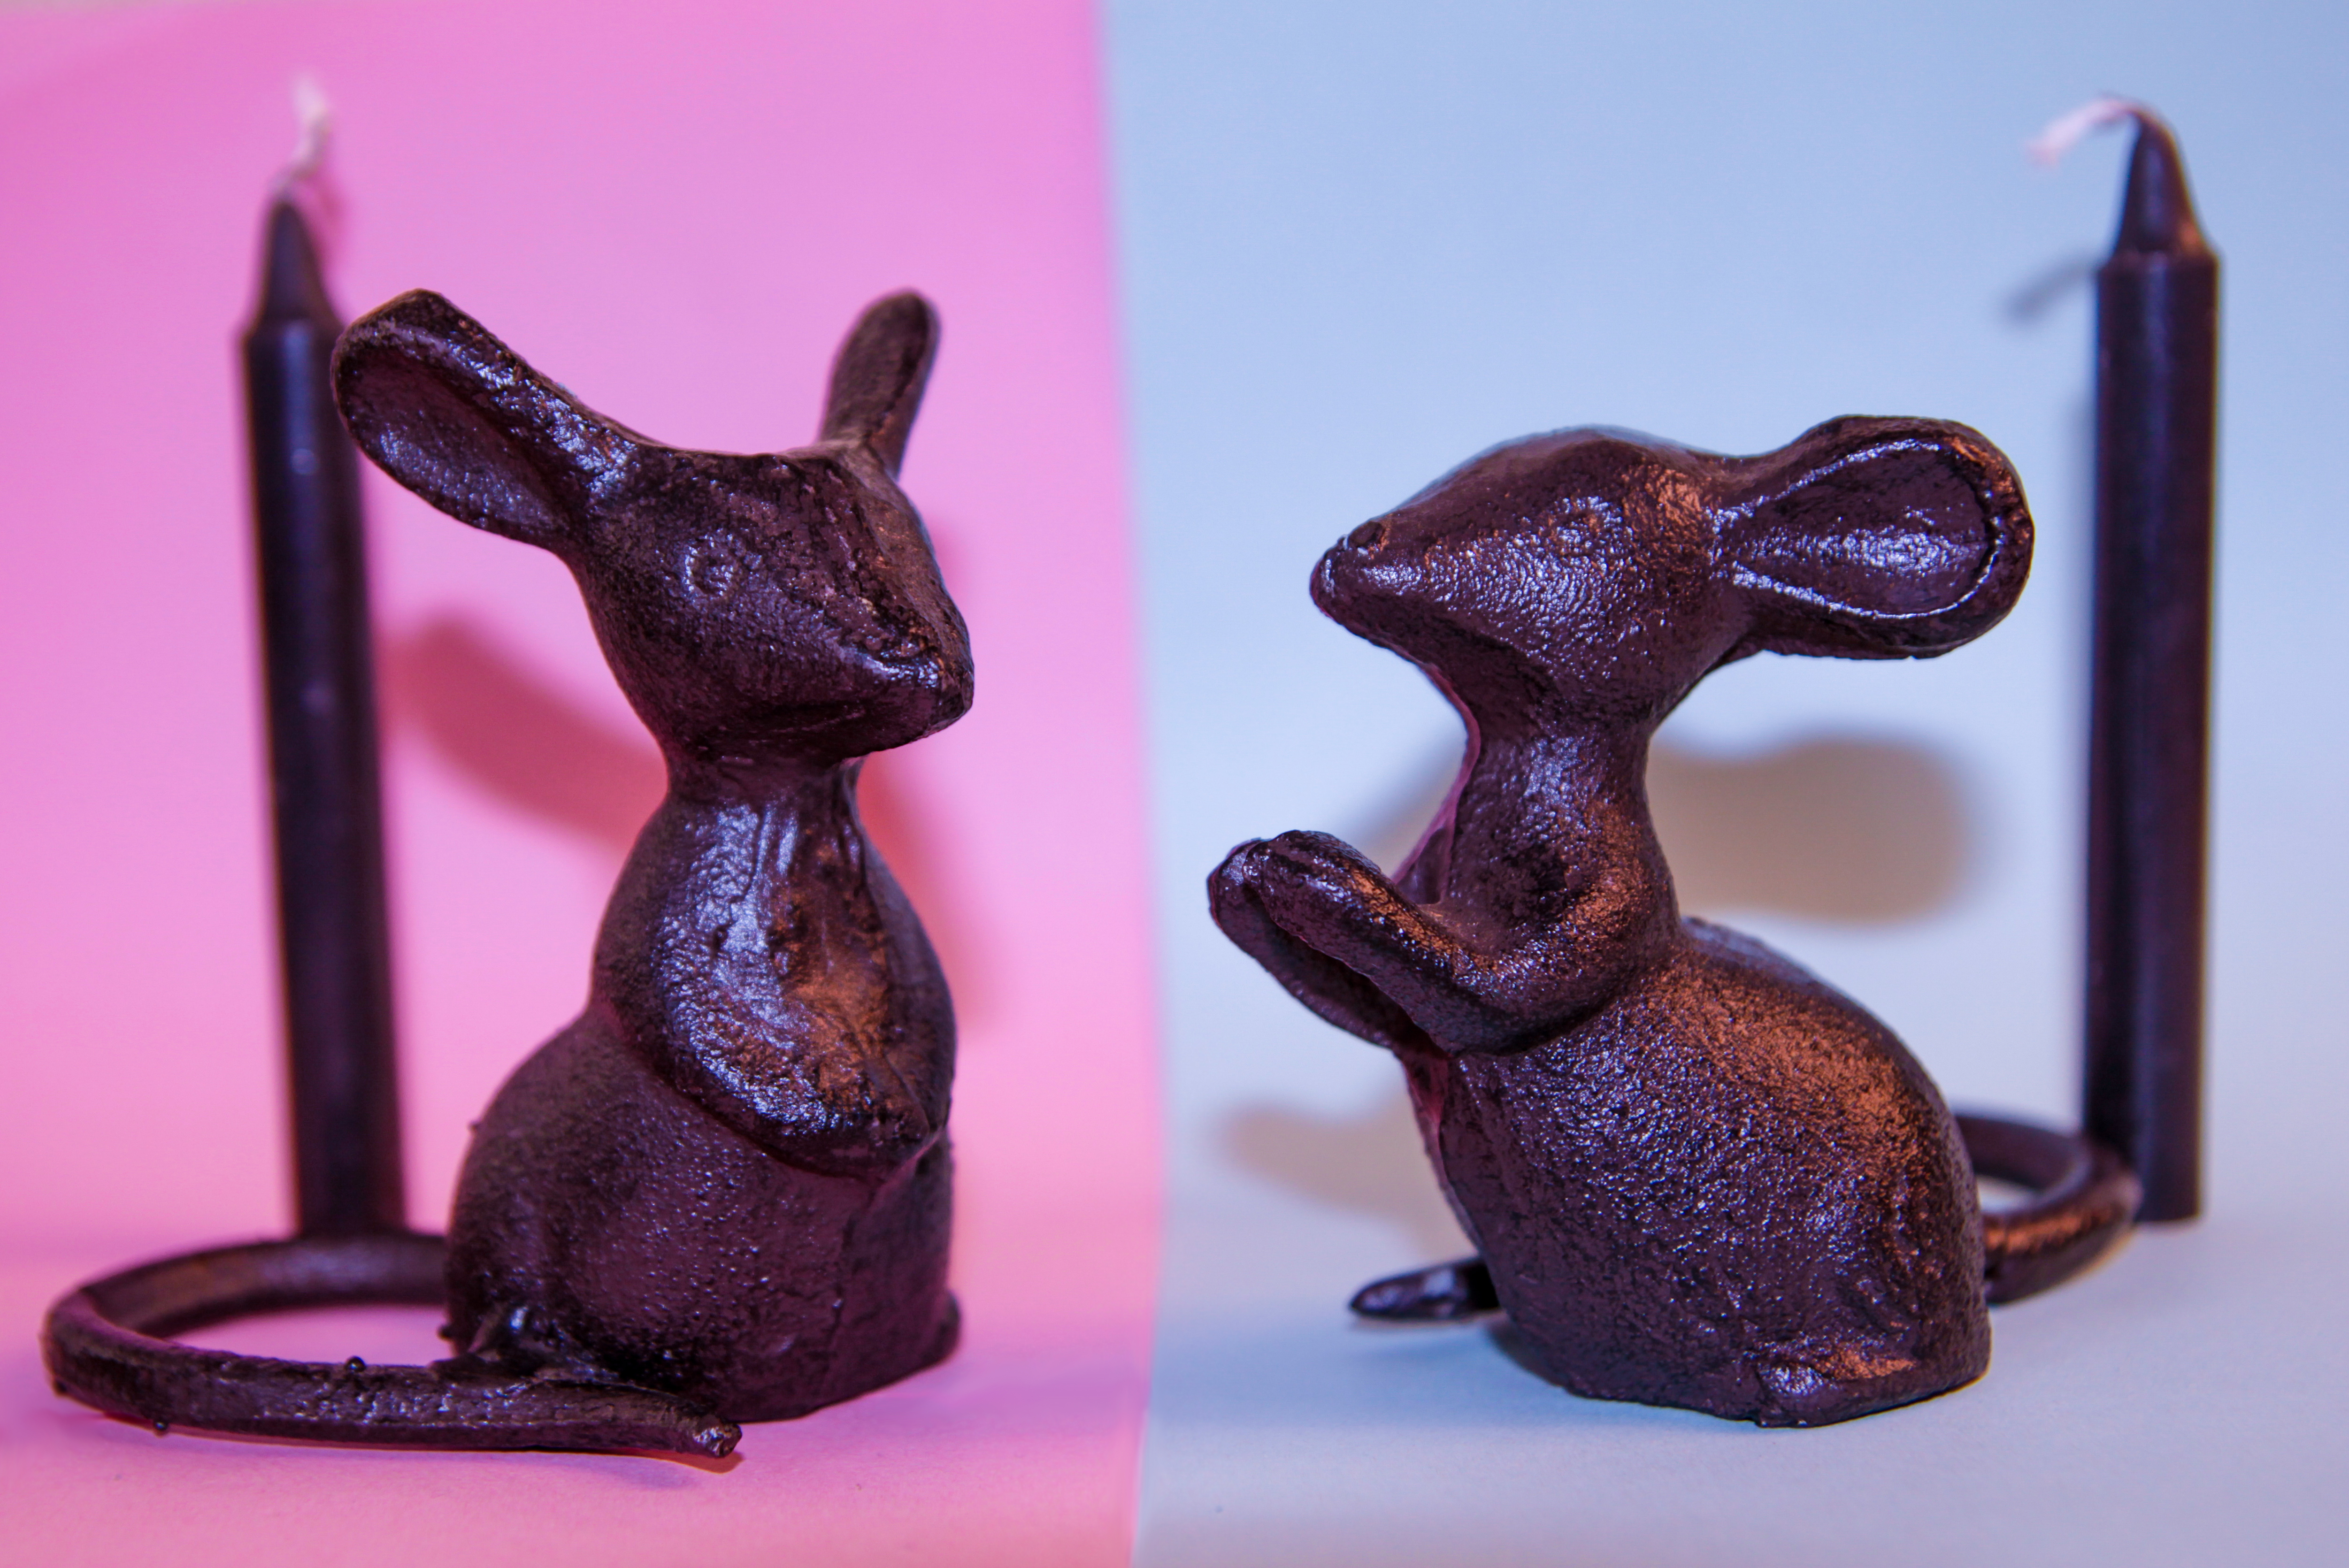
The entire point of this article was to show you a simple technique for enjoying photography on a budget, or well lack of it. To keep with this theme I decided to shoot the same image with a DSLR and my outdated iPhone. The DSLR I’m using is the Canon EOS 60D and my iPhone is the iPhone 6 (I think, it’s been a while and I refuse to change it). Below are the raw images:
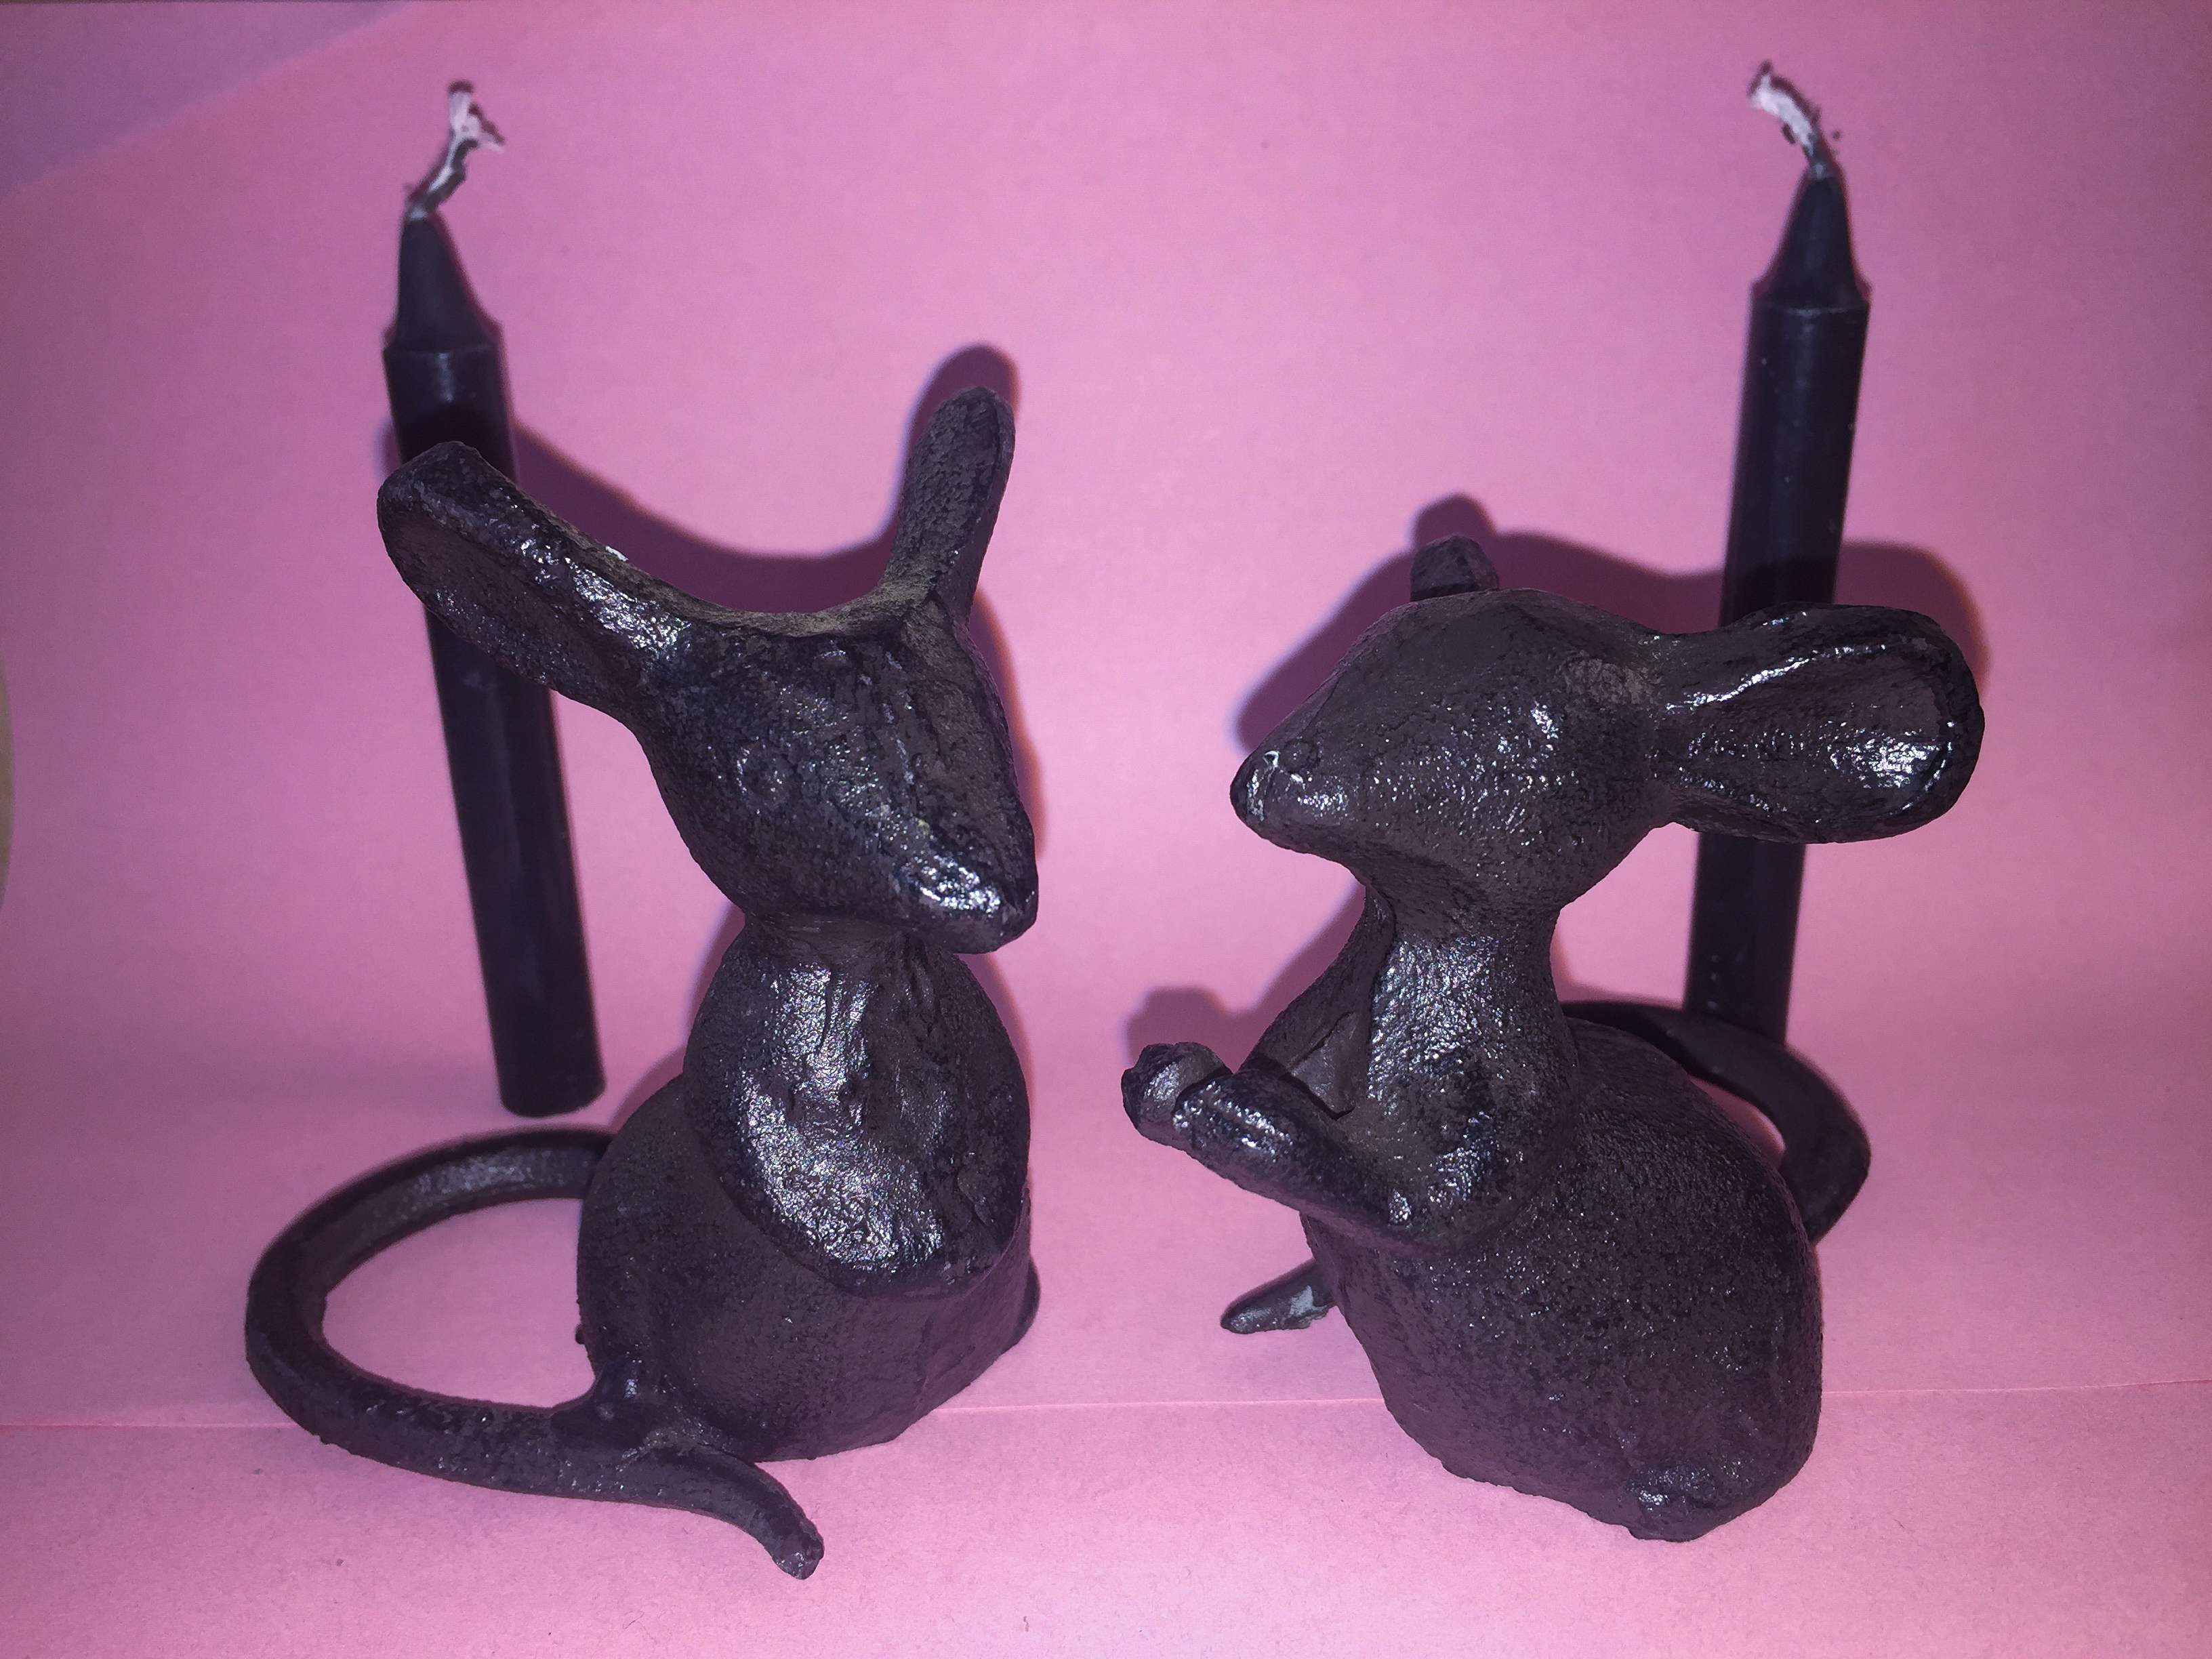
Raw image produced with this technique – DSLR
Raw images produced with this technique – iPhone
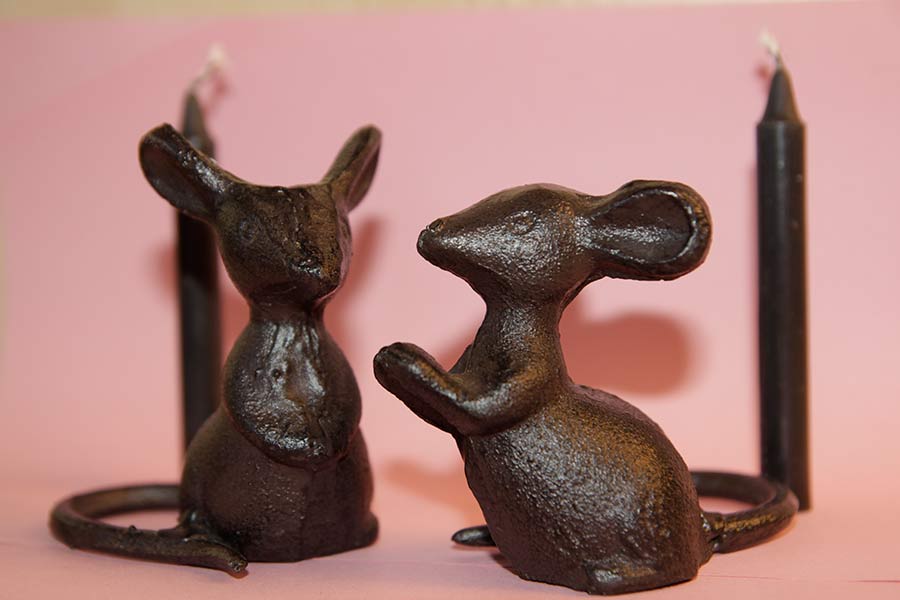
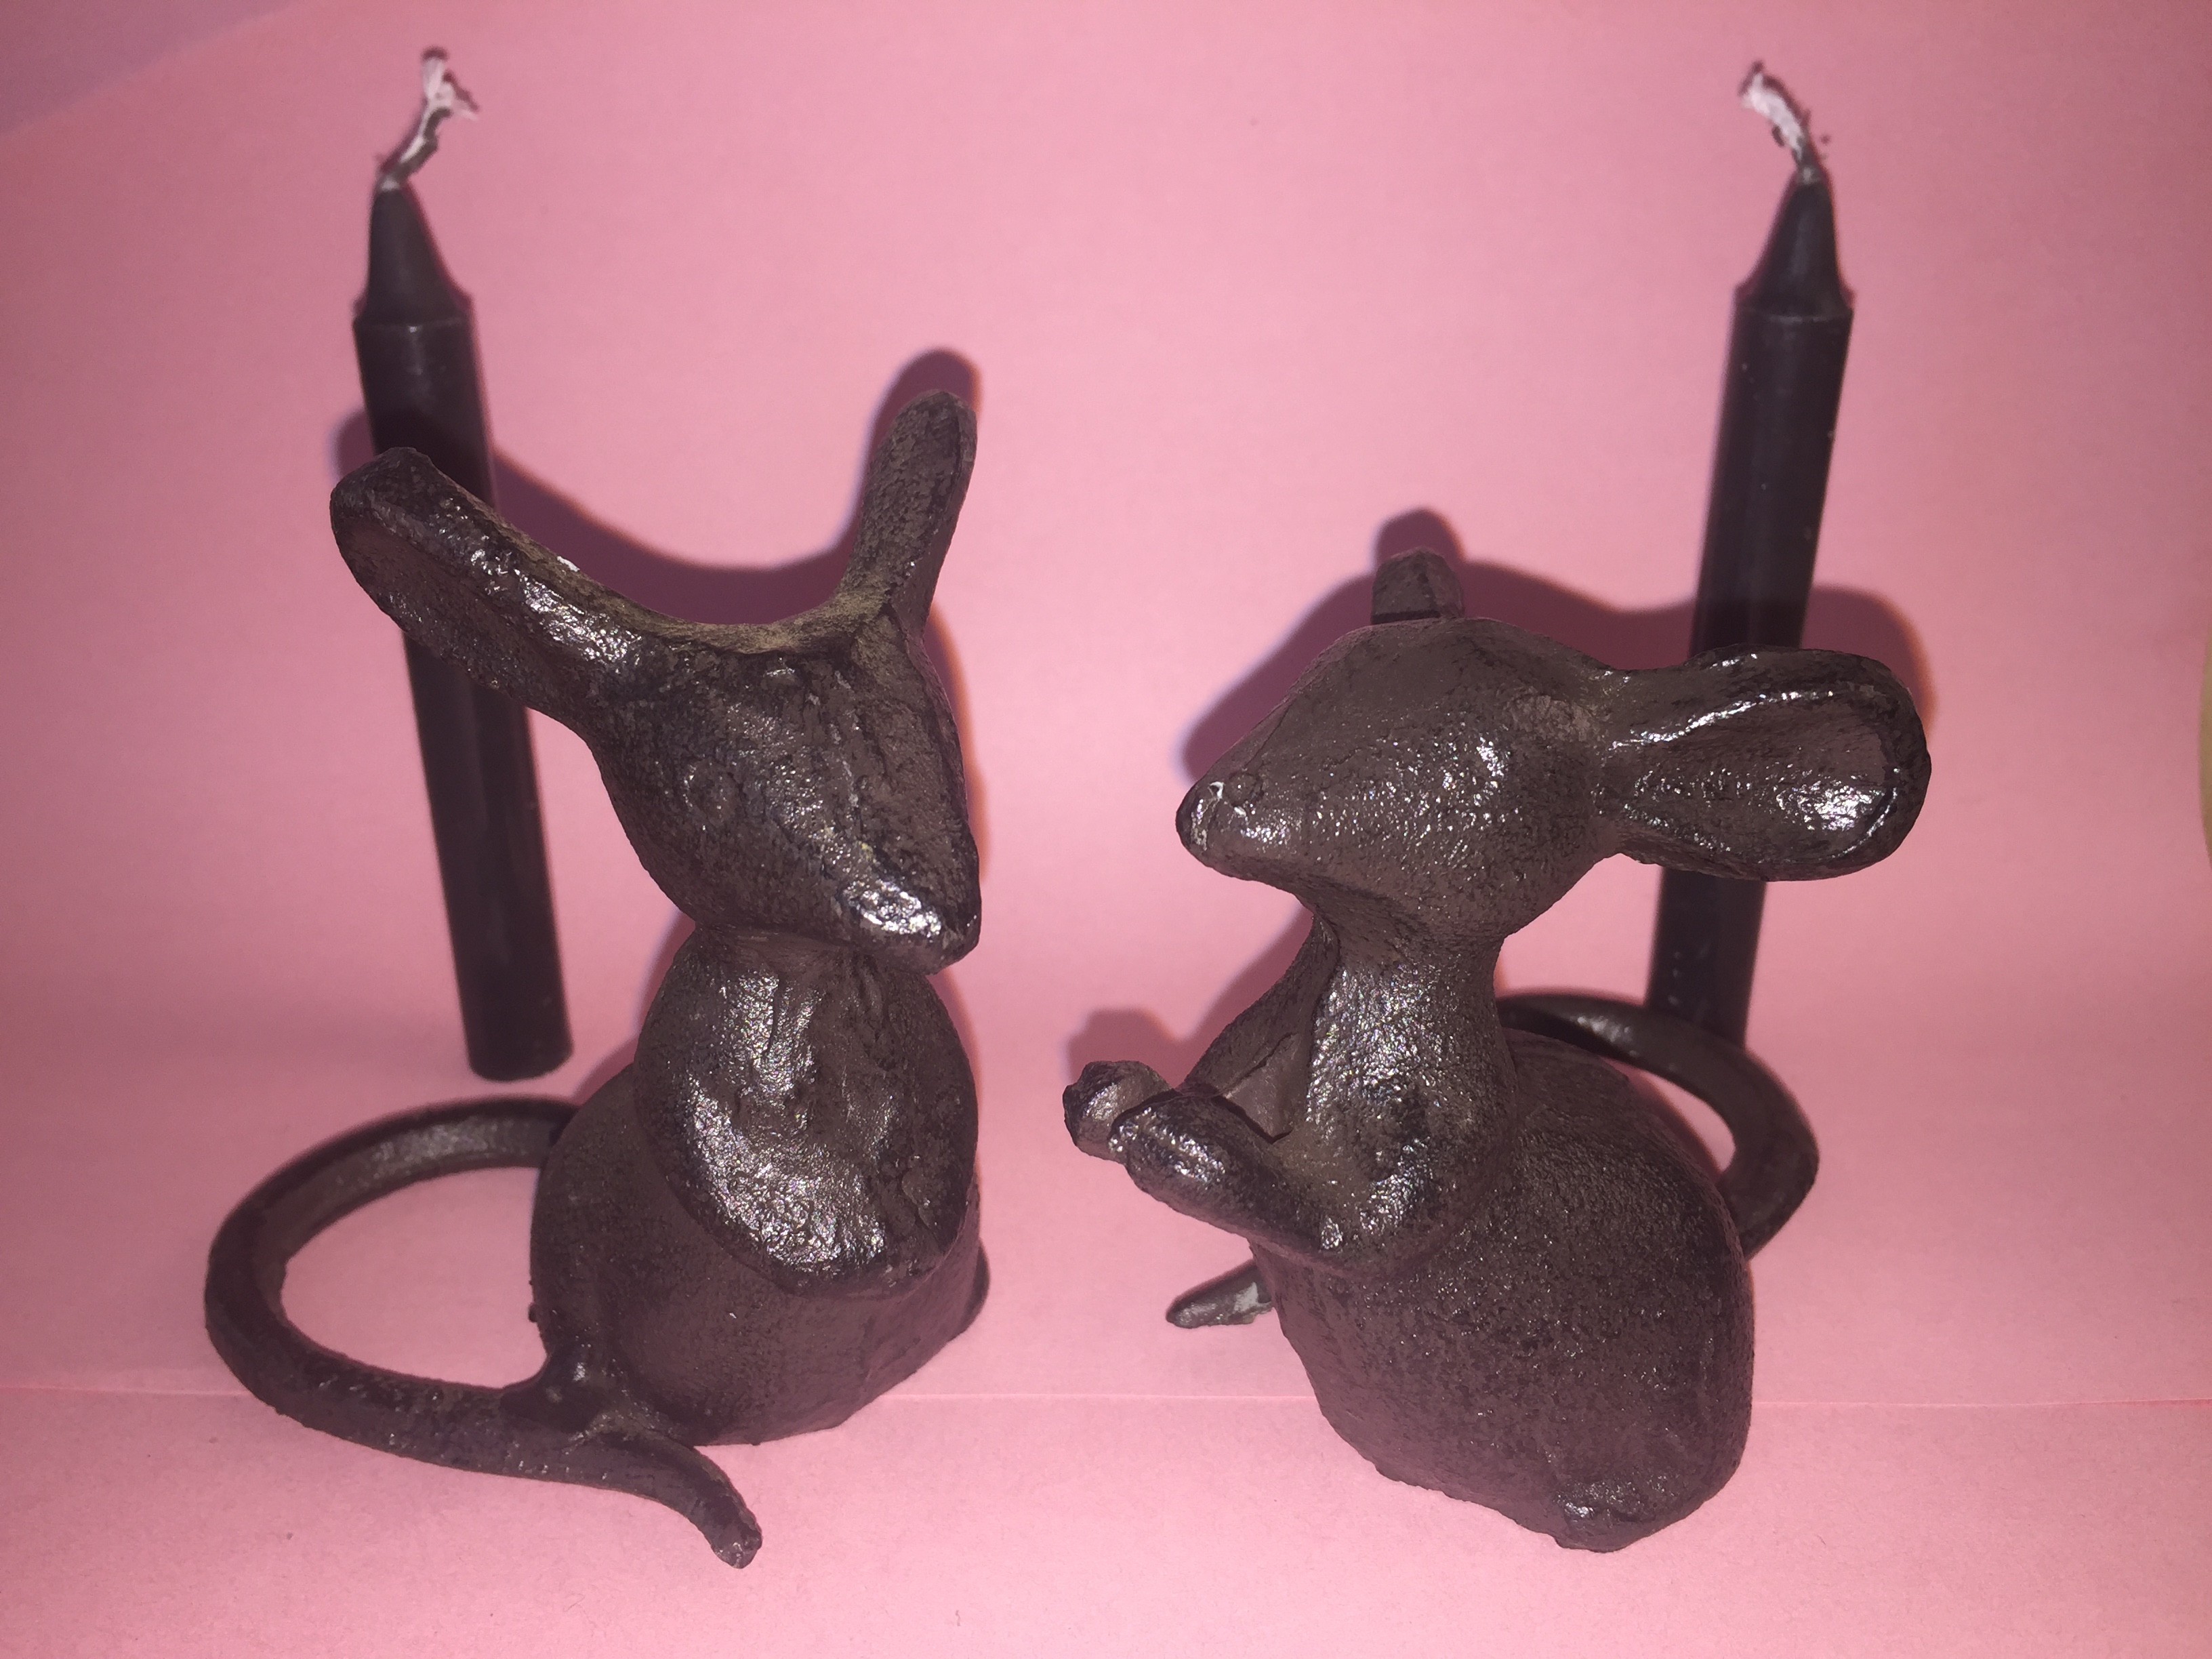
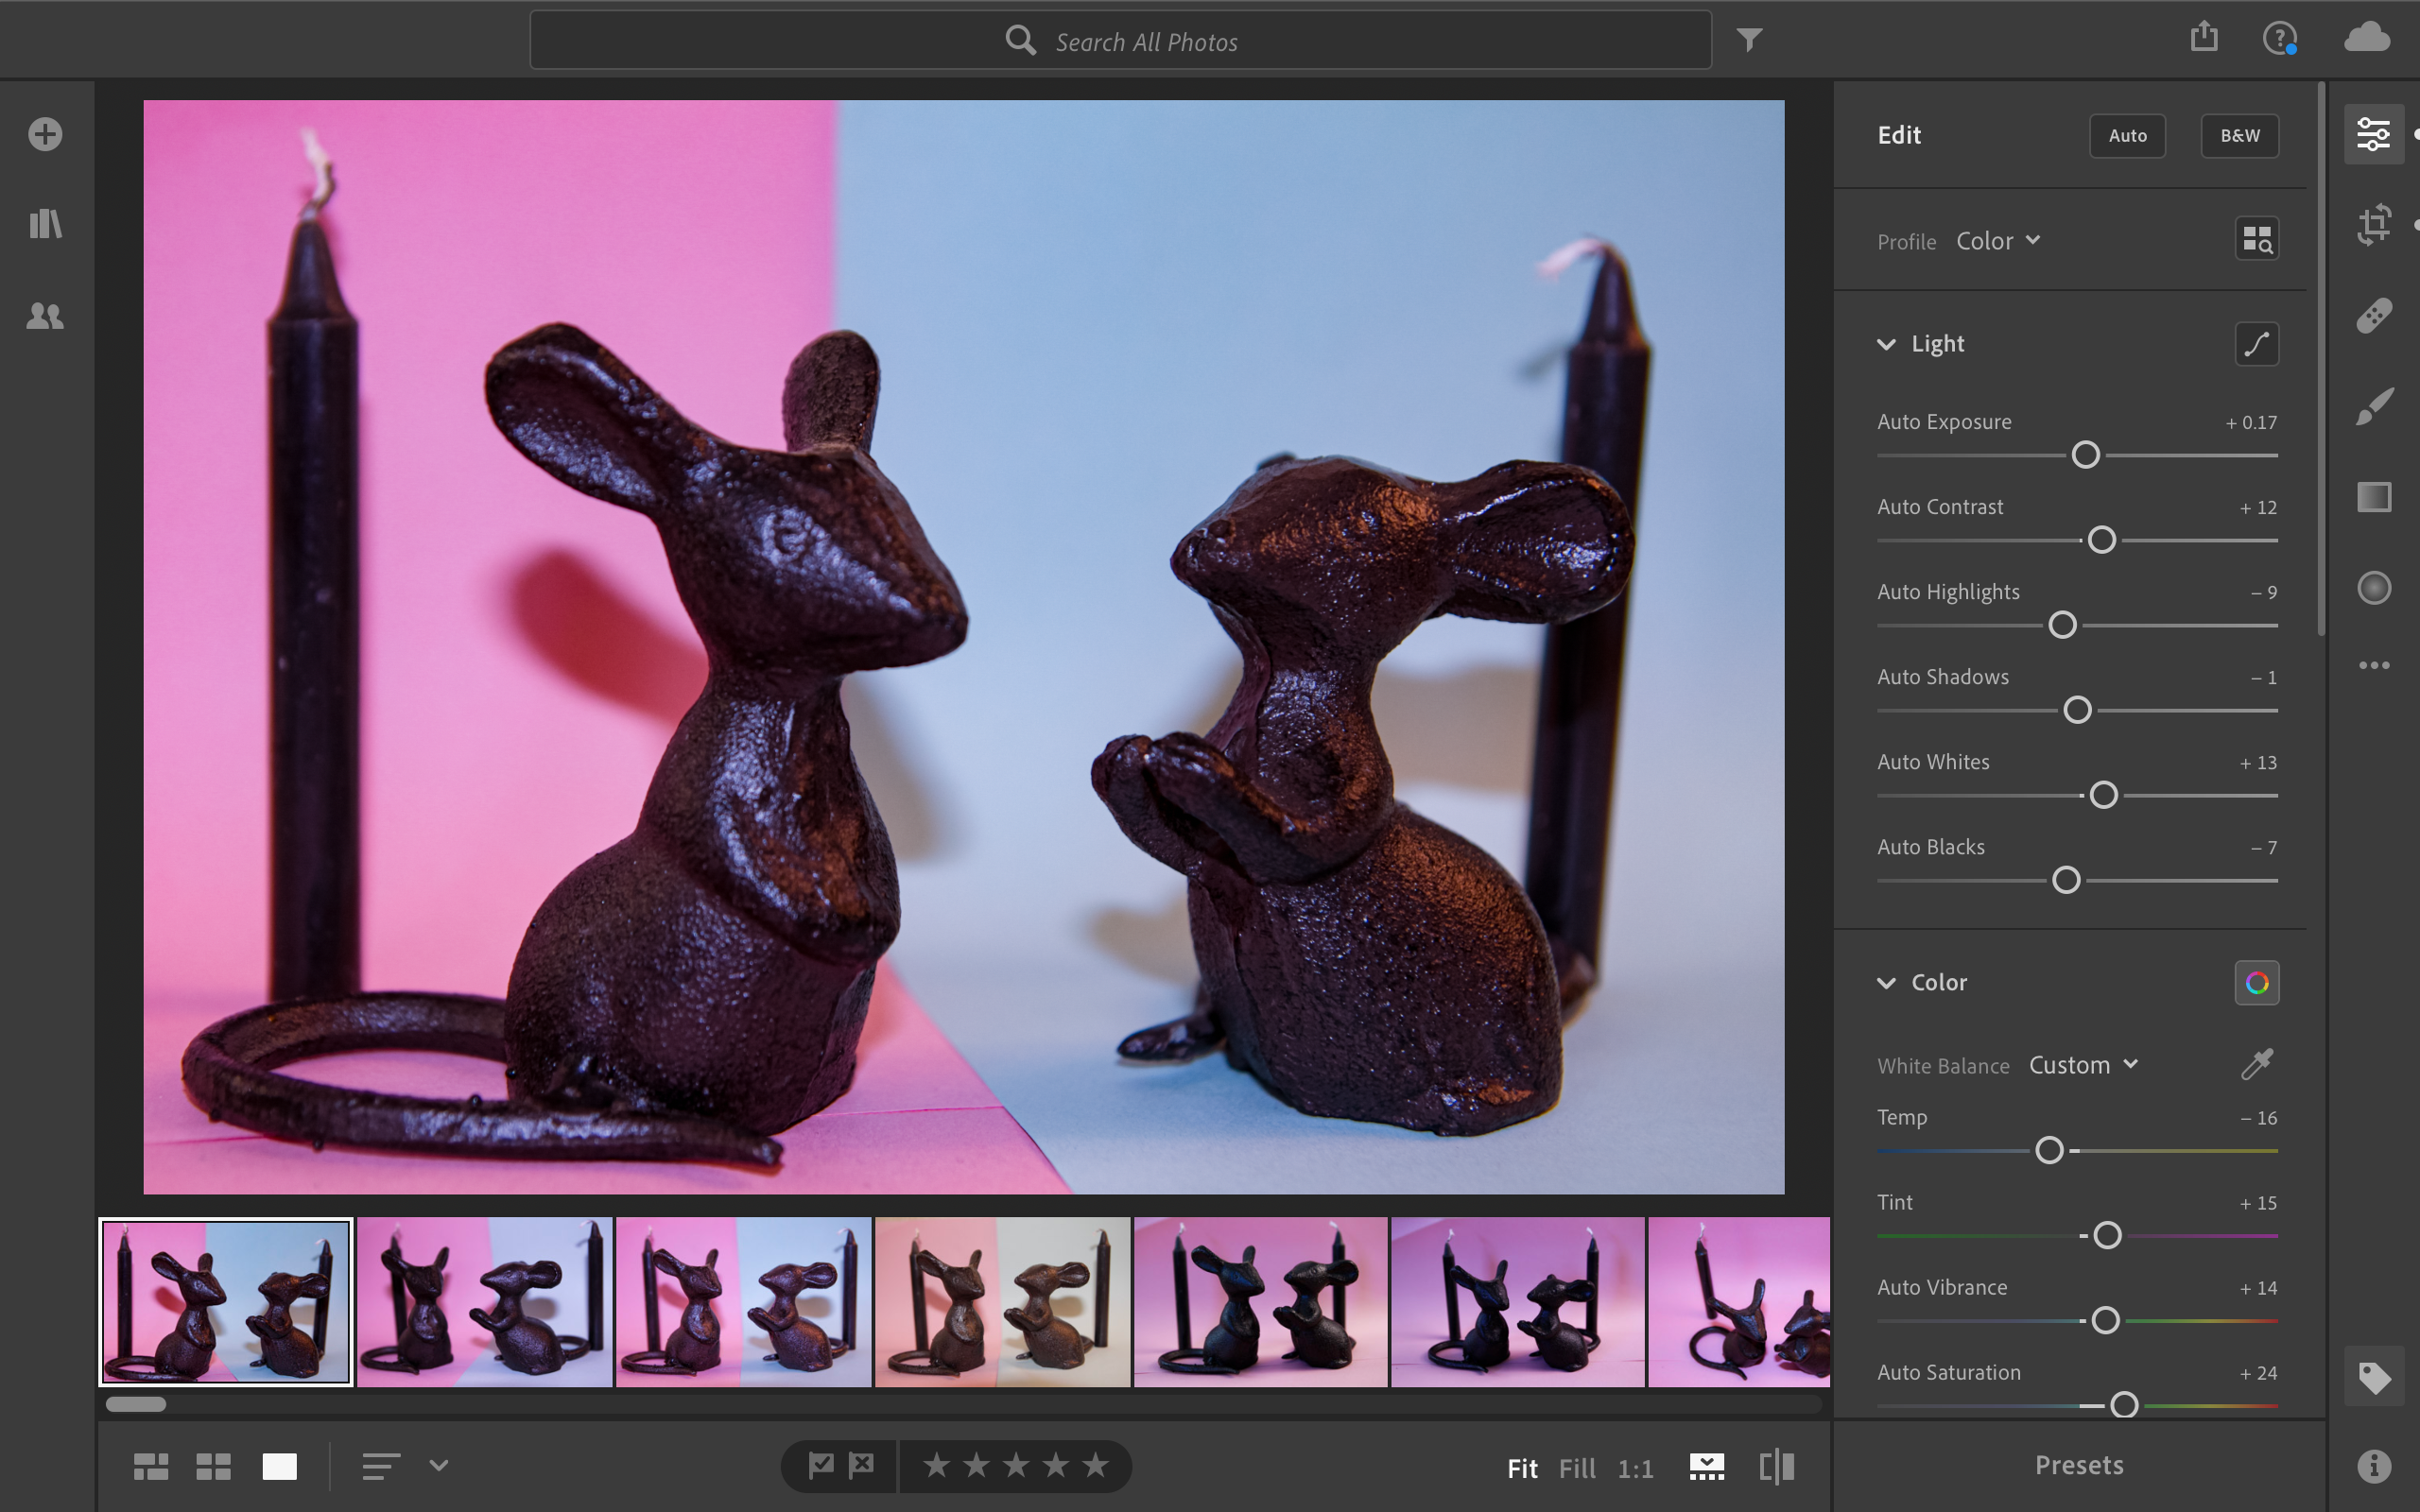
Here are the edited images. I used Adobe Creative Suite’s Lightroom to enhance the images and hide any imperfections. As you can see I didn’t have to do that much to improve them.
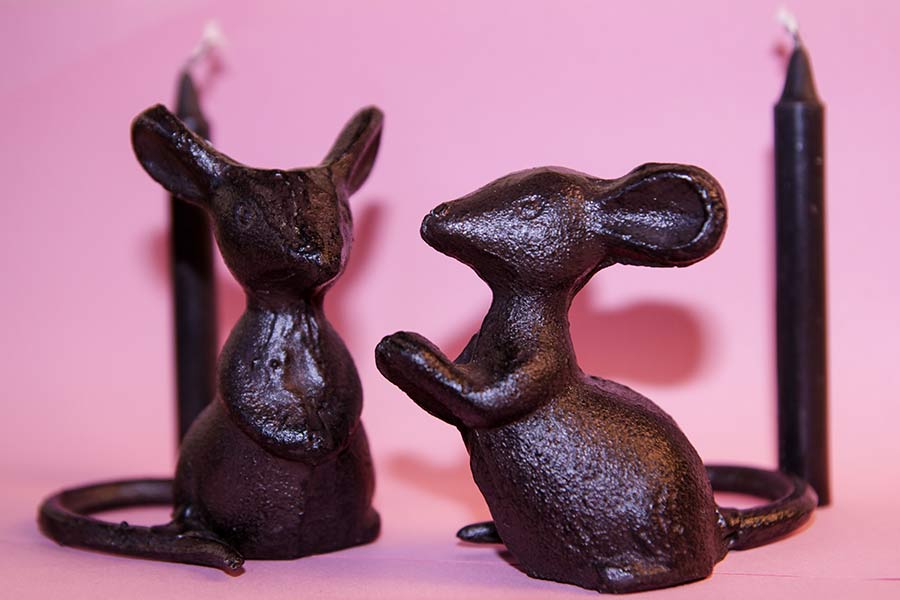
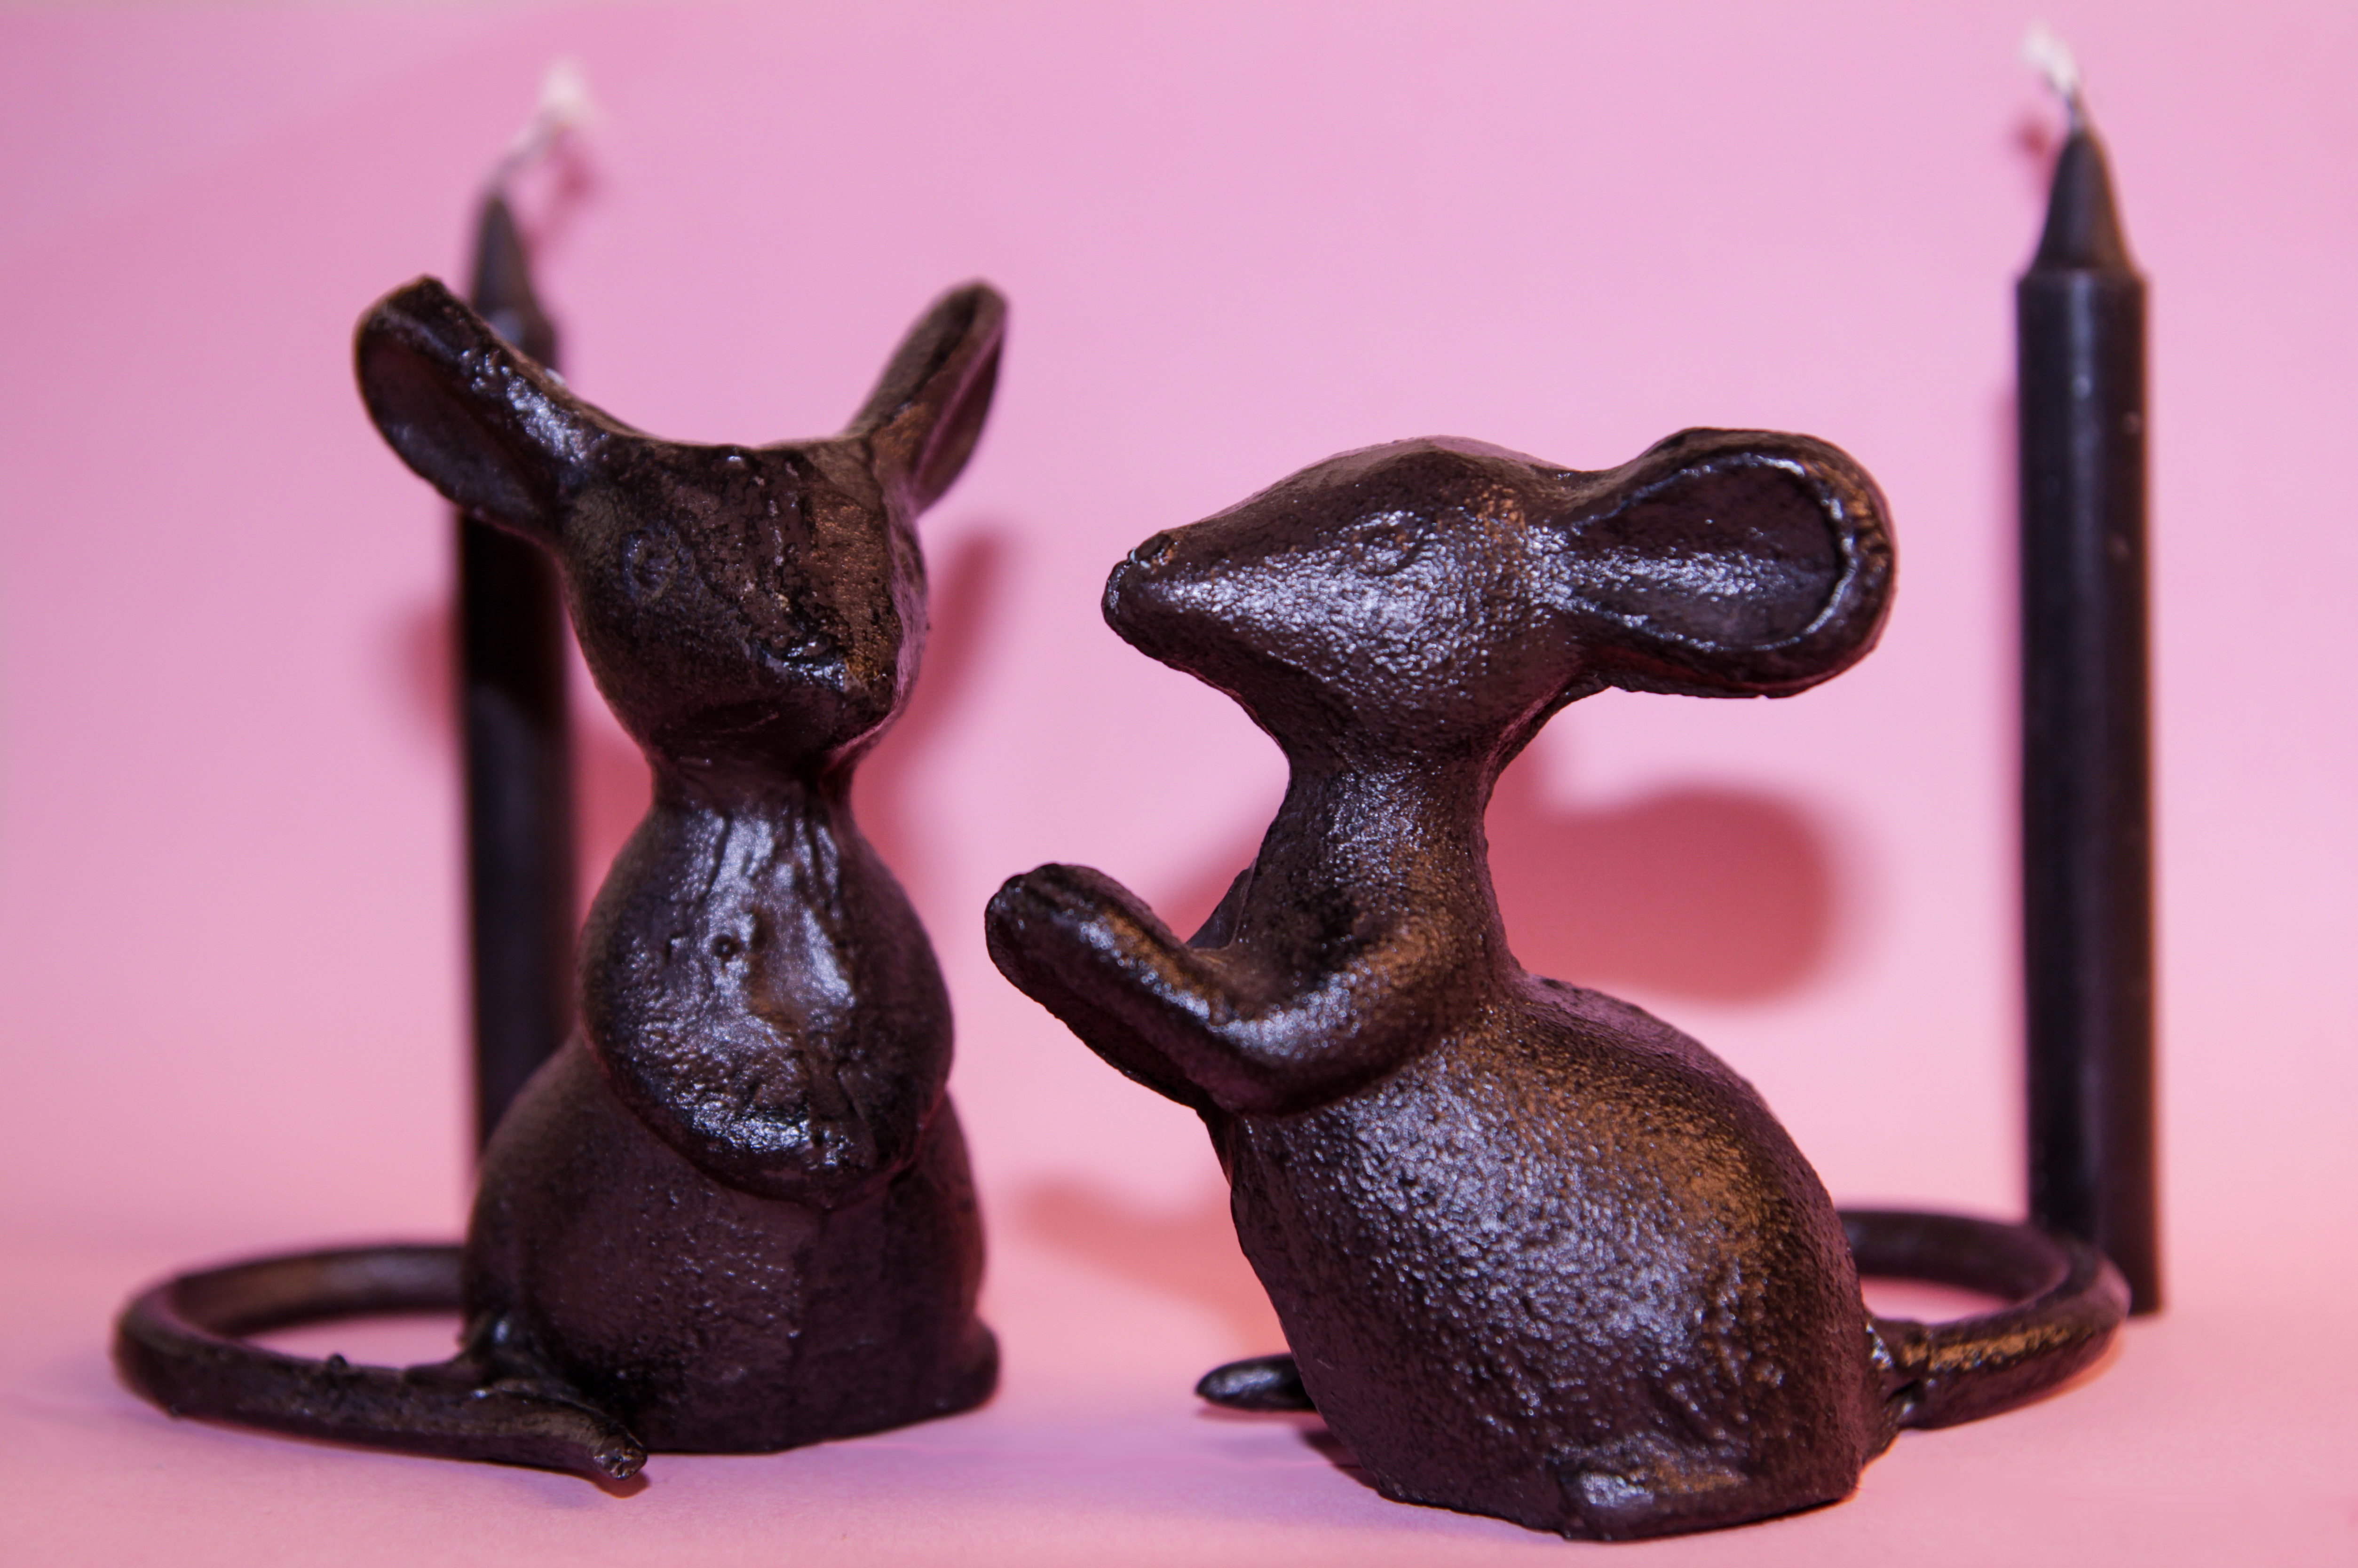
Final Edited Version – DSLR
Final Edited Version – iPhone
You can also put the colour corrected images from Lightroom into Photoshop and use the blur and smudge tool to get rid of any harsh edges that are still visible in your images.
In conclusion, I think that this is a neat little trick if you desperately want to get into studio photography but perhaps don’t have the money to do it. Perhaps you’re not even at university yet and would like to experiment with studio photography but don’t have access to such resources yet. As I have mentioned in the opening I learned this technique in the first year of my undergrad photography course. It served as a small learning exercise that explained the basics of studio photography in the most simplistic way possible. It is definitely something to practice and have fun with. I actually found myself using this trick to take some more ‘elevated’ Instagram photos because I’m a stereotypical millennial who wants her feed to look good from time to time. Anyway, I hope you enjoy it!
About the Author
Patrycja Reimus is a Norwich based horror artist and an award-winning filmmaker. She is also our Technical Copywriter who frequently enjoys writing for our blog. For more information about her work please visit patrycja-reimus.squarespace.com. You can also follow her wonderfully weird and obscene imagery on Instagram @reimuspati_art or stalk her personal life @patrycja_reimus.


