To most, photographing the brown hare presents a tough challenge. Tom Mason explains his methods for capturing great shots of this striking creature.
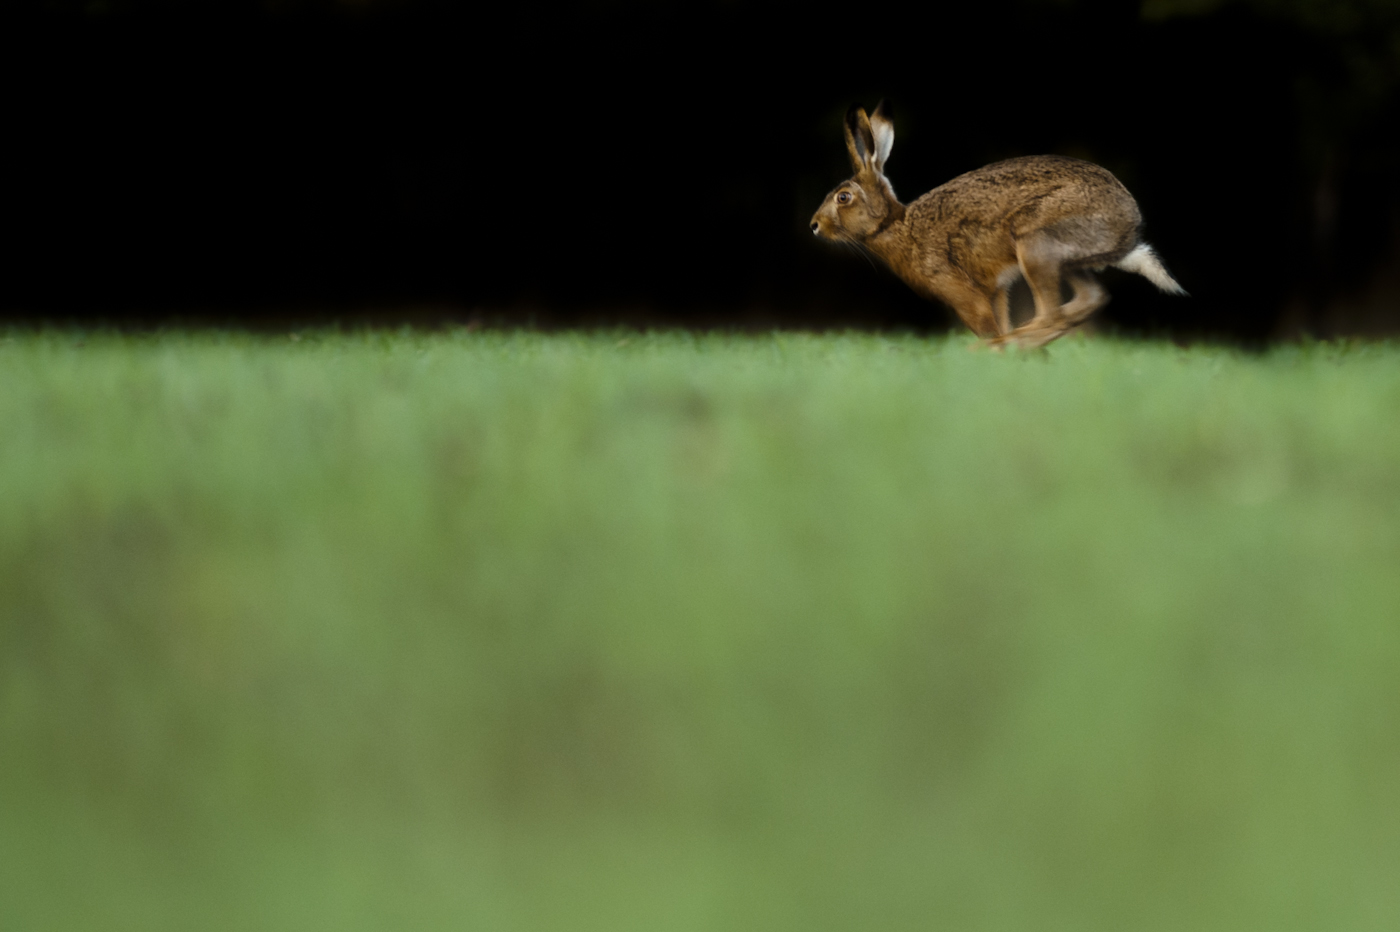
Over the last couple of years I have worked with a huge number of species, each one with its own beautiful quirks that only nature can provide. Throughout my explorations, certain species of bird, mammal and insect have consistently found a place in my photographic heart, but only one has managed to stay the test of time: the brown hare.
For the past three years I have worked on a long-term project to document the hares around my home, spending many days lying face down in the field margins waiting for what can often seem a lifetime, only to be granted the briefest of encounters with these fabulous mammals. Throughout my time I have learnt a lot from working with my local hares and below is my advice for capturing these charismatic creatures.
As with all wildlife photography, the first step to creating better images is to first improve your understanding of the subject you intend to photograph.
Introduced in the iron age, the brown hare (Lepus europaeus) is an unmistakable asset to much of the UK, often seen bounding through open arable fields and parkland. Their traits and presence are entirely different to that of the more common rabbit. Brown hares are widespread and can be found on most low-lying ground throughout England, Wales and Scotland, as well as a few locations in Northern Ireland. In upland areas of the UK and Scotland, the brown hare is replaced by the mountain hare.
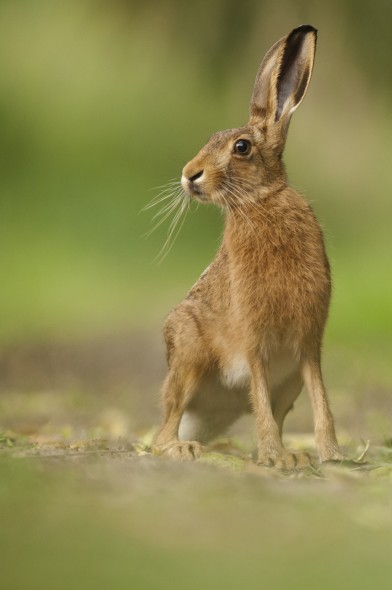
Brown hares’ most notable features are their long black-tipped ears and large powerful hind legs. Their coats are reddish with apparent yellow flecking, which, in addition to their significantly larger size, make them easy to distinguish from rabbits at a glance. Inhabitants of exposed locations, brown hares rely on their impressive senses in order to evade predation. Unlike rabbits, hares do not use burrows but create small depressions in the ground called forms. If disturbed, the animals will flatten themselves against the ground. If the danger persists or encroaches on their circle of fear, they will flee from danger with impressive speed, reaching up to 35mph!
How to locate brown hares in your local area
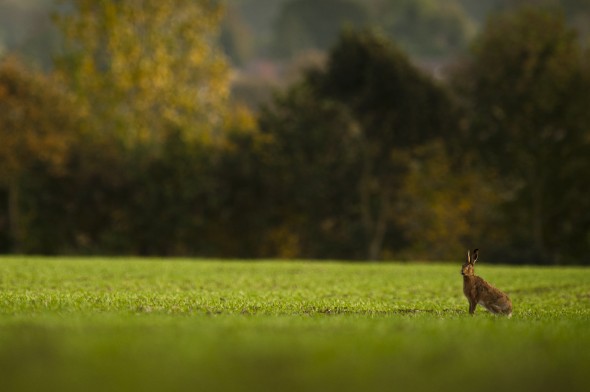
Locating hares in your area is often fairly straightforward. Focus firstly on identifying the correct type of habitat and more often than not, this will lead you to an area where hares can be found. Try and search out an area where arable fields lay adjacent to a small patch of woodland or hedge line, as these often yield good results. In the past, one of the most useful tools I have found for searching out new locations is Google Earth. The program lets you take a bird’s-eye view of the planet and is perfect for scanning your local countryside to find possible locations that might be worth checking out. Drop pins on the possible sites and you can even plan a route directly from your home to the spot you have identified. Another useful feature of Google Earth is the ability to track the position of the sun through the sky, whilst the map shows the real-time positions of shadows, making it even easier to choose the perfect vantage point!
With your location sorted it is now back to good old-fashioned ground work, which involves getting your boots muddy and settling in with a good deal of patience to see if your location will prove fruitful. If you have chosen well, after a few hours you will almost certainly have seen signs. If not, get back to your list of possible locations and keep going until you find the perfect spot.
Getting close
With you location pinned down you now need to work on getting close to the action. There are a number of methods I have used in the past, each of them with its own merits and drawbacks.
The Waiting Game…
As within many aspects of wildlife photography, using hides provides a great way of concealing yourself on location. When working with hares in the past I have always found that positioning my hide along field margins and tracks provides the best photographic opportunities. The hares become very accustomed to the hide and, after a few weeks, will often happily come extremely close, allowing some wonderful images to be produced. Hides come in all shapes and sizes but for hares, a ground-level hide works best. Make sure it has a low, ground-level opening so that you can be eye-level with your subjects for more flattering images. When positioning a hide, make sure that you have the land owner’s permission and, in most cases, it is best to only use them on private land out of public view. Hides can be an excellent way to get close to hares but they do have the drawback of being in a static position that can reduce the photographic possibilities.
Be a stalker…
If waiting in a hide for hours on end isn’t your cup of tea, why not try your hand at stalking instead? Like many mammals, hares can be efficiently stalked to within surprisingly close distances, if you concentrate and use well-honed field skills.
Understanding how hares detect danger is the most important knowledge when aiming to stalk them. Hares have a fantastic sense of smell and acute hearing, both of which must be taken into account when making an approach. Make sure you are down wind of your subject and keep as low as possible to minimise your outline; I often find army-style crawling is the most effective. Move directly towards your intended subject and, if at any point it looks up from feeding or lifts its ears, stop and wait until it returns to its previous position. Stalking often comes down to trial and error; some hares will almost let you walk up to them, whilst others will be gone in a flash. Persistence pays off.
Drive by…
If the location you have found is close to a country road or good farm track, why not use your car as a hide? Slowly drive down the perimeter and when you spot a hare, pull up alongside (safely) and photograph from the window. Keep the windows open as you drive and use a bean bag to support your long lens on the door for ease and comfort. Not only does using your car allow you to get close, it also means you have a very comfortable location to shoot from in all but the worst conditions!
Taking the Shots
So you have found your location, got close and now its time to press the button…
In all honesty, taking the images is the easy bit! With their consistent colour, exposure is straightforward and in most cases when they are feeding, shutter speeds as low as 1/250 sec can produce excellent results. My personal preference is to use a wide aperture of f4-5.6 in order to get clean foregrounds and backgrounds. Using f8 for complete sharpness can also be very effective.
Those are the basics, but for more creative images a variety of techniques can be used.
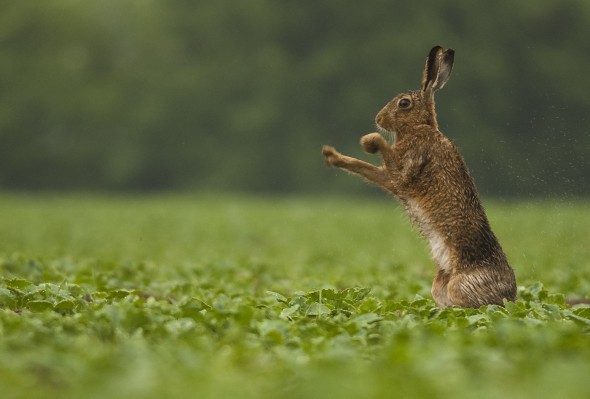
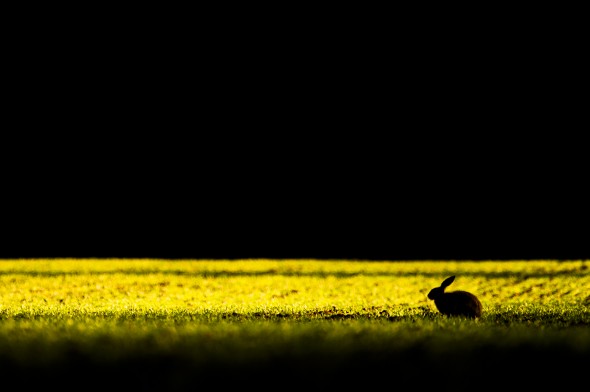
If you want to capture the action of the March madness, for example, as the females box the males to find the best mate, high shutter speeds will almost certainly be required. Wide apertures and increasing your ISO to make sure you have at least 1/1000 sec will help to capture the fast-paced action as it unfolds. In addition, focusing on the changing light can also result in some wonderful images of brown hares. With their obvious outline, they often work very well in silhouette, so finding a location where they can be photographed against the sky can also produce striking results.
Also, don’t forget to take in the whole scene. Using a long lens and getting those perfect close-ups can be effective, but taking time to place the hares in the wider environment will also help produce a set of images that can tell a story, adding breadth and worth to your portfolio.
Equipment

When working with hares my usual set-up includes a Nikon 300 2.8 VR II, along with a 1.4 teleconverter on a D700. This gives me a decent focal length with a wide aperture of f4 that is easily portable and perfect for stalking. Sometimes I wish I had a 500mm but when everything comes together and I am staring at a hare barely three metres away, I am glad for the closer focus and versatility. Fast glass is helpful but with modern cameras having great ISO performance, in good light they are not always necessary. Zoom lenses certainly offer advantages in terms of composition and having an additional shorter lens for the wider view can often be a blessing.
From a static location, tripods are excellent, especially for long periods in hides but my preference is a bean bag for its versatility and ease.
Brown hares are truly wonderful creatures. They offer fantastic opportunities for wildlife photography and are also fascinating to watch. If you make the time to work with your local hares you will certainly not be disappointed and, with some hard work and patience, you will hopefully be rewarded with a stunning portfolio of images to boot!
About the Author
Tom Mason is an up-and-coming wildlife and nature photographer from Hertfordshire. He has worked on a number of projects both in the UK and abroad and is passionate about the natural world. For more information on Tom, check out his website or follow him on Twitter.
Related articles
10 top tips for bird photography
Wideangle wildlife photography
How to shoot black and white wildlife photography

