Disposable cameras can be unpredictable, film can be unpredictable that’s the beauty of it; however, sometimes you end up with nothing but a poorly exposed, virtually nothing-but-black image. Instead of throwing those pictures away why not turn them into a fun project?
This is a follow-up blog post to ‘The nostalgia of single-use cameras’ article which you can find here.
Bleaching is a photographic technique used on prints whereby you can lighten specific areas such as clouds and bring out subtle details if used sparingly. This process requires a different type of chemical than the common household bleach - potassium ferricyanide mixed with a photographic fixer. This, however, is not what we are trying to achieve. We are very much using household bleach to get some orange, yellow and red burns. Interestingly, photographers such as Curtis Mann - who have their work displayed in recognisable institutions including the Museum of Contemporary Photography (MoCP) - use bleach to inject a deeper meaning into found photographs. His Modifications series sources photographs which document violence in places affected by war including Iraq and Lebanon. Mann utilises bleach to chemically remove any traces of evidence that would allow the audience to ‘trust the photographic truth of what [they] see’ (MoCP, 2019). Instead, the audience is left with images of people in an empty world destroyed by war; the clean space signalling hope and a chance for rebirth.
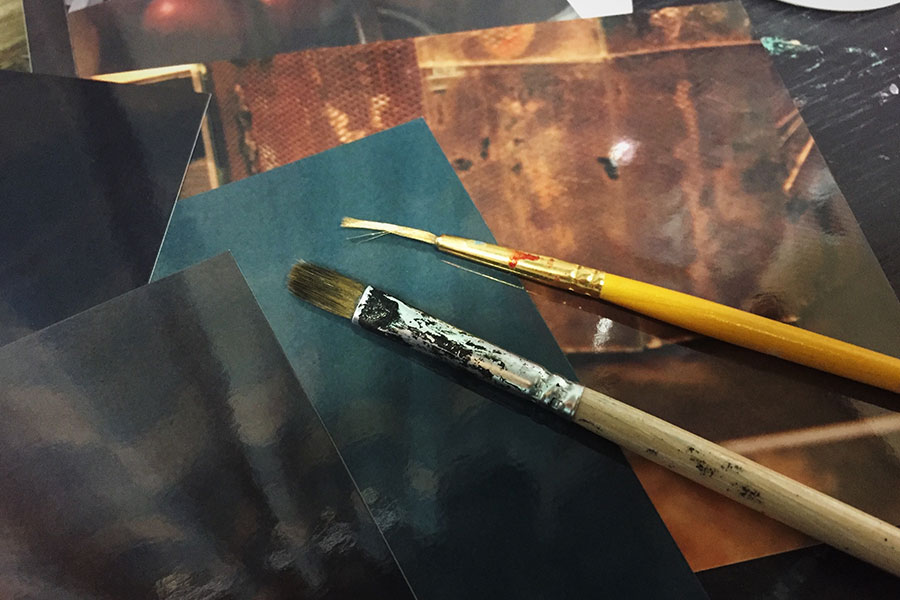
So what will you need? I used: household bleach, gloves (lies but you should use them), a cup, a roll of paper towels and a brush. If you would like to experiment with different patterns I’d recommend using a brush set with varying shapes and thickness of bristles. Unless you are working on a surface you don’t care about, perhaps also invest in a cheap PVC tablecloth. The final bit of warning; set up in a well-ventilated area, away from children and pets.
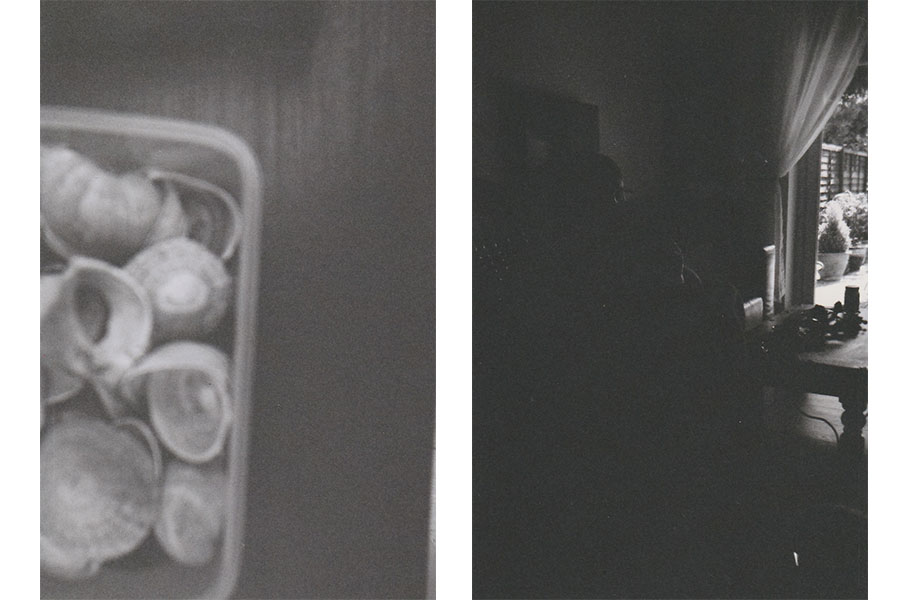
The below images are an example of the type of photographs I was working with. As you can see, the images were blurry, badly exposed, and some were taken accidentally. All of these images were captured with a single-use camera bought at my local pharmacy.
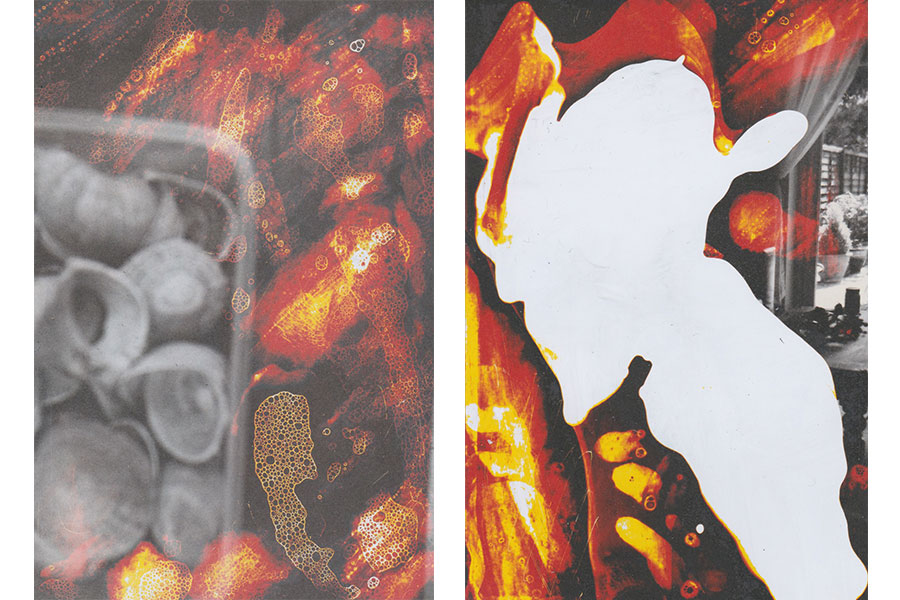
Failure 1 & 2
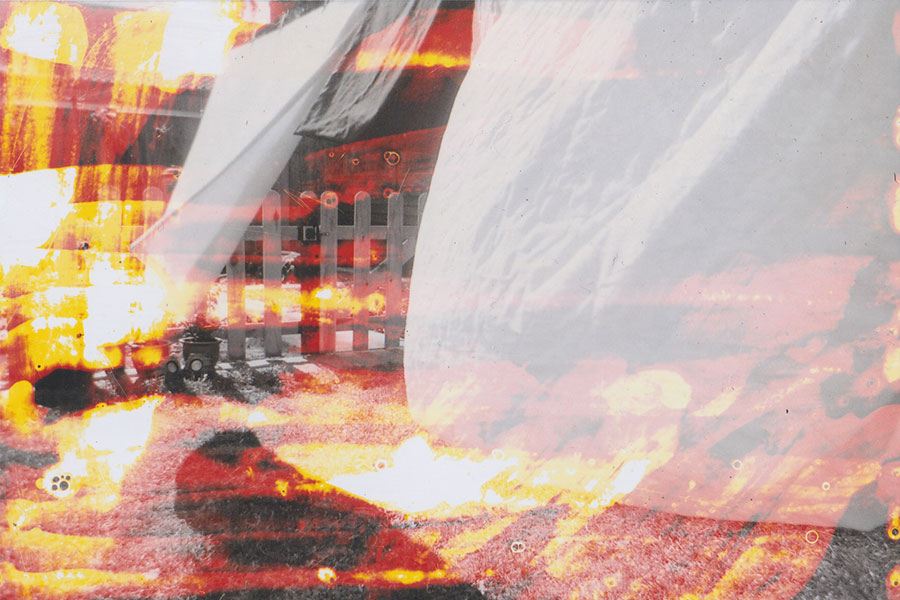
The second image shows the effect of pouring bleach directly onto a photograph. Thankfully I was able to save it with some strategic brushwork; turning it into a silhouette of a 1940s devil. I think that the black and white background along with the orange, yellow and red tones created by the bleach emphasise this idea quite well. Nonetheless, I wouldn’t recommend simply pouring bleach directly onto a photograph as it can very quickly turn white, leaving you with no image at all.
Here are some more examples of my failed photography:
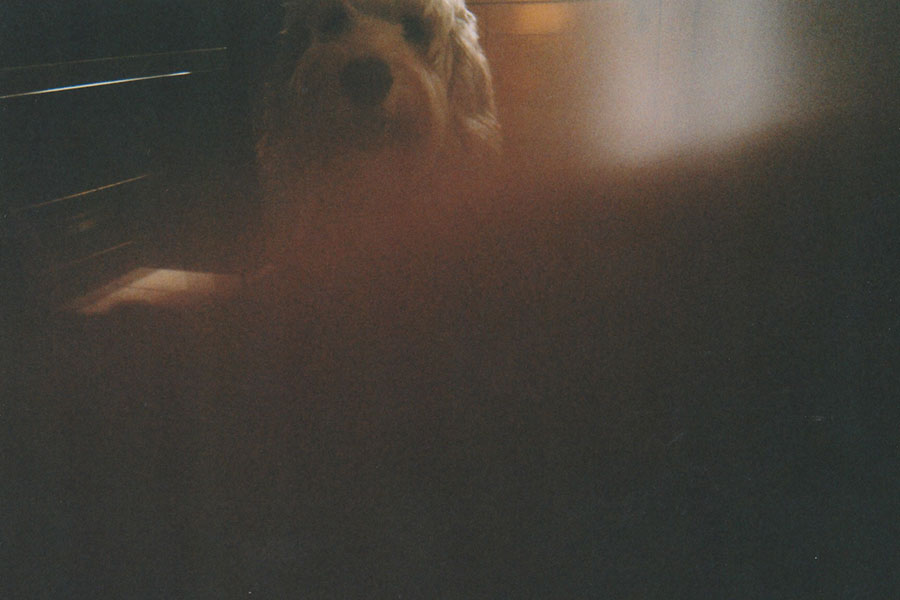
Failure 3
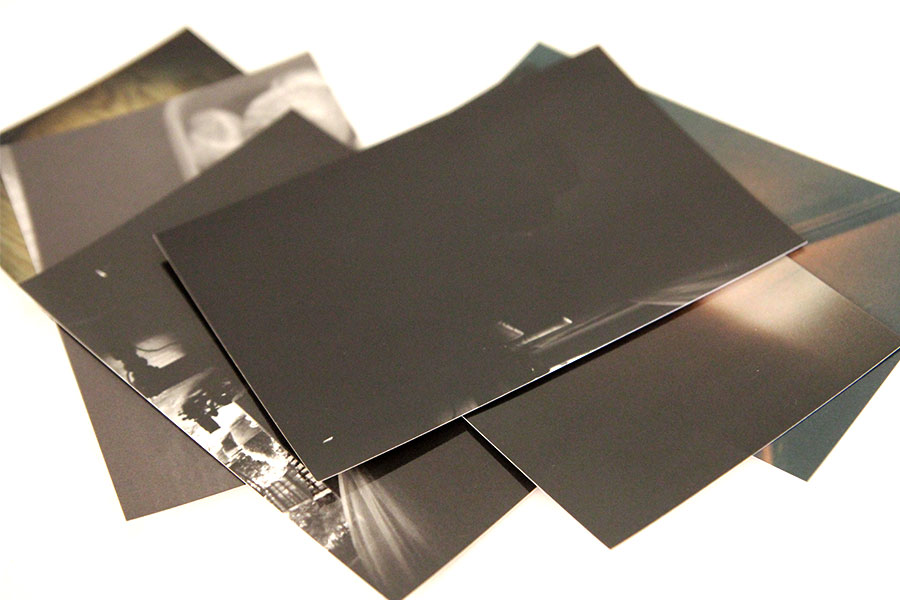
All the failures
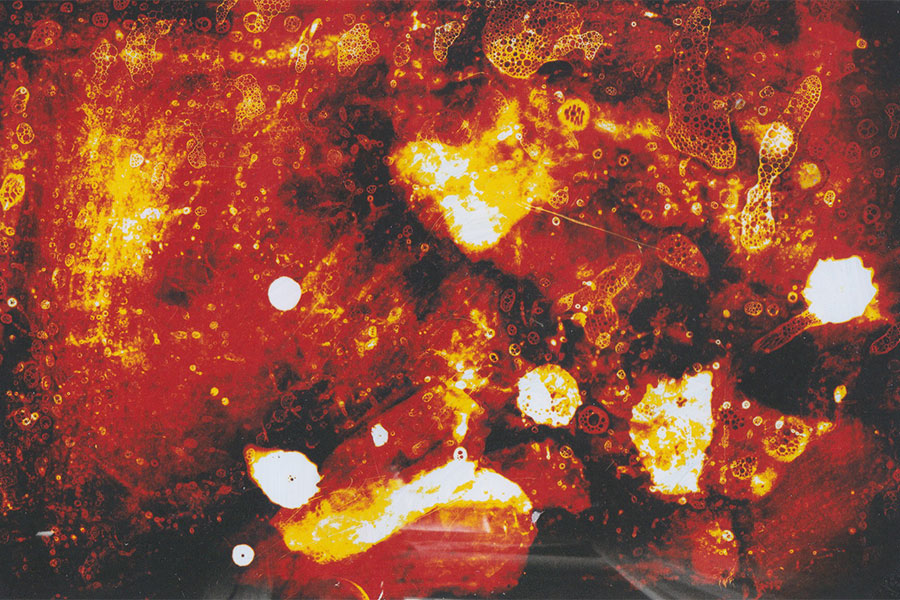
To bleach the pictures I simply dipped the paper towel and the brush into the bleach and begun to create some patterns. After a few tries, you will get a feel for what you like and the amount of bleach you prefer to work with. I alternated between dipping the brush into the bleach and violently shaking it over my photographs to transfer the bubble pattern; gently washing the photograph with the paper towel soaked in a small amount of bleach; and scratching the photograph with the back of a brush.
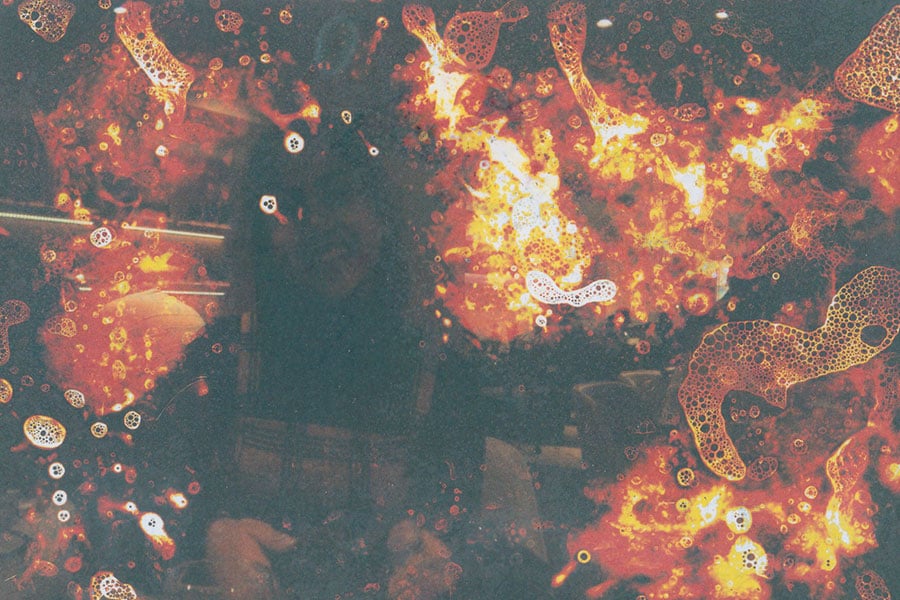
Transferred foam/bubble pattern
Here is a short video demonstrating how I created the cover photo; which also happens to be my favourite of the bunch. To bleach all of my pictures took about an hour, but the payoff is worth it in my opinion! Please make sure to wear gloves when doing this process - unlike me. Do as I say not as I do…
Bleaching Photographs
Last but not least, here are some of the results compiled into a neat little video. I felt that it was only appropriate to turn the images into a 'Super 8 film'.
Bleach
As a final note, I think that bleaching photographs can be used artistically, for conceptual photography or as a fun DIY project. How you use, curate and what meaning you assign to this technique dictates the level of its professionalism; similarly to anything within the creative arts. I’m only mentioning this as it can seem like a novice practice and deemed by many as inappropriate for professional photography. I would counter that argument as I want to encourage people to experiment with whatever they have to hand to create some stunning work. However, if you are looking for some inspiration or perhaps would like to experiment with developing your very own film have a browse through our affordable range of photographic chemicals.

About the Author
Patrycja Reimus is a Norwich based horror artist and an award-winning filmmaker. She is also our Technical Copywriter who frequently enjoys writing for our blog. For more information about her work please visit patrycja-reimus.squarespace.com. You can also follow her wonderfully weird and obscene imagery on Instagram @reimuspati_art or stalk her personal life @patrycja_reimus.


