
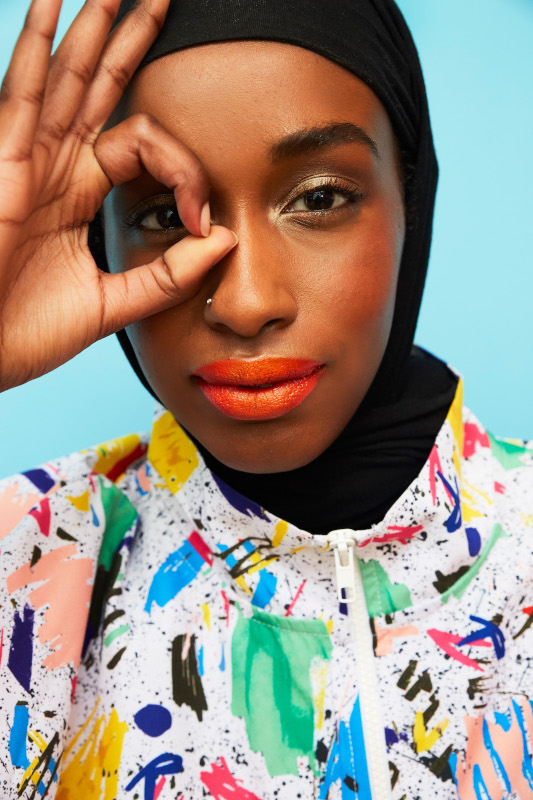
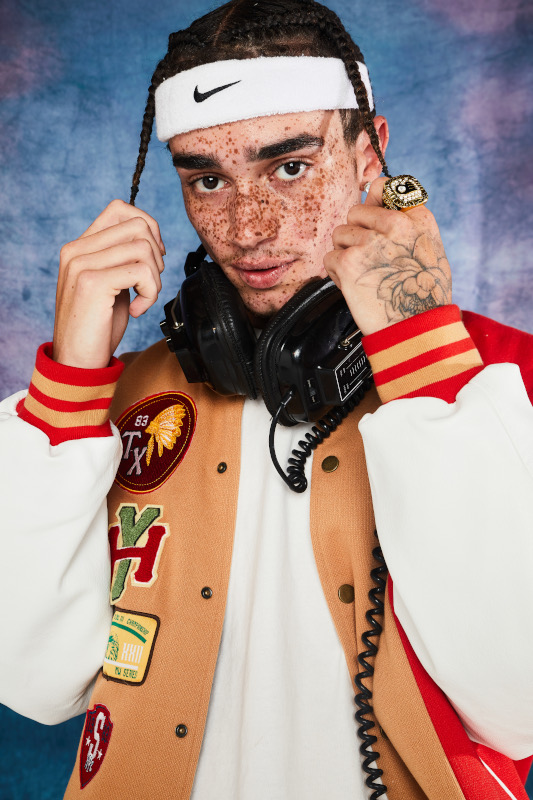
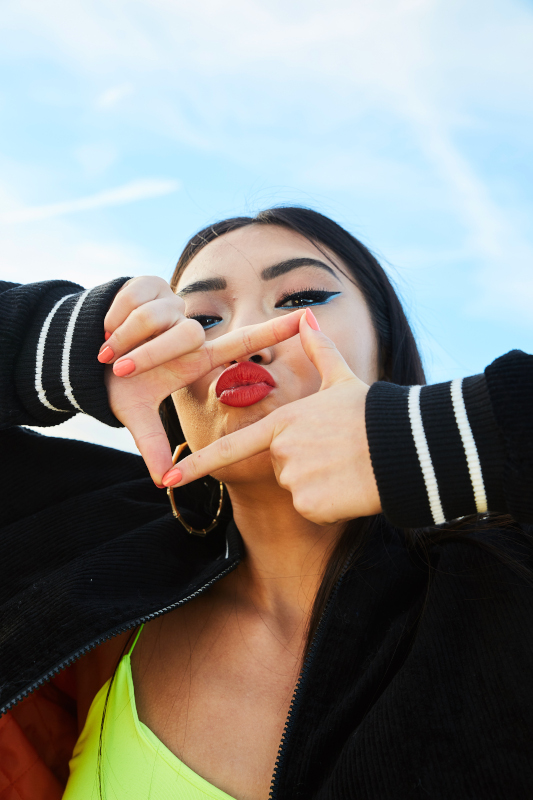
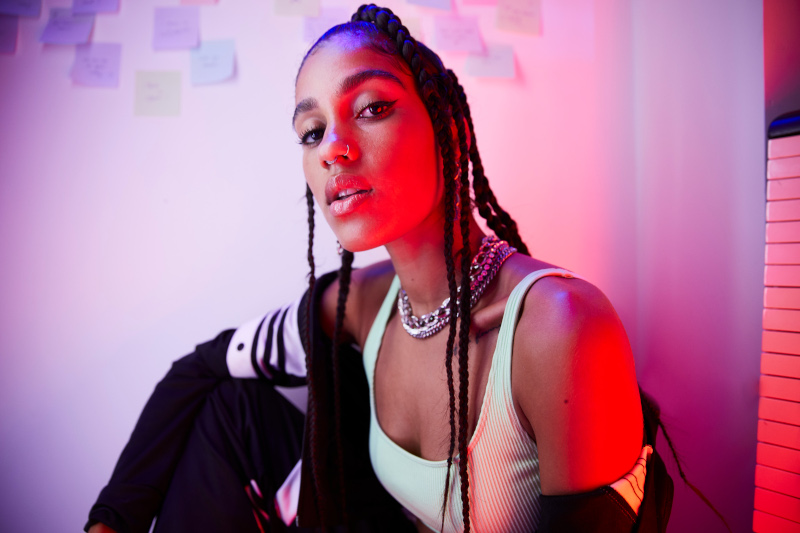
Welcome to our beginner’s guide to portrait photography. Here, we’re going to run through the gear, lights and techniques that will help you capture perfect pictures of people, both on location and in the studio.
Portrait photography is so much more than just capturing an image of a person. As a photographer, you have the opportunity to tell someone’s story, and that can be accomplished through the subject’s expression, the way the image is lit, how it is edited, where it is taken or through a myriad of other means. For this guide, we’ve collected the advice of a cohort of expert photographers, covering everything you need to know to get started shooting portraits.
Quick Navigation
Portrait photography: what camera and lens to use
The first step in shooting great portraits is having the right setup to shoot them on! If you’re looking to graduate from an iPhone’s portrait mode, then you’ll need to pick up the right camera and lens for the job. We’ve got a few tips to get you thinking along the right lines.
Camera
You have a lot of freedom when it comes to picking a camera for portrait photography. You’re unlikely to need to shoot in extremely low light, or need super-fast autofocus – but there are a number of specs it’s a good idea to pay attention to.
We’d recommend getting an interchangeable-lens camera. While you can definitely shoot great portraits on a premium compact camera, being able to build up a stable of lenses with different focal lengths and apertures will give you much more versatility for capturing different subjects.
It’s worth looking at sensor size and resolution, especially if you’re planning on printing your portraits. Cameras with larger sensors and higher megapixel counts will produce cleaner and more detailed images well suited to printing and enlarging – however, they are also more expensive, so you’ll need to weigh up your budget.
One feature you may want to look for is Eye AF. This is a dedicated autofocus function, more common on newer cameras, which can recognise and lock onto a human (or animal) subject’s eyes. As you’re going to be doing a lot of eye focusing, this can really come in handy!
See more in our guide to the best cameras for portraits.
Lenses
The received wisdom for portraits is that you need a short telephoto lens with a wide aperture – an 85mm f1.4 (or, even better, f1.2) is generally considered to be the gold standard. The longer focal length narrows and flatters facial features, while the wide aperture allows you to create a shallow depth of field, blurring the background to keep focus on the subject.
All this is true. However, portrait photography does not start and stop at 85mm. A narrower focal length is great for tight headshots, while a wider focal length can be fantastic for environmental portraiture, giving more context to your subject. A zoom lens like a 24-70mm can allow you to move from one perspective to another, and experiment for creative results.
We run through our top picks for all the major mounts in our guide to the best lenses for portraits.

Portrait lighting: a guide to getting started
Light is everything. The very term “photography” means “to paint with light”. Aside from your subject, the look and feel of a portrait is determined by the number of light sources, their shape and their size.
While portrait lighting can get complex, all you really need to get started is a single light source – so that’s what we’re going to look at here. A lot of fashion and beauty portraits are shot with a single light source from above, with reflectors underneath and either side of the model in order to bounce and diffuse the light and result in a soft, flattering look.
Here then is a quick guide to getting started with portrait lighting. With these simple, affordable accessories, you can create a versatile and effective portrait lighting setup.
Flashgun
The first thing we need is a strong light source so that when we expose for it, any ambient light pollution – like the light streaming through the windows – is negated. Here’s where “strobe-light” or flash comes in. Flash can often be seen as a negative because people associate it with the poor results they get from the built-in flashes in compact cameras and smartphones. Yet, once you take that light source off the camera and place it to one side, we can easily achieve a more natural and classic lighting style.
Professional studio lights can be big and heavy, and they require mains power. They also need to be held up on heavy-duty light stands which aren’t cheap or easy to lug around. But what if you don’t have expensive pro flash heads? What if all you have is a simple flashgun? Can you achieve similar results? Yes, you can. As long as it’s fairly consistent in its output, you can modify the size and shape by using modifiers. Even the cheapest supplementary flash equipment can be used “off-camera” with either a hot-shoe sync cord or a wireless triggering system – and there are plenty of affordable options for achieving this.
So if that’s the case, you might be wondering why anyone uses professional lights at all? Speed, colour accuracy and power consistency are three good reasons, but if you don’t mind slowing the process down a bit, and waiting a little longer for it to recharge between shots, a flashgun can still give you great results. In many cases, they can be more convenient as they’re light and easy to move around. Furthermore, there are places where you can put flashguns that studio lights just can’t go!
Reflectors
Being able to modify the strength, intensity and shape of your light is absolutely critical in portrait photography – and it can be achieved with a few very affordable accessories. But which to choose?
Reflectors are one of the most important – and affordable – pieces of kit for the portrait photographer; if you can only afford one item, this is it. Depending on the available light and its distance away from the subject, the effect can be subtle or very obvious, but it’s always welcome. You can pick up a collapsible reflector for as little as £15 and have an effective way of bouncing flattering light onto your subject. Of course, you may need an extra pair of hands to hold it!
If not, then there are ways to get creative. What people sometimes forget is that a reflector doesn’t have to be the circular collapsible disc that usually springs to mind. It can be a piece of paper, card, a wall, a floor … whatever surface is in the vicinity that will reflect light. Understanding the reflective properties of various surfaces around the subject is paramount to getting the best shot.
Umbrellas
While it’s not strictly necessary, you may also want to consider picking up an umbrella as a means of controlling the light from your flash.
Collapsible, light and very easy to set up, the umbrella is a studio photographer’s staple, not to mention a favourite among portrait photographers. They work in basically the same way as a beauty dish, except instead of blocking the flash point and bouncing it back into a diffuser that then lights the subject, they turn the flash point around and bounce the light directly back into the subject. Both of these modifiers work to eliminate any hotspots in the centre of the light source.
The tiltable brolly holder should also be in every photographer’s kit bag. You can mount any light and virtually any brolly onto it, and they have the added advantage of letting you tilt a flashgun downwards, which you can’t normally do if you mount one on a stand.
Portrait lighting tips: how to eliminate shadows
In most cases, when you’re crafting a portrait, you don’t want shadows running across your subject’s face. Nice, smooth, even lighting is the portrait photographer’s best friend – which is why we use lighting modifiers already mentioned in this section, such as umbrellas and reflectors.
It’s a good idea to always carry a range of reflectors in your kit bag — these double up as portable diffusers. If you are shooting in harsh light, you can diffuse it by using a large, translucent shoot-through reflector.
Another way to diffuse shadows on the skin is by using the white side of a reflector. If, for example, the left side of your subject’s face is not getting enough light, hold a reflector up to the left side of their face and the shadows should be reduced. In a studio environment, you can do this with polyboards.
If you are shooting outdoors and using natural light but don’t have a reflector, you can also simply direct your subject to face away from the sunlight. Find something that is blocking direct light and stand them behind it – more direct sunlight hitting your subject tends to result in harsh shadows, and so is to be avoided.
In the studio, you’ll have different concerns. You may be using a backdrop; keep a decent amount of distance between it and the subject, as if they stand too close to the backdrop paper or cloth, it will create shadows in the background. If you are using studio lights, it’s best to use umbrellas or softboxes to diffuse them for a nice, even light. However, if you don’t have these accessories, at the very least face your lights away from the model. You can bounce the lights off polyboards if you have them, or walls and ceilings if you don’t, to create the kind of light we’re looking for.
Portrait composition: top tips
When it comes to shooting portraits, composition is one of the most effective tools you have in your arsenal. The angle and distance you use to shoot, the focal points you choose, the placement of your subject in the frame – it all has a significant effect on the final image.
Here are our experts’ top tips for portrait composition.
- Concentrate on the eyes
Instinctually we are drawn to eyes when we look at an image. Accordingly, getting them right in a portrait can make a massive difference to whether the shot is successful or not.
This process usually begins with making sure that they are the sharpest part of your photo, unless you’re purposely trying to draw a viewer’s attention to something else in the scene. Use single-point AF and position the active focus point over the eye that’s closest to the camera, before half-pressing the shutter button to find sharp focus on it.
Consider where your subject is looking before you take your shot too – direct eye contact will feel intimate and give impact to an image, while a mid-distance stare towards the edge of the frame may suggest the subject is in deeper or more reflective thought. This simple difference has real power to dictate the emotion conveyed by your shot.
- Try an off-centre composition
Many people begin taking portraits with their subject positioned in the middle of the frame as a matter of course. We do it for school and passport images, and it seems natural that the most important thing in a photo should be at its centre. While central compositions can make a subject appear powerful and strong, off-centre compositions can be much more creative and interesting.
One of the easiest ways to successfully start taking portraits off-centre is to position your subject using the rule of thirds – for those who don’t know, this rule splits your frame into nine even rectangles using two horizontal and two vertical lines.
By placing your subject along one of these central lines, and placing the eyes at one of the “power points” where the horizontal and vertical lines intersect with another, you can produce a shot with a pleasing balance between the subject and the space around them.
Many devices will allow you to display a rule-of-thirds grid through their viewfinder or rear monitor while shooting – just activate it in your camera’s menu.
- Consider the background
One of the fastest ways to ruin a portrait is to position your subject in front of a background that distracts attention away from them. In fact, it’s this considered awareness of the scene as a whole that’s one of the biggest differences between something that looks candid and something that looks professional.
When choosing a location for your photo, try to find either a background that’s clean and clutter-free, or one that compliments the subject and the scene that you’re trying to set.
While a clear contrast between subject and background can produce eye-catching results, such as a ballerina pictured in a derelict building, it usually needs to be a bold enough difference that the intention of the photographer in combining the two is obvious.
Wide apertures can help you to produce shallow depths of field in your photos, causing a scene’s defocused areas to fall into blur. This technique can be a great way of creating separation between a sharp subject and the world behind them, focusing attention on them and masking any distractions.
- Consider the foreground
Including elements in the foreground of a portrait is a fantastic way of adding depth and giving it a cinematic feel. Placed carefully, things like plants and walls can frame a subject to increase emphasis and draw a viewer’s eyes into them.
Just like with the background of a scene as mentioned earlier, a shallow depth of field produced by using wide apertures can help to remove any distraction caused by this foreground, as the sharpest part of the image remains the subject themselves.
Including a foreground also helps to place the subject more firmly within a location and create a sense of scale, both important for a sense of realism.
- You don’t always have to fill the frame
Just because your image is a portrait, doesn’t mean that you have to fill the frame with a face. In fact, unless you're producing some kind of beauty image or profile image, it’s usually best not to.
Including more of your subject’s environment helps to give them character, and helps to build a story about where they are and what they do, which in turn will intrigue viewers. Sure it can be a challenge not to lose small subjects in busy scenes, but use the background and foreground tips above and it’ll be clear who the focus of your image is.
- Switch up your angles
Generally speaking, images taken from the subject’s eye-level will feel the most intimate and balanced and look the most flattering and natural. Depending on the height of your subject, this can require you to get higher or lower in order to get parallel with them.
However, even fairly subtle shifts in perspective can have a significant impact on the balance of power in an image, and in turn how a subject is perceived.
High shooting angles can have a slimming effect on a subject’s face when it’s tilted upwards (which is one of the reasons it’s a popular choice for selfies), but it can also make the person pictured look smaller and less intimidating. This angle can be good for children, emphasising their small stature, but is less likely to work as well for a subject you want to appear powerful – say, a boxer or a company director.
The opposite is true of low angles, where body size seems enlarged and the subject seems more intimidating, looming over the viewer.
- Embrace backlighting
Traditionally, as photographers we are told to have the light source in front of our subject and behind ourselves so the light falls onto the model. Don’t be afraid, however, to break this rule and place your light source behind the model.
Backlighting can give your subject a wonderful glow, especially around their hair. However, you need to make sure you still have enough light on their face. A simple reflector can help with this. Done well, it can produce a wonderfully dreamy effect where the model looks like they’re glowing.
Portrait photography tips: how to work with your subject
One of the most important things to remember about portrait photography is that it isn’t just about you – it’s about your subject! A good portrait shoot is a dialogue between photographer and subject, in which you use your skills to create an image that communicates who your subject is, not just what they look like.
To that end, it’s important to take some time to develop a hugely important but often under-discussed aspect of portrait photography – people skills! Here are some tips on how to work with your subjects and improve your portraiture.
- Chat before you start shooting
Portraiture is an intimate experience for both the photographer and their subject, and for both it can be intimidating. It is crucial to make a connection with your subject. So, make sure they feel comfortable. Have a chat, get to know them before you put a lens in their face – build a rapport, and it will make a difference in the final images. A good idea is to include the models in the whole process – show them the pictures and explain what you are doing while it is happening, e.g. “I am going to come in a little tighter in the crop.”
- Ask your subject for ideas
Communicating with your subjects prior to the shoot will not only help them understand what will be required, but they may also have some valid contributions to make.
Your subject may suggest good locations or props, or offer to bring a change of clothes to see whether a different uniform or outfit works better in a chosen scene. They may also be able to enlist the help of others, which is useful if you don’t have an assistant and you need someone to hold a reflector or another accessory while you shoot. For outdoor portraits where there may be changes of clothes involved, such a person may be able to look after bags, coats and props
- Use props
Involving props in your portraits is a great way to bring out another dimension from your subject. A prop can be virtually anything, from something as simple as a hat or an umbrella all the way to a pet or even another person. It just has to be something that the model can interact with and capture the viewer’s attention.
Using props can really help with inexperienced models or people who are uncomfortable in front of the camera as it gives them something else to focus on. It can also be a great way to get across what your subject is all about while also helping them feel at ease. Don’t be afraid to keep things simple and obvious – if your subject is a barista, have them make a latte. A bartender? Get them shaking a martini. This may require you to think about your location in advance – which again is why it’s a good idea to have these conversations prior to the shoot day.
- Be ready for candid moments
Whatever you do, don’t ignore the important “in-between” moments as your model changes poses or chats to you – they are often the most relaxed times which can make for more natural images. This means that during the session, you should always have your camera to hand and be ready to grab a shot.
- Include plenty of movement
It's worth remembering that your model doesn’t have to stay still for the camera and pose all the time. Get them to move around, jump up in the air or walk towards you. Don’t be afraid to be a bit silly – you may not end up using the shot where your model jumps in the air while pulling a face, but the process of getting it will make for a relaxed, playful and collaborative atmosphere, which is exactly what you want.
And in that vein…
- Don’t take it too seriously
Portrait photography is fun for the shooter and the subject – or, at least, it should be. When photographing people, you are capturing them and their emotions in their current environment. If you have a bored model then your photos will show a bored model. Interaction is key and if you are relaxed and can keep the energy high, so will the model.
No matter how many times you ask someone to smile, you’re never going to beat the smile you can get out of someone if you can make them laugh. Don’t be afraid to goof around and make fun of yourself. Most importantly of all, enjoy yourself.

FAQs
What is portrait photography?
Portrait photography captures a person's likeness, their personality and mood.
What are the key elements of a successful portrait?
Lighting, composition, posing, background, and expression are crucial for a successful portrait.
What are the different types of portrait photography?
Environmental, studio, candid, formal, and lifestyle portraits are common types.
What equipment do I need for portrait photography?
You'll need a camera, lenses (like a portrait lens. You can see our choice of the best lenses for portrait here), lighting equipment, and optionally, a tripod and props.
How can I improve my portrait photography skills?
Practice, practice, practice. Study the work of renowned photographers, experiment with different techniques and for feedback and learning opportunities form your peers.
Sign up for our newsletter today!
- Subscribe for exclusive discounts and special offers
- Receive our monthly content roundups
- Get the latest news and know-how from our experts


