Quick Navigation:
- An introduction to black and white portrait photography
- Photographic techniques
- Lighting techniques
- How to pose
- Using backgrounds
- FAQs
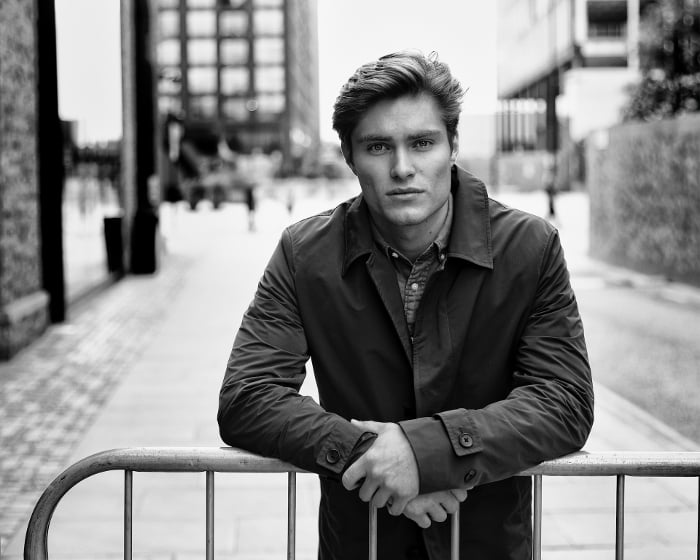
All images by Ivan Weiss
An Intro: What is portraiture?
If you take photos that include people, you are in some way a portrait photographer. You’ll hear lots of different definitions of what makes a portrait, and certainly differences of opinion on what makes a great portrait. If they all have one thing in common, that one thing is expression. Portraits are engaging because we relate to them as if they were real humans, not just two-dimensional representations. They make us feel something; maybe sympathy or admiration for the subject, maybe curiosity at what they are thinking about, or maybe it’s simply underlining the tone of the text in an article that the picture accompanies.
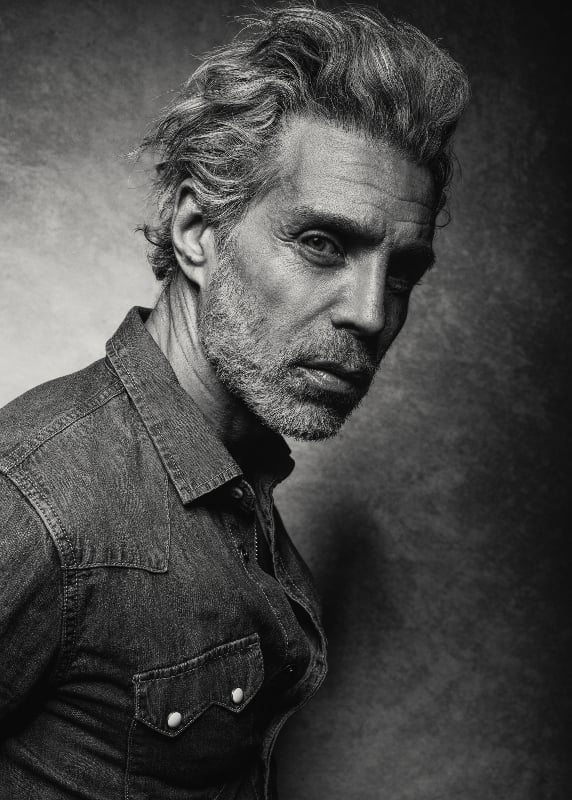
At its core, a good portrait should either tell us something about the subject, raise some questions that make us want to know more about the subject, or perhaps a bit of both.
For much of the history of photography, black and white was the only option. Even once colour film became widely available, the idea that working in black and white had more credibility persisted. Nowadays, of course, colour is the default, but black and white remains a popular choice, especially for portraiture.
For me, a black and white portrait is about simplicity. That’s not to say that it is easier to create a great image in black and white, but the removal of colour can certainly be more flattering by reducing distractions such as skin blemishes. If you’re looking at it as a learning exercise, black and white gives us the opportunity to simplify the composition and really put expression front and centre. And great composition and expression will improve your colour photography too.
Black and white allows us to get creative and make timeless images - but that doesn’t mean that they have to look vintage. It’s a great technique when you want to suggest something classic, dramatic or artistic.
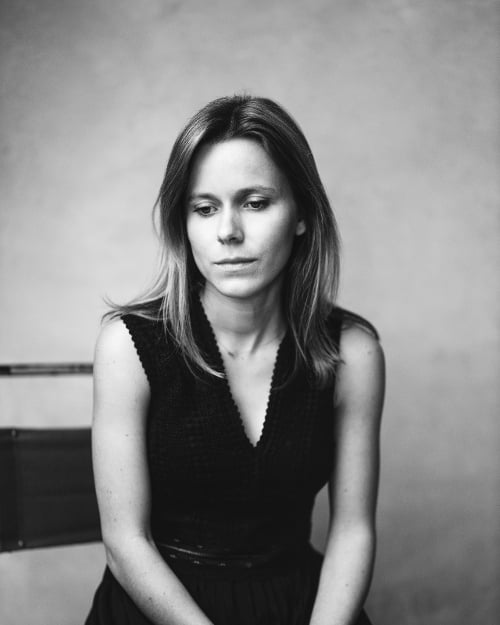
Photographic techniques
No matter what kind of pictures you take there are some technical aspects you should consider before you press the shutter.
Aperture
Your choice of aperture will affect the depth of field in your image. One common technique in portraiture is to use a very wide aperture to create a shallow depth of field which helps the subject to stand out from the background. In black & white photography this technique can be all the more important because we can’t use the element of colour to distinguish the subject from the background.
Hint: Set your lens to its maximum (numerically lowest) f-stop. For an 85mm lens, f/1.8 or wider will give great results.
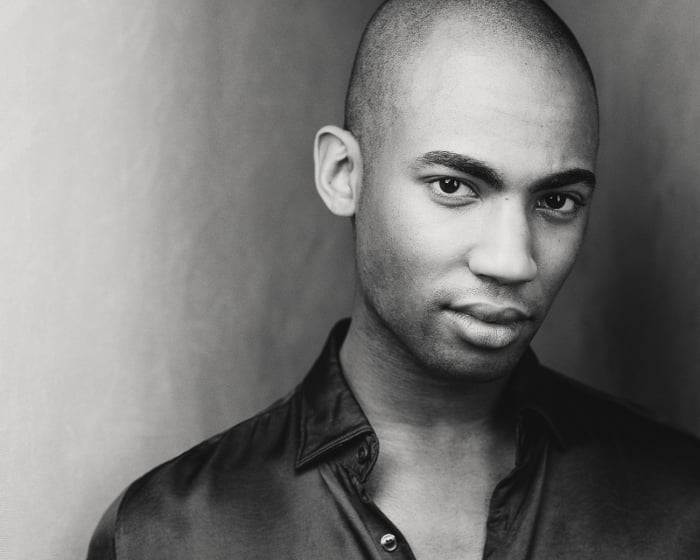
Shutter speed
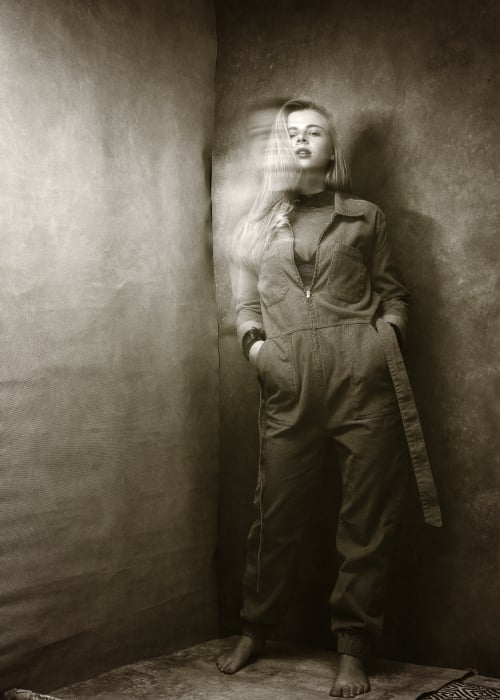
Your choice of shutter speed is important in determining how much movement there is in the image – if action is blurred or frozen. Black and white photography, with its emphasis on shape and texture, often lends itself to longer exposures with some motion blur better than colour photography does.
Hint: Set your shutter speed to 0.5 seconds as a starting point. If you’re getting too much blur, set it faster; if you want even more blur, slow it down to a whole second. You will need to stop down the aperture to avoid overexposure, and if you are using lights you’ll want them on a relatively low setting.
ISO
A high ISO will lead to an increase in noise in the image, and this is generally considered to be something you should avoid if possible. However, it can be used creatively in black and white photography to enhance the classic feel of an image, as the digital noise is reminiscent of the film grain found in analogue photography.
Hint: On most camera bodies, noise won’t be particularly noticeable below ISO 1600. Try starting at ISO 3200 and adjust to taste.
Contrast
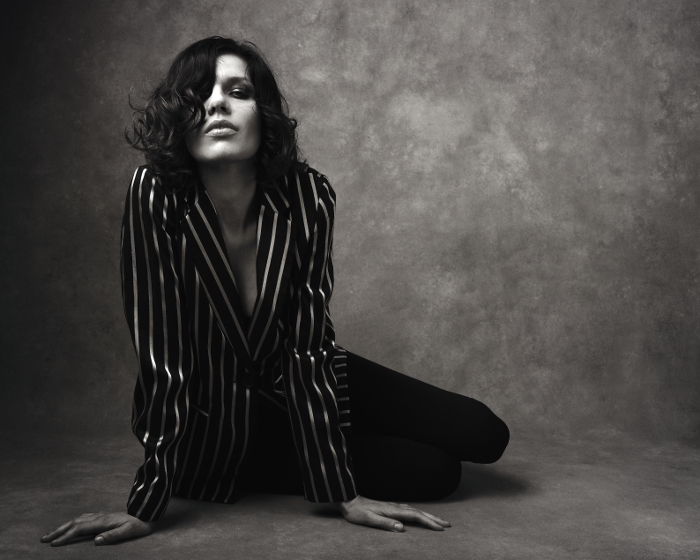
Contrast is hugely important in photography; we use it to direct the viewer, telling them where to look and maybe telling them which elements to look at in which order. Contrast takes on more importance in black and white photography because, due to the removal of the element of colour, we only have luminance contrast to direct the viewer’s eye.
Hint: Use your camera’s histogram to see how much contrast you are capturing in a scene. For high contrast, you want all of the information to be either on the far left or far right of the histogram with relatively little in the middle.
Shooting in RAW format
Digital cameras will capture RAW data, which includes all of the colour information even when you are intending to create a black and white image. Shooting in RAW format offers you greater possibilities for post-production, as you are able to adjust the relative luminance values of different colours to control and enhance the contrast in your image.
Hint: Most cameras will allow you to save both RAW and JPEG versions of the image at the same time. This is useful if you intend to share your images immediately. However, if you intend to do some post-production, saving only the RAW file is fine, and will make better use of your memory card’s capacity.
Camera profiles
Setting your camera’s colour profile to black and white will allow you to immediately see your capture with all of the colour information removed, whether that is on the LCD on the back of the camera or on a tethered computer.
If you are using a mirrorless camera with an electronic viewfinder, you can view the scene in black and white even before you release the shutter. This is hugely important because it gives you direct feedback about things that may not be apparent to your eye. For example, in colour, the contrast between a red shirt and a green background in colour is very obvious. However, if they have the same luminance value, in black and white they will read as the same shade of grey.
Hint: Refer to your camera’s user manual to find out what parameters you can set.
Filters
In analogue photography it is common to use coloured filters on the lens. In digital photography, we can apply these filters in post-production using the Black And White adjustment layer in editing software. Experiment with these and see how they affect the image.
Many cameras allow you to apply filters as a part of the camera profile. For example, Canon gives you a choice of yellow, orange, red and green filters as part of the Monochrome Picture Style. These filters change the relative luminance values of specific colours, which gives us more control over the contrast in our images.
Hint: Try shooting the same image with the different filter options to decide what works best for the scene you are capturing.
Composition
Composition ties together all of the elements that we have previously spoken about. I like to view black and white as a means of simplifying an image. But it is also a way to abstract an image from reality. This gives the photographer greater freedom to try more experimental ideas such as using negative space, creative use of perspective distortion and more license to use additional contrast to highlight the shapes and lines in the composition.
Hint: Use the grid in your camera’s viewfinder to divide your composition into thirds. Try leaving one third of the image empty to add more visual weight to your subject.
Focal length
The best way to decide on the focal length is to ask yourself how close you want to put the viewer to the subject. The standard thinking for portraiture is that you should use a focal length of 85mm or greater to avoid unflattering distortions of the subject’s features. In black and white photography, with its stronger emphasis on shape and line, it’s possible to use perspective distortion creatively without it being unflattering.
Hint: 85mm is my go-to focal length for a close-up portrait. I use a 50mm focal length for a waist-up shot.
Lighting techniques
At home with no lights
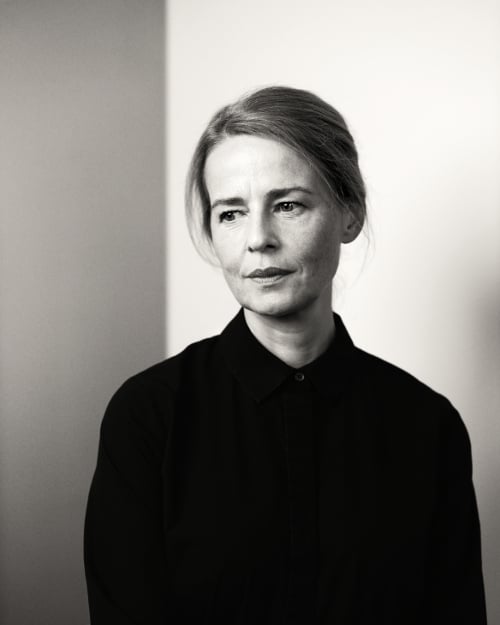
If you’re shooting at home, you probably have a relatively small space. If you don’t have access to lighting equipment, the classic thing to do is to stand the person near to a window or doorway so that they are just receding into the shadow, and then use that contrast, that edge of the natural light, to control where the light is hitting their face.
If you don’t have a backdrop or bare wall to use, take care with your framing to avoid letting the background get too busy. If you can create enough contrast using the light from the window or doorway, you can probably get the background to go black. But if you are competing with lots of mid-greys in the background, it will be difficult to get your subject to stand out. Using a shallow depth of field can help to an extent.
At home with one light
If you have a small softbox or beauty dish, you can use a corner of a room to create an evenly lit portrait by having the light bounce back from the side wall into the shadow side of your subject. You can control the amount of light that is bouncing back by moving your subject closer to or further away from the side wall. If you frame the shot in such a way that both the side wall and back wall are visible, this can create a pleasant two-tone, dark/light background, which adds an element of depth to the image.
Studio
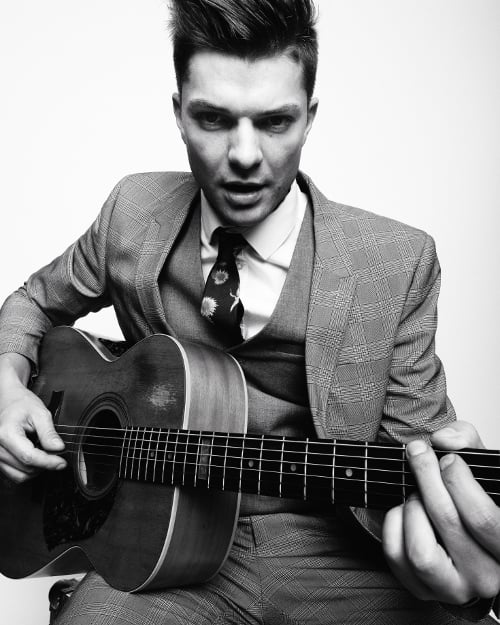
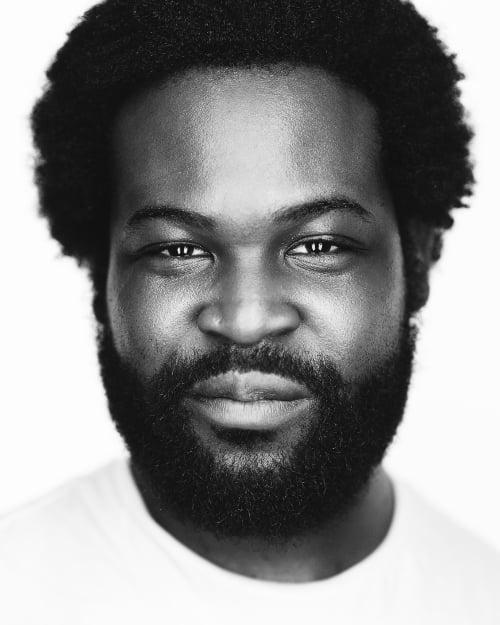
In the studio, it’s safe to assume you have more space, and this means you have more options for using the light. You can light your background separately from your subject and use V-flats to increase the contrast. My favourite three-light set-up for a close-up black and white portrait uses a large octabox and two strip boxes, with v-flats or large pieces of black card. The octabox goes behind the subject, pointing towards the camera, allowing me to get an even white across the entire frame. The two strip boxes are placed facing each other in parallel in front of the subject to create even light on the face with dramatic fall-off on the sides of the face. This fall-off can be enhanced by using v-flats or black card to create negative fill.
Outdoors
One of my favourite techniques when shooting outdoors is to shoot into the sun so that the subject is backlit, and then to use a small hand-held softbox to light the face. You can intentionally overexpose the background to reduce the detail and clutter that will compete for the viewer’s attention. Shooting along a street is a great way to get a dynamic composition using the lines of the pavement, buildings, lamp posts, trees or whatever else to frame your subject.
How to pose for black and white
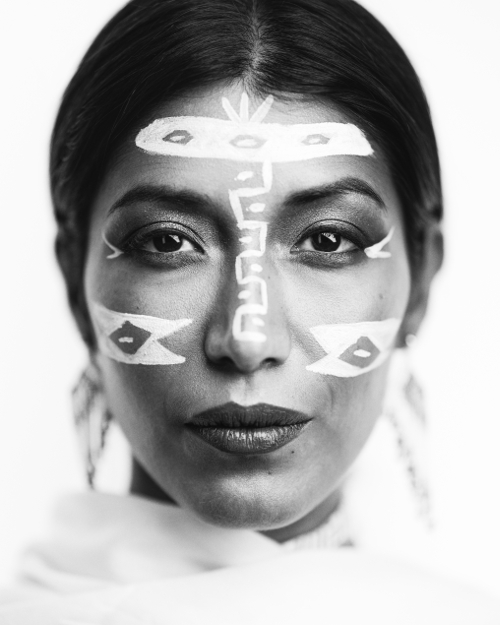
Black and white really emphasises shape in your composition. To create a strong close-up headshot, have your subject standing – when people sit down, they tend to hunch their shoulders, and this gives a rounded look that is not particularly flattering.
With your subject standing, they can keep the neck long and push the head slightly forward of the shoulders to emphasise the jawline. If you are shooting with a shallow depth of field, this technique also helps to throw the shoulders out of focus, thereby keeping the viewer’s attention on the face.
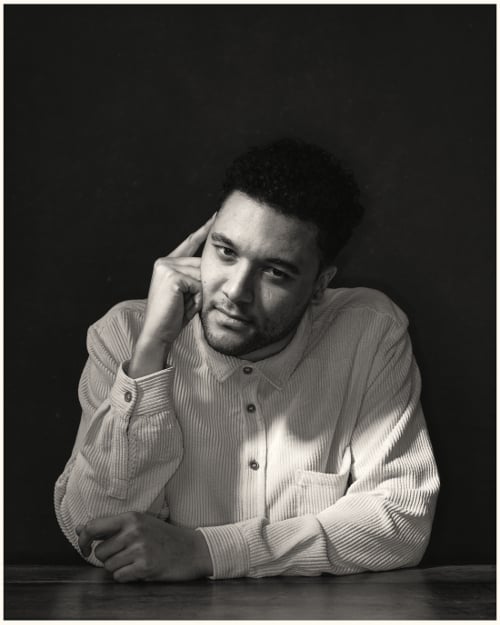
If you are shooting mid-body, seat your subject at a table so that you can use the arms to create lines that lead toward the face. Again, it’s a good idea to have them sit in such a way that the back is relatively straight, even if they are leaning their weight on to the table.
Including hands in an image can often be a challenge, particularly if they are conveying an emotion that is at odds with the facial expression. One way to combat this is to give the subject something to do, or an action to perform with their hands.
Shooting a full-length portrait is an opportunity to really emphasize line and shape. Using perspective distortion can make limbs appear longer and reinforce a dynamic pose.
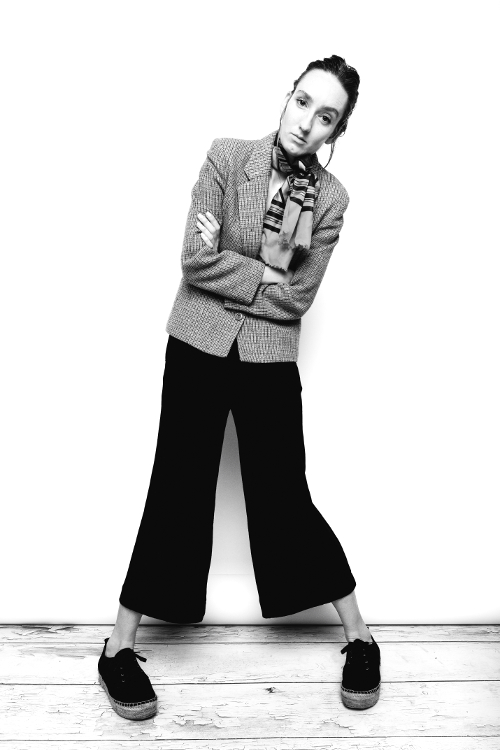
All of these techniques are useful whether you are shooting a subject or if you are taking a self-portrait. In fact, it's a very useful exercise to take a self-portrait even if you don’t intend to use the photos. It’s important to experience what it feels like to position your body in a way that looks good on camera and to be able to better communicate that to your subjects.
Using backgrounds
How to take B&W with a black background
It may seem counterintuitive, but if you want to have a black background, you need more light. If you can increase the difference between the amount of light hitting your subject’s face and the amount of ambient light hitting the background, you can use your camera’s exposure settings to make the background black. By pushing the light sideways across the face, you can limit the amount of light that will spill onto the background. If you are shooting indoors, you can increase the effect by hanging a black cloth as a backdrop. Velvet and fleece are particularly good for this.
How to take B&W with a black background outdoors
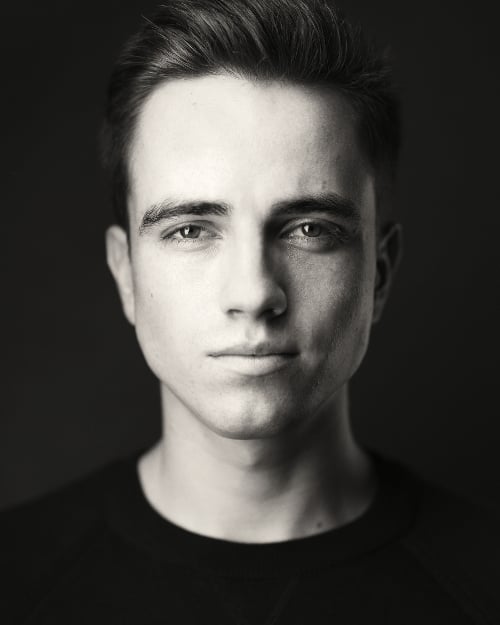
If you are outdoors and you don’t have any lighting equipment, you need a fairly sunny day, with the sun casting strong shadows. Look for a background in shadow, perhaps the side of a building or an alleyway. Position your subject so that the sunlight hits their face and compose your shot to use the shadow area as a background. It doesn’t matter if it is not perfectly black. You can either enhance the contrast in post-production, or leave a small amount of detail to add interest to the shot.
FAQs
We’ve answered the top questions on black and white portraiture here:
Q: Why is black and white good for portraits?
A: Colour in portraiture provides additional information which can make the image more complicated than it needs to be. B&W creates an elegant simplicity which over time has become synonymous with a classic look.
Q: How do you achieve high contrast in black and white?
A: Most of the work should happen during set-up. Select colours, backdrops and lighting which will create contrast and/or desired patterns and shadow before you touch your camera.
Q: Is it better to shoot in colour and then convert?
A: This somewhat depends on the equipment you’re using but, many photographers believe it’s valuable to develop your ‘eye’ for black and white. This means intentionally shooting in B&W.
Q: What colour background is best for a black and white portrait?
A: Take into account the overall feel you’re trying to capture but in general, a lighter background will create a softer overall tone and a one darker one, a more intense feel with more contrast.
With all this in mind, heres our round up top five tips:
Be intentional
Shoot with black and white in mind rather than trying to add interest to an image in post-production.
Don’t just desaturate
Use the Black and White adjustment layer or coloured filters in your camera profile to enhance contrast.
Pump it up
It’s called black and white. It is not called grey and grey. Don’t be afraid to pump up the contrast.
Get creative with your framing
And emphasize shape and line.
Get inspired by other people’s work
Diane Arbus, Dorothea Lange, Richard Avedon and David Bailey have created some of the most celebrated portraits in history, mostly working at a time when black and white was the only option. For examples of more recent work in black and white, check out Platon, Paolo Roversi, Peter Hapak and Marco Grob, amongst many others.
About the Author
Ivan Weiss is a portrait and headshot photographer based in London. You can follow him on Instagram, @ivanweiss.london, and find out more at his website, ivanweiss.london.

