
In this new series, we are going to be taking a look at some of the gear inside my toolbox as a wildlife photographer. We’ll be looking at the kit I deem essential when it comes to making images in the field, and I’ll be sharing some tips to get the best from it.
The past year has been tough for many, and since we’re still stuck at home, I thought I’d start off with something that provides a little distance from our subjects as well as the chance for almost anyone to get into wildlife photography: the remote release!
What are remote releases?
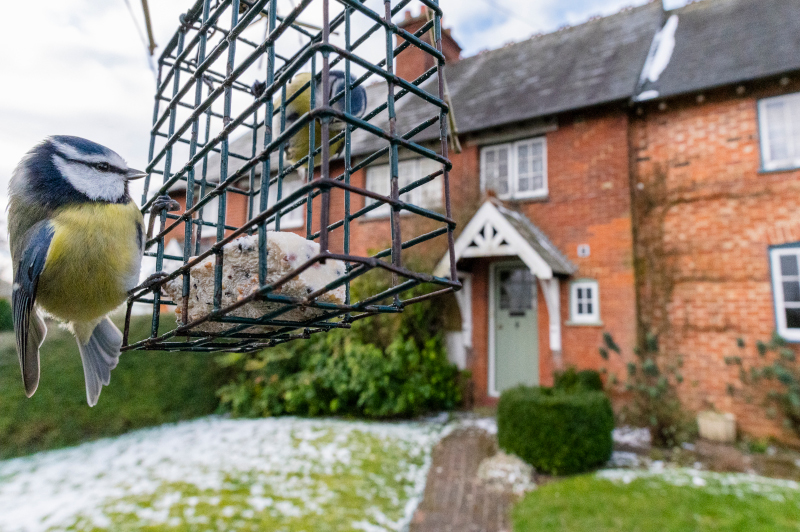
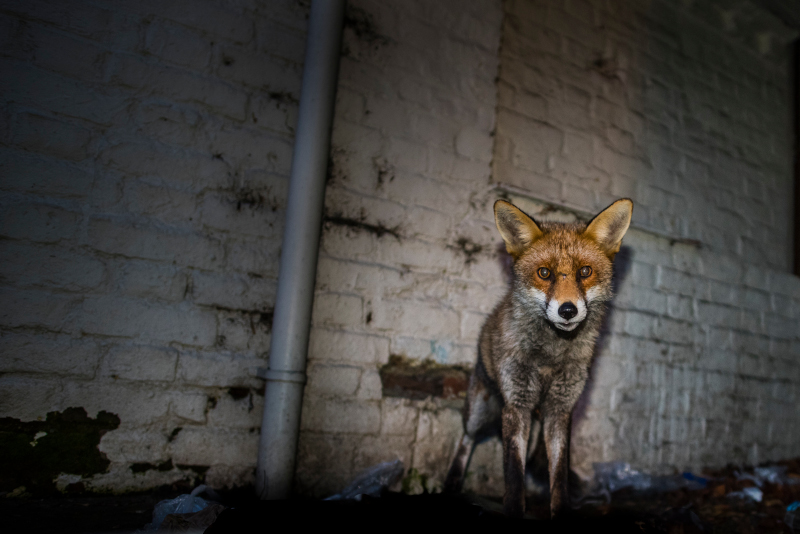
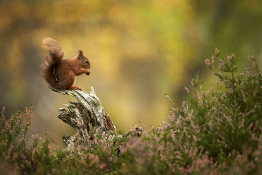
Using a remote offers the chance for far closer images, enabling you to take a more interesting an unique angle on common subjects.
In its simplest form, a remote release is just an extension of the control for the shutter button on your DSLR or mirrorless camera, allowing you to remotely trigger the shutter. Small cable versions are often used by photographers to remove any unwanted movement or shake when triggering a long exposure. However, for wildlife shooters, it’s the ability to trigger your camera while not having to be next to it that’s the appeal. Handy if you want some close-up images of wildlife and need to maintain a social distance…
Back in the day, remote releases for distant shots required long cables, and even made use of air pumps to trigger the camera. This is something we don’t really have to worry about today, with modern wireless technology allowing for not only greater flexibility in distance, but also the ability to control more advanced features than ever before.
Styles of release
So, when it comes to remote triggers these days, we have a variety of options. Some are already built into our cameras, while others represent more premium solutions. Each type has their own benefits.
Wired triggers
When setting remotes, it's almost always best to use manual focusing to choose your triggering spot and make the camera's reaction faster.
The old-school approach, wired triggers are simply a corded connection that plugs into the side of your camera, putting control of the shutter button away from the camera. Most likely you’ve seen these before, with landscape photographers and macro shooters using them to help ensure no camera shake occurs when images are taken.
Wired triggers are a pretty bulletproof solution – the hard-wired connection is reliable and the triggers are often very affordable. The problem is that for work requiring distance of more than a few metres, the cordage can be problematic and extension cables are needed.
On cheaper models the remotes can activate focus, shutter, and sometimes bulb mode, while more advanced models also have built-in timers that are great for time-lapse shooting, and certainly worth paying the higher price for if this interests you. In addition to extended triggering, wired remotes are also perfect for working with long lenses in a hide. Once you’ve framed up on a branch where you know your subject will land, you can use the trigger to operate the shutter without moving anywhere near your camera, reducing the chance of spooking your subject. Handy indeed!
For myself, I have a Nikon MC-36A as well as a simple off-brand wired release that is always in my bag. The Calumet Pro series offer some great value.
Infrared
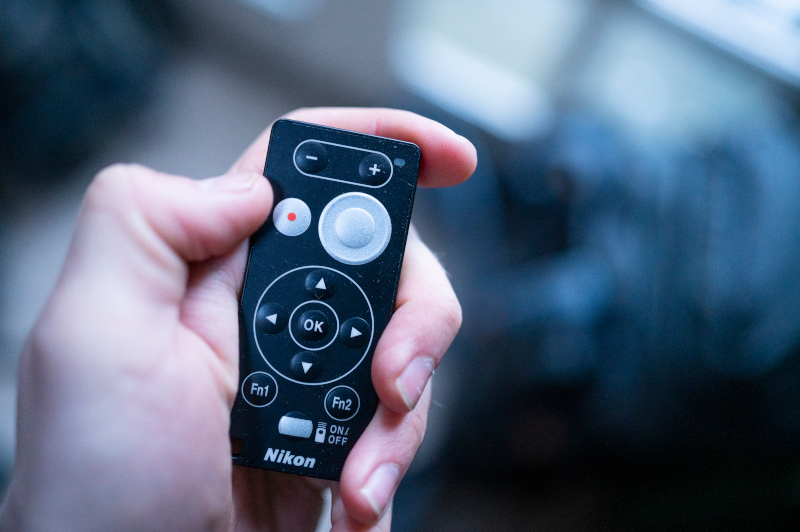
Infrared remotes offer great lightweight and affordable triggering systems.
In lots of modern DSLR and mirrorless cameras, IR ports are common, allowing for the use of infrared remote controls that work with the camera wirelessly. Small triggers like this are great because they are wireless, meaning no need for any connections at all (just make sure it’s enabled within the menu and go). The controls allow for simple activation of the shutter, while there are more complex models that have additional function buttons for changing of focus points, settings and more.
While you don’t need cumbersome wires, infrared triggers are also often limited by distance. For work within 5-8 metres the remotes are fine, however when you start to need more space between you and your subject, especially in bright conditions where the sunlight can affect the working range, they can be frustrating and more limited. For my Nikon cameras in the past, I have worked with the Nikon ML-L3, which is a cheap and simple solution that’s also tiny and easy to always have in the bag!
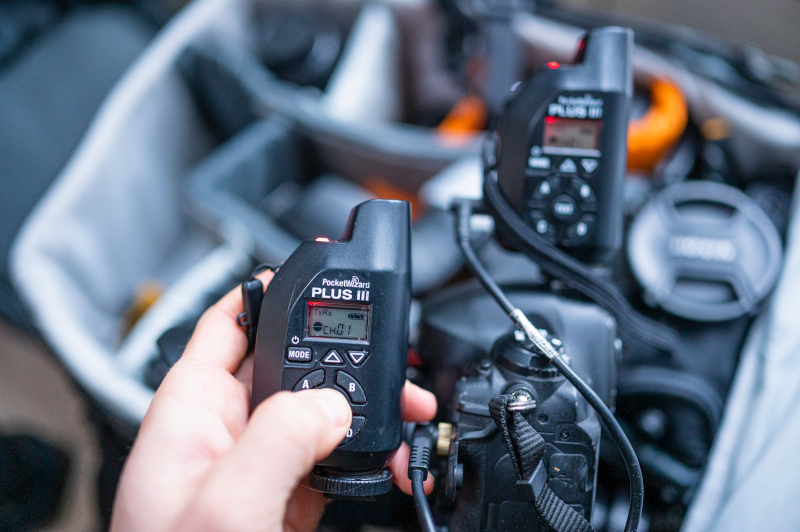
Radio
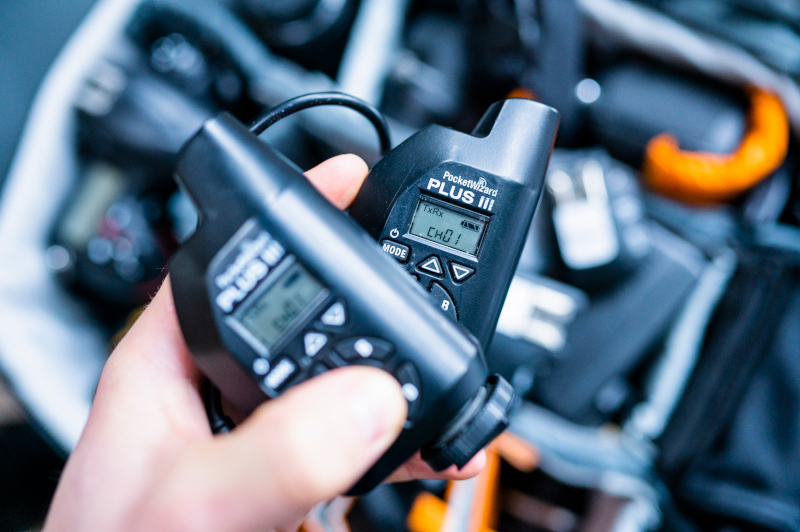
A radio remote is an essential part of any wildlife photographer's kit.
Radio triggers are probably the “professional” standard for modern remote triggering. Working wirelessly, with the caveat of often needing to be plugged into the camera via a short cord, they offer fantastic flexibility in positioning, allowing triggering distances of even up to 500m or more!
Radio triggers are also unaffected by bright lighting conditions, and good quality systems are rather faultless in operation once you are proficient in setting them up. Often human error (Tom error in my case) is the only reason for any issues in the field!
These systems come at a range of price points, from the cheap through to those costing hundreds of pounds. However, as with anything, the added price does often increase the quality with greater reliability and durability.
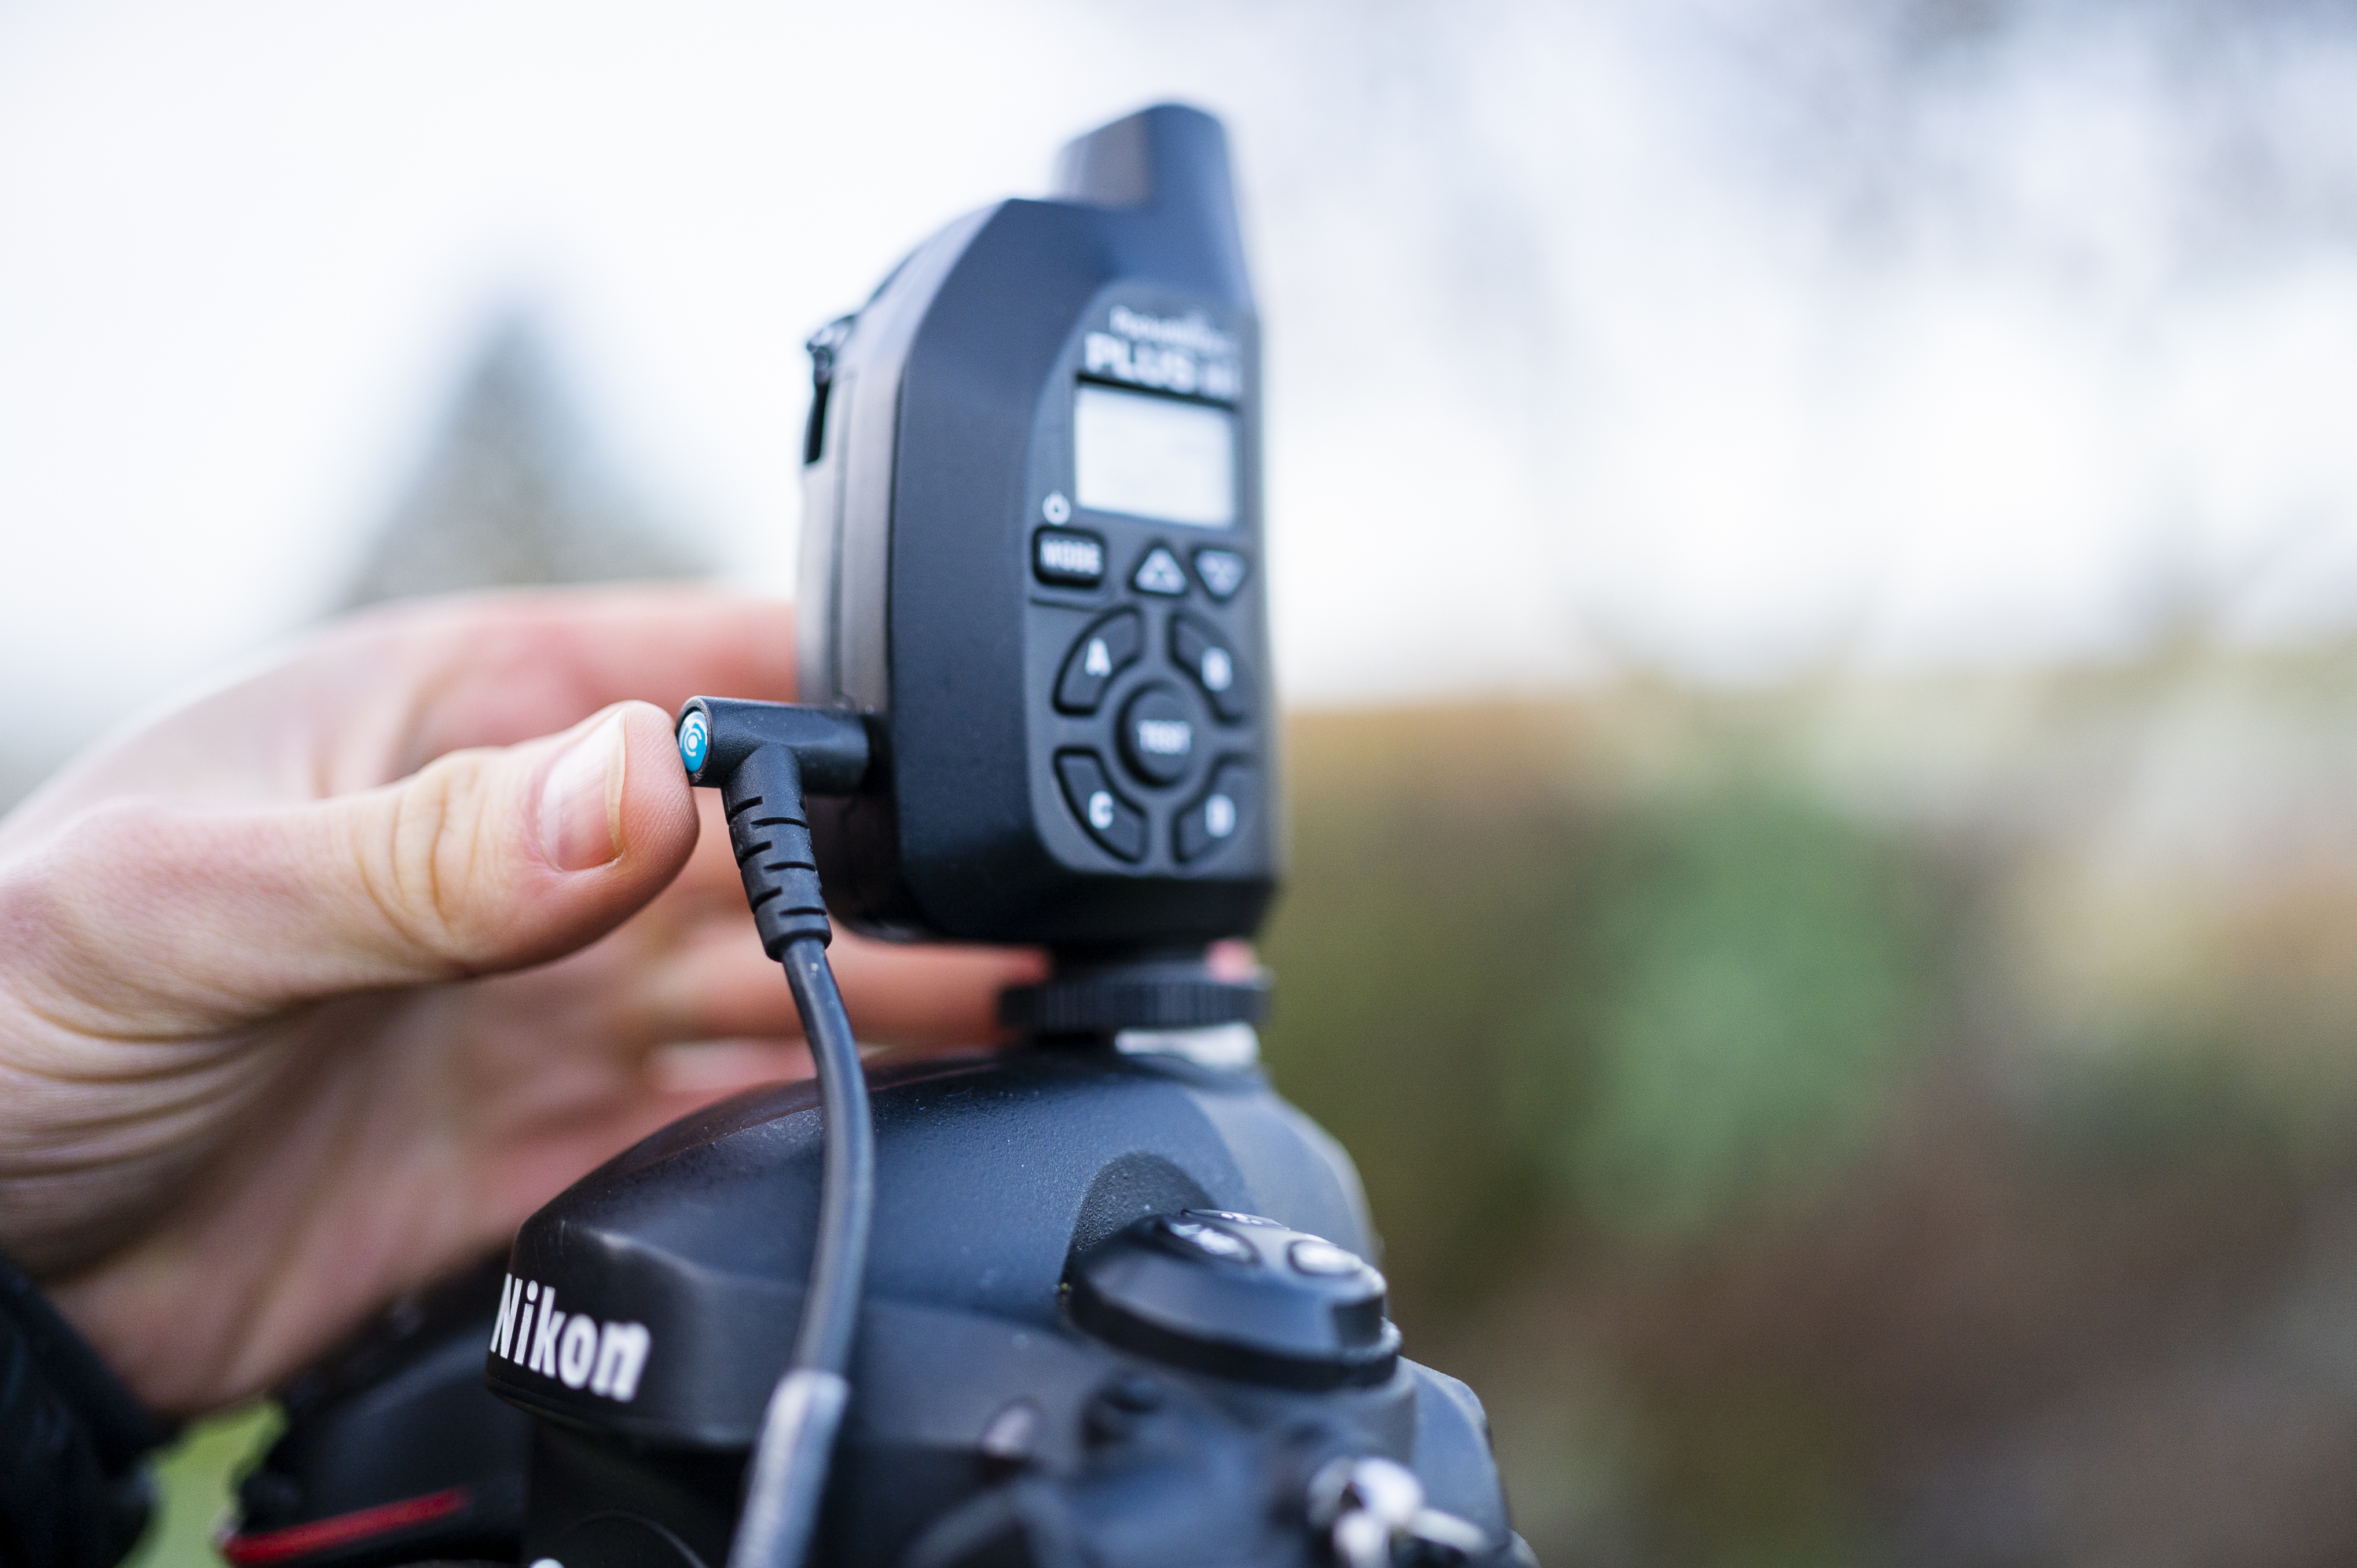
It seems obvious, but double-check the connections are firmly plugged in.
Radio triggers can also allow for remote flash triggering as well. Some feature hot shoes for simple attachment of a flashgun for off-camera use, making them additionally useful in the photographer’s kit. Top-end models can often combine both camera and flash triggering, allowing the photographer to trigger the camera remotely, with the same trigger then additionally firing the flashes which are synced up. Useful if you only want to carry one trigger for multiple jobs!
In my bag I always have a pair of my trusty PocketWizard Plus III’s. I’ve had them for a good few years now, and have found them to be fantastically reliable and simple to work with. With a variety of channels and a great range, allowing me to easily fire my camera at 200m or more, they just work. And that’s praise indeed.
I also have a set of Hahnel Captur remotes that are a great alternative. Far less expensive, they offer the ability to trigger the camera as well as be used for off-camera flash, making them a great all-round solution. The range is just not as extensive as the PocketWizards, but is probably plenty for most shooting setups!
Bluetooth and phone triggering
Fill flash can be a great addition to balance exposure more evenly.
Of course, in the world of smartphones, apps and Wi-Fi-enabled cameras, there are ever-increasing ways to trigger our cameras remotely. Companion apps are available for many leading camera models, and with benefits such as Live View integration and manual control, they offer another solution for remote triggered photography. The ability to “see as the camera” can be extremely helpful when framing up images in awkward places, as well as waiting for the decisive moment.
The apps do however often suffer from niggles in software, with triggering sometimes lagging due to poor connection strength, especially at extended distances, making them sometimes not a perfect solution for remote wildlife images. If you’re interested in more advanced controls, it might also be a good idea to look into the CamRanger system, a wireless utility that acts as a plug-in router for your camera, giving options for remote triggering from a laptop, iPad or other smart device. These often provide more extensive range than the inbuilt systems, at an added cost.
Getting the shots
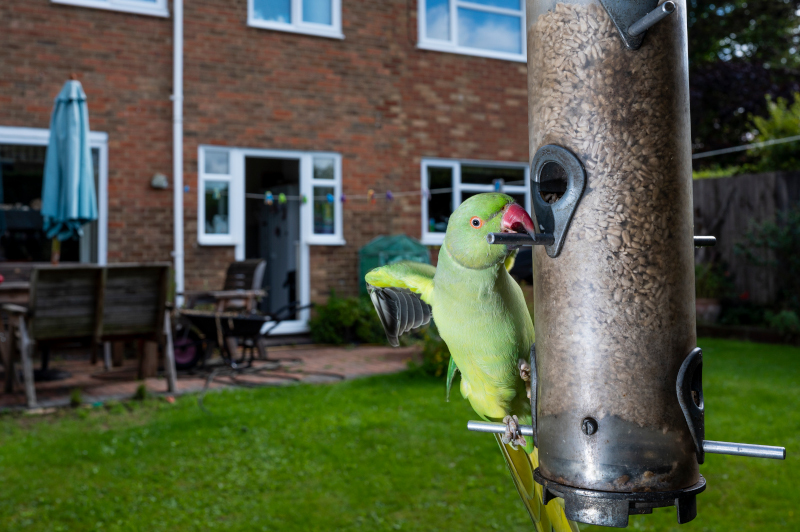
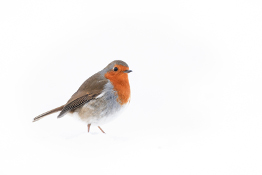
Garden wildlife is the perfect subject for honing your remote photography skills.
When it comes to working with remote triggers for wildlife photography, camera positioning is key. Knowing where your subjects are likely to appear and thinking about their size allows you to frame up accordingly. Think about locations where wildlife has a reason to visit, a simple idea being some back garden bird feeders. You know the subjects will continually return to the feeder, so a nearby perch or even the feeder itself is a great choice of spot for placing your remotely triggered camera. Other options could be a drinking pool, bathing spot or possibly a carcass that is attracting some scavengers – all great locations where wildlife will venture close.
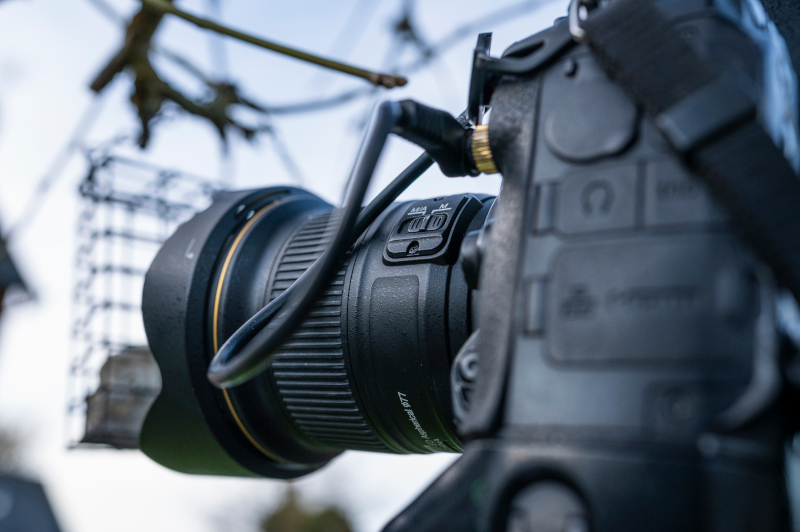
Once you have your location pinned down it’s time to get the camera into position. In most cases I’m working with a wide-angle for a more contextual image, and this means we need to be close, often only a foot or less from our intended subject. Take your time to work out the composition, but leave a little space for movement as subjects might stand a little to the right or left of the “perfect” spot.
Focusing on your chosen area, it’s a good idea to dial in a smaller aperture, f/8 or f/11, to gain some additional depth of field as otherwise you won’t be able to focus effectively, unless using a Bluetooth remote, and from experience I have found manual pre-focus is far more reliable. As conditions will be changing while you’re away from the camera, it makes sense to work in an automated mode like Aperture Priority, or set a manual exposure and then Auto ISO to maintain a faster shutter speed to ensure sharp images. Plug in your remote, test the connection is firing the system, and then as you retreat from your camera, keep test-firing the system every 5m or so, in order to guarantee the connection is reaching and you have no issues.
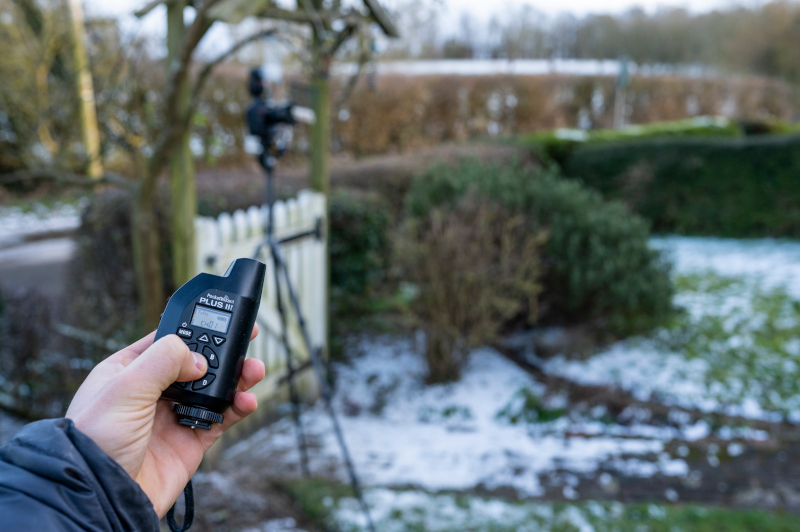
Always test the remote as you move back from your setup to ensure it's working!
Now back at your watching station, a key tool in capturing the decisive moment is a decent pair of binoculars. My Nikon Monarch HGs are an essential when using remote cameras, allowing me a close view of my system from a distance so I can watch where my subjects are positioned, and then fire the camera when they move into my composition. Often, I’ll shoot just a single frame to start and then take more as the animal becomes used to the sound of the shutter. But with modern mirrorless cameras in silent shooting mode, I can set off a burst the moment the wildlife appears, safe in the knowledge that the camera won’t be making a sound. Very handy indeed!
A great technique for capturing unique wildlife images, this is also a perfect project for a home shoot. While we’re stuck inside right now, the garden (if you have one) can be an ideal working spot for some wildlife images, and the remote release means almost anyone can have a crack at some wildlife photography on their doorstep. With options for all budgets, working at close distances in the garden you can have so much fun exploring wide-angle wildlife photography, and all from the warmth of inside the house, cuppa in hand. Perfect for those winter days!
A few top tips
Always test your connections at home.
Tape it
When setting up your remote camera and pre-focusing manually, a small piece of gaffer tape can be a great way to secure the focusing ring in order to stop any movement after focus has been set.
Keep it up
When positioning your camera for longer range assignments, keep the trigger antenna pointing upwards for the best range, as the ground can absorb radio waves and reduce your working distance.
Keep ‘em fresh
It goes without saying, but use fully recharged batteries! I always charge mine the night before to ensure I don’t run out just before the wildlife turns up.
The wire
One of the simplest mistakes that’s easy to do is not fully inserting the wire. I’ve done it myself, making for lots of head-scratching as to why my system won’t fire, only to find the cable a millimetre out of the port!
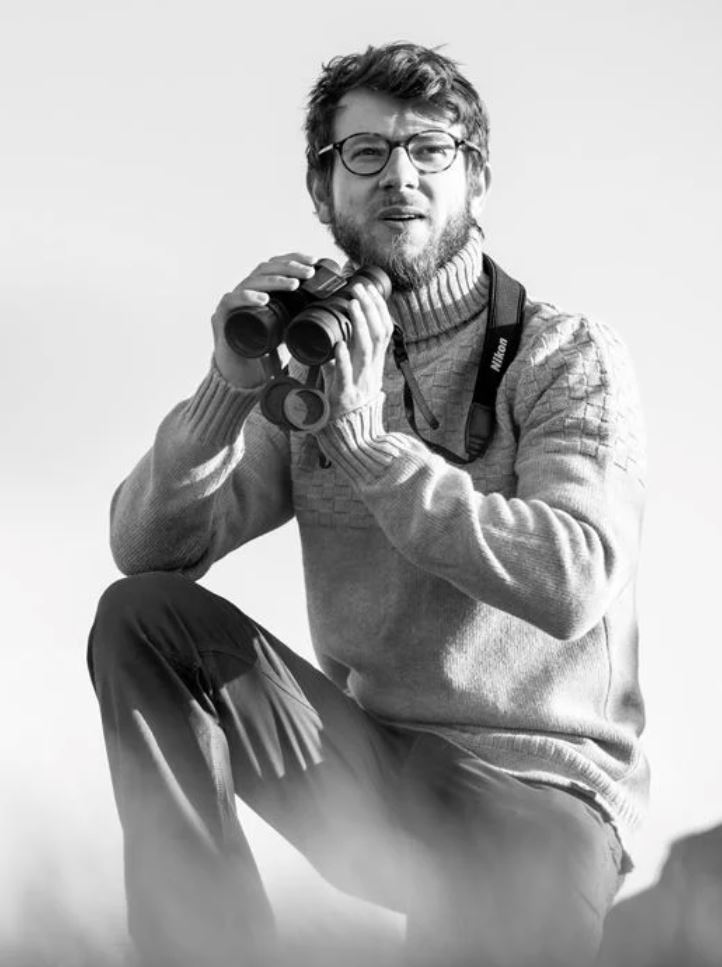
Tom Mason
Tom Mason is a professional wildlife and nature photographer from the UK. A Nikon Europe Optics Ambassador, Tom has worked for multiple companies, agencies and publications globally, shooting in locations from the Falklands to the Amazon Rainforest. Although he often travels far and wide for his work, Tom is truly passionate about local wildlife and spends as much time as possible documenting UK fauna. Tom runs a successful YouTube channel, offering behind-the-scenes videos from his work in the field, alongside thoughts on gear and shooting techniques.
Sign up to our newsletter today!
- Subscribe for exclusive discounts and special offers
- Receive invitations to our insightful Wex Events
- Get the latest news and know-how from our experts
