
Sennheiser offers some of the best audio equipment on the market - we should know - we use their kit all the time in our video content. We’ve put our heads together to give you insight into some of the key Sennheiser kit that we rely on, as well as having been in talks with Sennheiser to get the low down on what their best recommendations are!
Now, Sennheiser has some specific areas they focus on when designing and producing their audio equipment. Of course, the overarching goal is to provide the best possible sound quality they can muster! Other than that, they want to build equipment that is easy to use and is going to last - to make it a worthy investment! But it’s also about building job-specific equipment - choosing the right microphone for your intended purpose, for example. And that’s where we’ll start!
First up…
Microphones
Sennheiser MKE 200 Microphone
The MKE 200 is essentially an entry-level microphone, but from our experience, it’s more than that and that’s thanks to its versatility and portability. It’s super-small and lightweight - so much so that you’ll barely even feel a difference in weight when it’s mounted on your camera. That feature alone makes it an ideal choice for vloggers and run-and-gun video shooters and one of the main reasons we love it, but there’s more…
The MKE 200 is battery-free, running entirely from your camera. And while this is another great feature, its true versatility comes in the form of how it’s attached to your camera. It comes with two 3.5mm cables - one with TRS and the other with TRRS. This means that as well as your camera, you can plug this microphone directly into your phone or laptop for on-the-fly audio recording with audio quality that will be vastly better than built-in microphones.
Check out the video review of the microphone below!
The other microphone that both we and Sennheiser want to shout about is MKE 200’s older brother, the MKE 400. So, what’s so good about this microphone? What’s the difference between this and the MKE 200?
Sennheiser MKE 400 Microphone
While we definitely can see that the MKE 200 is more than just an entry-level microphone - it is the entry-level nature of its features that somewhat limit it. If you’re a videographer, you know that changes in audio on set or wherever you’re shooting should be expected. You’ve got to plan for the unexpected!
That’s where the MKE 400 takes it up a notch. We loved the added controls that the MKE 400 offers such headphone jack for monitoring and a volume dial so you can control the headphone monitoring level. It has a 3-point gain control that gives you some scope to deal with ever-changes in the environment. And, something we thought was a great design addition, is a low-cut filter. This is great for dealing with low rumbles in your scene and is great for those who aren’t perhaps as experienced in audio post-processing!
We also have a video review of this microphone as well!
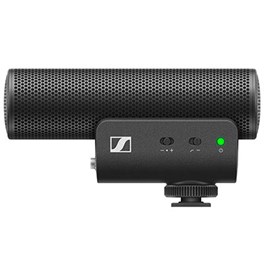
Sennheiser MKE 600 Shotgun Microphone
Stepping it up a notch, one of our favourite microphones and one we know to be top tier is Sennheiser’s MKE 600 Shotgun Microphone. This microphone is one that should be part of any professional's audio arsenal and one that we have used many times. It’s packed with super-useful features and offers impressively clean and high-quality sound - transparent, natural and low noise - everything you need!Aside from the microphone’s very neutral and crisp sound, and high directivity with its switchable "Low Cut" filter, it’s built with the professionalism and high-quality craftsmanship that you’d expect from Sennheiser’s high-end premium lines. It has rugged all-metal housing with impressively good suppression of structure-borne noise and a well-thought-out design with accessible controls. We also love that it can be battery-powered should your camera not provide phantom power (and, it features a battery switch with a "Low Batt" indicator)!
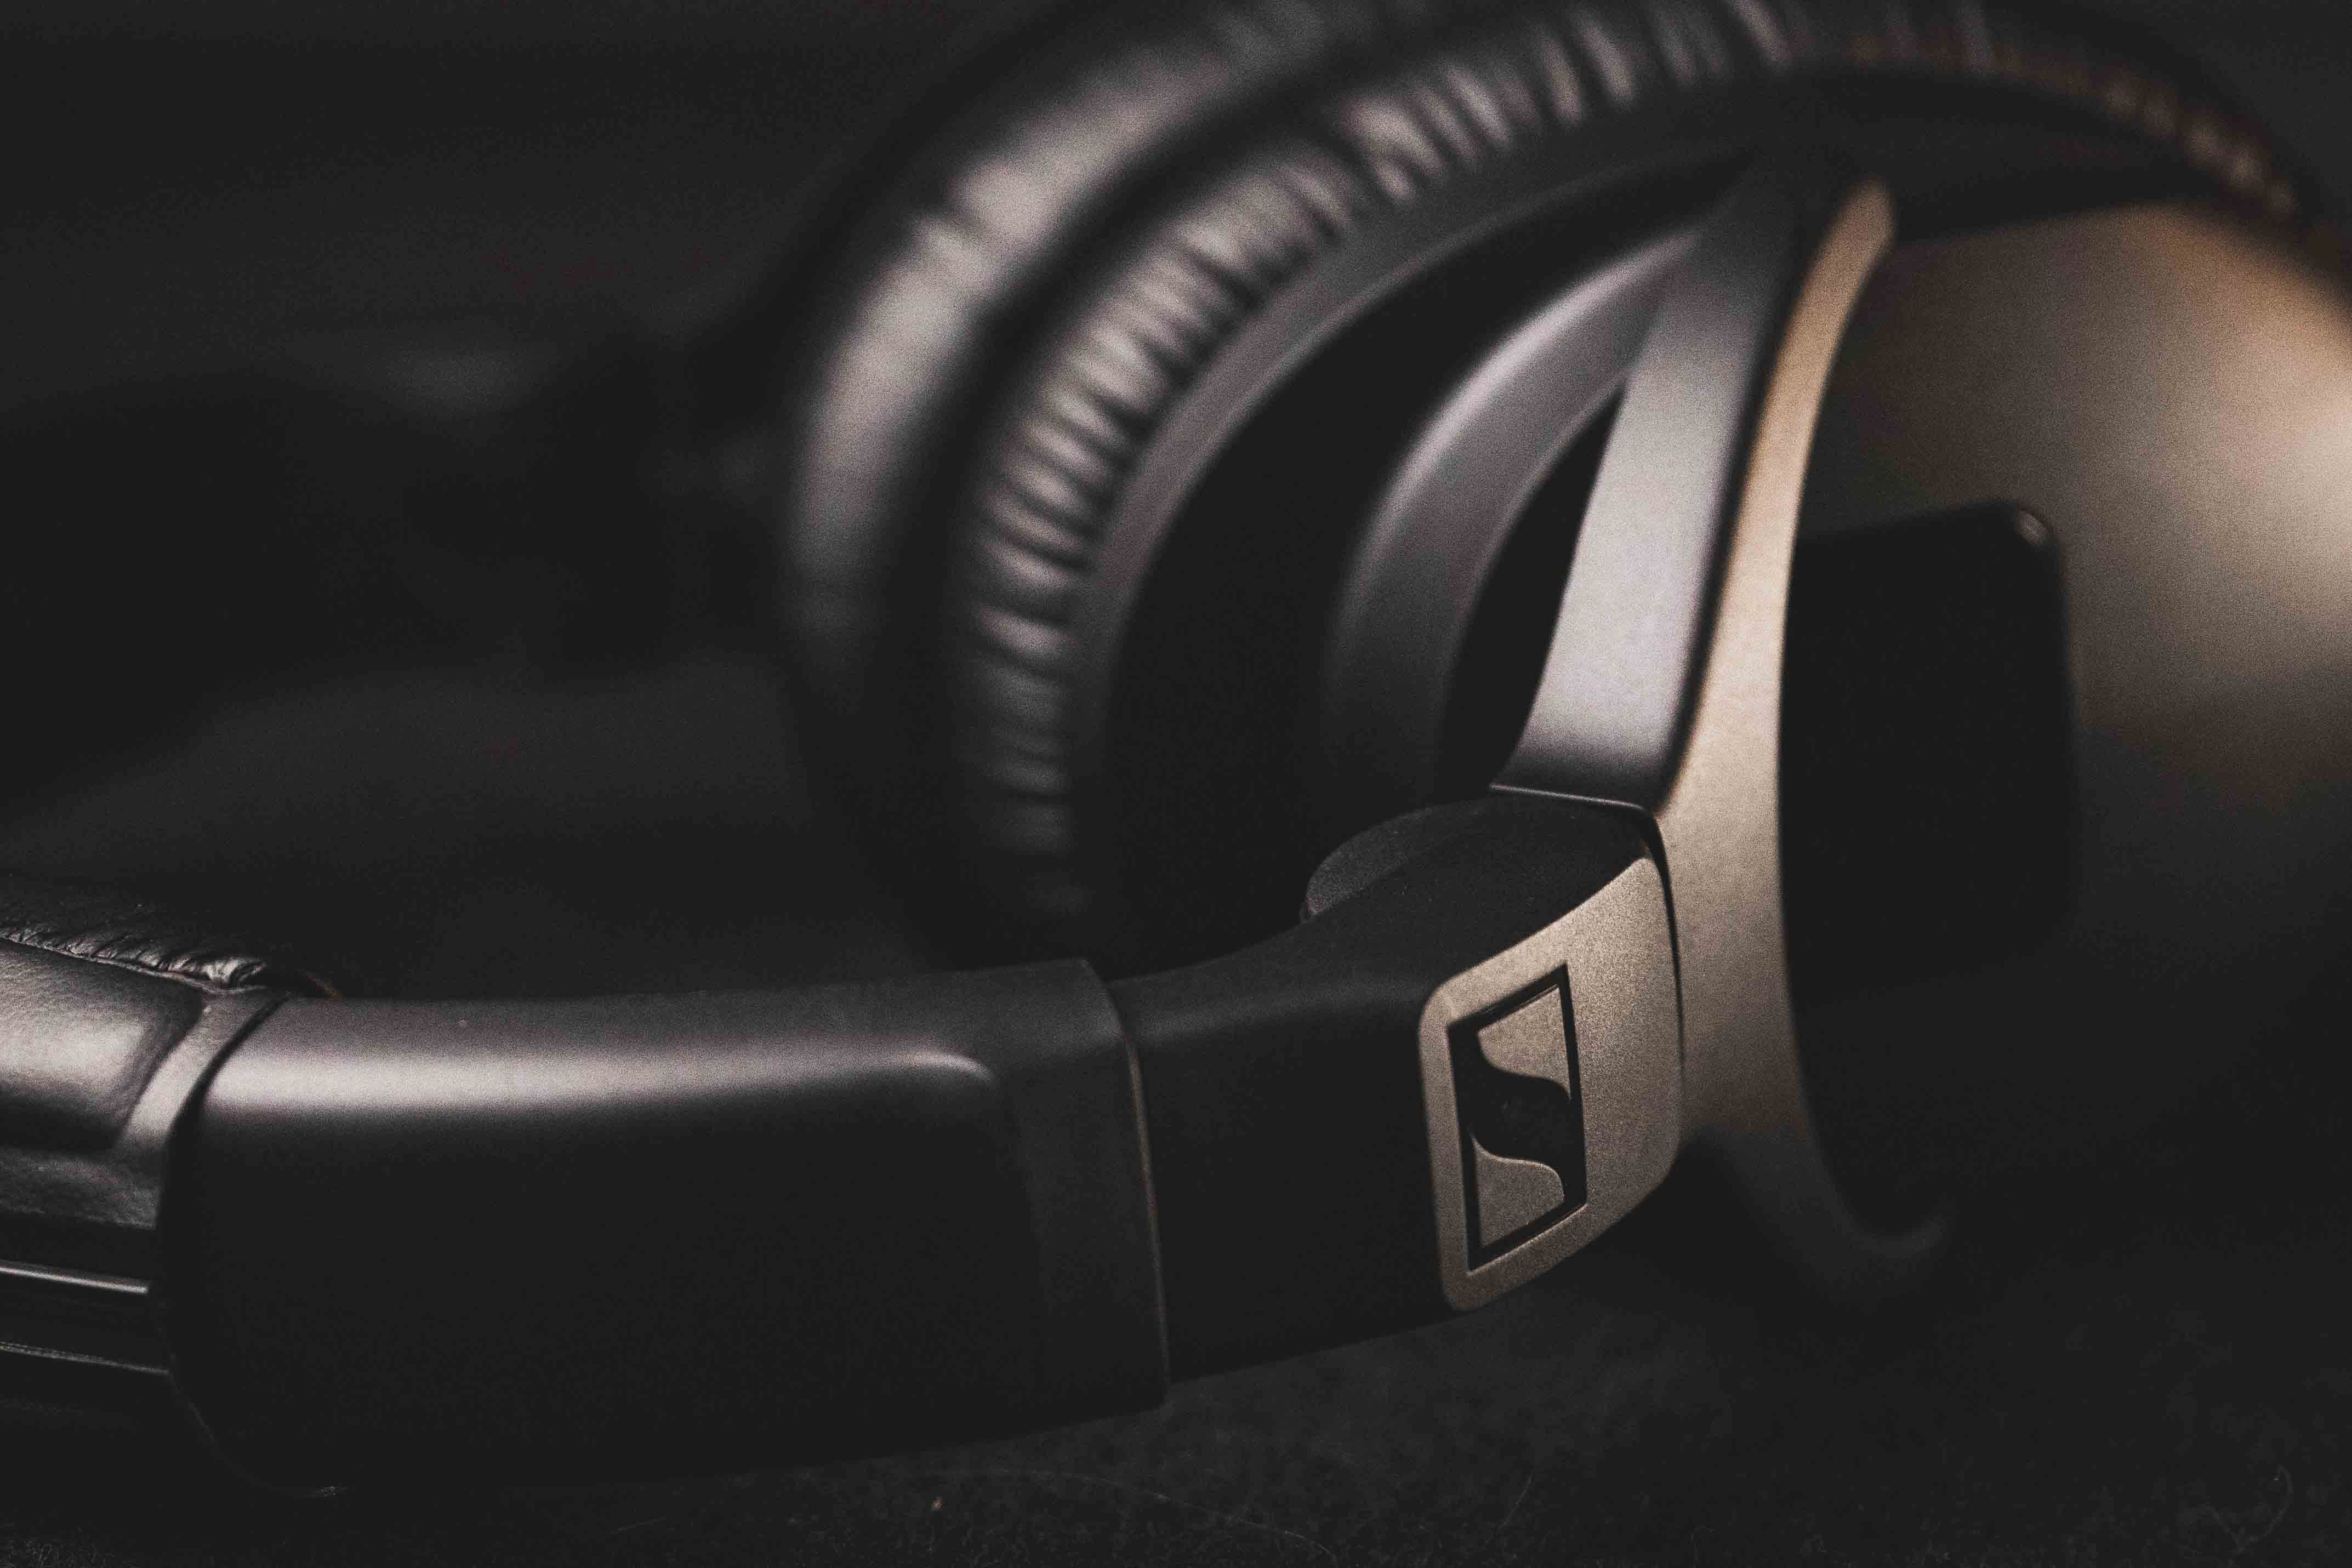
Headphones
So, it’s difficult to compare the next two products because, like all of Sennheiser's products, they are made for different purposes. The right tool for the right job.
Sennheiser IE 100 Pro Wireless Monitoring Headphones
Being able to monitor your audio when you’re recording is incredibly important - it can make or break a video. You can have whatever microphone you want but being able to monitor audio levels not only ensures you’re capturing exactly what you intend, but it also saves you time when editing later on! This pair of wireless monitoring headphones have proved themselves to be invaluable to our set-up.
We love how simple and easy to use they are, not to mention the audio quality they have. It’s an all-in-one system and for the price, we couldn’t ask for more! It’s perhaps their versatility that we like the most. The ability to operate the headphones wirelessly via Bluetooth, moving from one device to another, from listening to music on the way to work to using the headphones to monitor your professional audio, is incredibly convenient!
You can check out our full breakdown of these headphones below!
Sennheiser HD 400 PRO Headphones
Now, the aforementioned monitoring headphones are great for making sure your sound is exactly how you want to when you’re there recording it live. Sennheiser’s HD 400 PRO headphones are designed for the next step of the creative process. The headphones are specifically designed for studio audio - taking the live recordings and processing them for commercial use.
We loved the pure quality of the audio that these headphones produce. Sennheiser’s advanced audio systems did prove themselves, offering pleasing bass and an overall sound that allows us to play with fine-tuning and getting our sound just how we wanted it. What’s more, they’re also surprisingly comfortable - a lot of studio headphones can literally weigh on you and even begin to hurt in some cases! But these were comfortable for the entire editing session we had them for.
Check out our mini breakdown of the features here:
Sennheiser HD 25 Headphones
Now, when speaking to Sennheiser, their HD 25 Headphones are a pair that is close to their hearts but also an industry-favourite - we agree. What we love about these headphones is that they’re rugged and reliable. Their sound quality is impressive, they offer incredible noise isolation and they handle high SPLs with ease.
Aside from the obvious audio prowess - it's the rugged, modular design coupled with the user-replaceable pads, cable, clamp and headband padding, that is why they are so beloved. While other headphones may offer different audio qualities or perhaps a more modern/sleek design, these headphones are an industry tool. A tool that is utilised by audio-techs, DJs, cameramen and of course, us!
Real-World Example
There’s a video we’d love to plug… share, where we teamed up with professional filmmaker Andy Napleton. The goal of the shoot was for Andy to show us how he sets up his equipment and how he captures the stunning footage and audio seen in his films. And you guessed it, his audio kit is all Sennheiser.
Check it out… it’s a great insight into how the pros do their thing! And, beyond that, the Sennheiser gear he used in this video:
Sennheiser MKE 400 Microphone
The Sennheiser MKE 400 Microphone is a highly directional shotgun microphone that features an enhanced super-cardioid polar pattern that will capture clear, crisp and high-quality audio recordings with next-to-no unwanted background noise. It's fitted with built-in wind protection and an internal suspension mount which together reduces wind and handling sounds. To combat poor acoustics, the MKE also features a built-in low-cut filter and 3-step sensitivity switch that provide both flexibility and control in different audio environments. This microphone is designed for use with both DSLR/Mirrorless digital cameras and mobile devices thanks to interchangeable 3.5 mm TRS and TRRS connectivity. The MKE400 is the ideal onboard microphone for vloggers and travel/documentary videographers.
£159.00 View
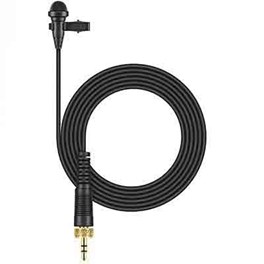
Sennheiser ME 2 Omni-Directional Clip-On Lavalier Microphone
The Sennheiser ME 2 is a reliable lavalier clip-on microphone for interviews, presentations, broadcasting, and content creation. As a replacement for the ME 2 ii, this model has been slightly modified to allow compatibility with future Sennheiser digital transmission products. This lavalier mic utilises an omnidirectional polar pattern for 360° audio-capture, ensuring quality pick-up even when your subject turns away from the capsule. Further to this, the ME 2 prioritises intuitive speech intelligibility with a frequency response from 50Hz to 18KHz. Essentially, this means that the ME 2 has the ability to filter out both low and high frequencies to prioritise clear, intelligible speech-focused audio. This compact and versatile clip-on lavalier microphone features a 1.5m audio cable and an included lapel clip for easy-application upon your subject's clothing. To reduce wind noise, the ME 2 utilises an integrated windscreen, as well as a 3.5mm locking connector.
£109.00 View
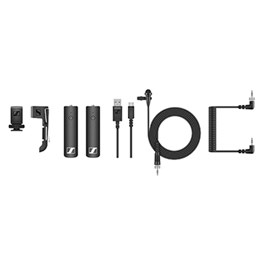
Sennheiser XSW-D Portable Lavalier Set
The Sennheiser XSW-D Portable Lavalier Set is a one-touch ease-of-use wireless audio set that utilizes a digital transmission to seamlessly link audio sources. Equipped with an ME2-II lavalier microphone, this elegant solution makes capturing dialogue on a DSLR easier than ever before while maintaining a reliable connection. The set includes XSW-D 3.5mm (1/8") transmitter, XSW-D 3.5mm (1/8") receiver, ME2-II clip-on lavalier mic, 3.5mm (1/8") coiled cable, cold shoe mount, belt clip, and USB-A to USB-C charging cable.
£249.00 View
Sennheiser’s tips and tricks
We asked Sennheiser for their tips and tricks on how to improve audio quality and what they suggest to get the best recording.
- Always listen to what you record as you record it. Listen with a set of monitoring headphones that will provide you with an “audio viewfinder” so you can ensure what you’re recording is as good as it can be!
- When you shoot video, think about the audio intention that you do want to include/capture and get rid of the ones that you don’t.
- Choose the right microphone for the right job! E.g. if you’re recording in a noisy room but honing in on a main subject's voice, pick a microphone with a more focused “polar/pick up pattern” that is better at rejecting external noises in the room.
- Get your mic as close to the sound source as possible. The ideal range is within 2 metres for your subject. Like a camera with where light and exposure, consider the “proximity effect”. The closer you get to a light/sound source the brighter/louder it is.
- To improve the “tone” of the audio, do not point the mic towards hard/reflective surfaces like windows. Sounds bounce and this can ruin the tone and feel of the audio you’re going to record.
- When shooting outside always use furry wind protection. This minimises the effect of wind and buffeting which is the scourge of audio recording. Shoot with your back to the wind to shield the microphone from the maximum effect of the wind. Microphones with low-cut filters are good, but once you use them that frequency is gone forever - think JPEG vs Raw!
- Audio makes a video even if the picture quality is not great!
Sign up to our newsletter today!
- Subscribe for exclusive discounts and special offers
- Receive invitations to our insightful Wex Events
- Get the latest news and know-how from our experts
