
It’s a question very commonly asked online – how can I improve my sports photography?
With so much incredible sporting action happening this summer, from the 2026 FIFA World Cup to Wimbledon and the ICC Women's T20 World Cup, we’re already seeing some absolutely stunning sporting imagery from the pros. You may well be tempted to try your hand at capturing some more local action for yourself.
To help you out, we paid a visit to the sports photography communities online to try and figure out – what are the top tips that keep coming up, again and again? What are the basic mistakes that beginners keep making?
Read on to see what we discovered – the top tips that beginner sports photographers will receive again and again – so you can avoid making the same mistakes. And if you’re looking to gear up to shoot sports, don’t miss our guides to the best cameras for sports photography and the best lenses for sports photography.
-
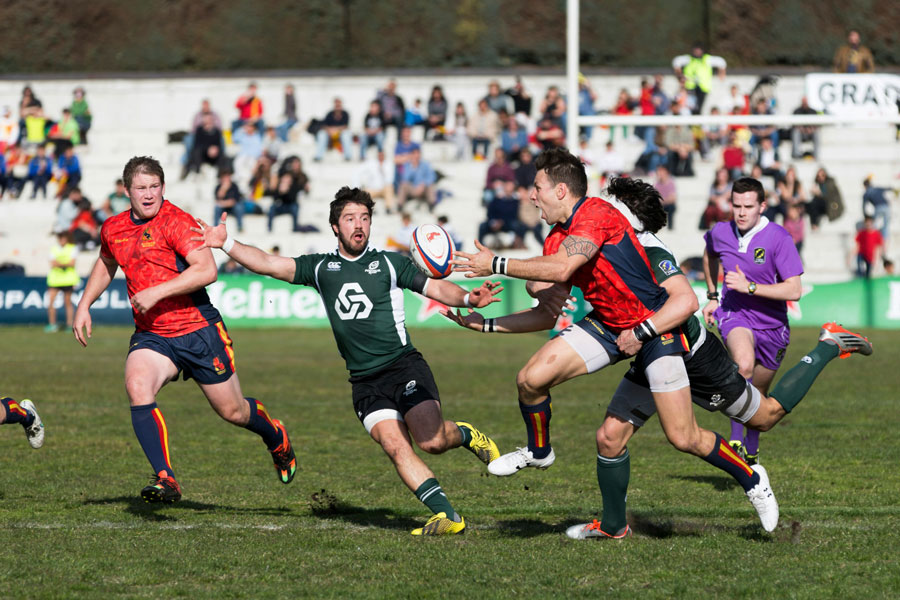
Fill the frame
This is the tip that comes up again, and again, and again from seasoned sports photography pros, and if you only take one tip away from this article, it should be this one. In fact, many of the following tips could be considered sub-tips of this one, since so much of sports photography is about finding ways to fill the frame with the action.
Fill the frame. Fill. The. Frame. A shot of two players on a football pitch, surrounded by dead space, with something muddy and indistinct happening between them, is a snapshot that anyone could have taken from the stands. A shot of those same two players filling the entirety of the frame, with every detail of the action frozen in tack-sharp focus – that’s sports photography.
-
Learn the difference between an interesting moment… and not
When someone submits their beginner sports images for critique, there tend to be common themes. Lots of players standing around. Idle goalies shot from the back. Players gently warming up, milling around at the sidelines. In isolation, these can make for decent-looking images. But ask yourself – are these interesting moments? Are they really, honestly the most interesting things that happened during the game? You’d have to hope not.
‘There should be something that is compelling and catches the eye,” says u/parkerjh. “Look for shots that tell a story. Without that, it’s just a picture of some random dude standing on the grass. Try to anticipate key moments… could be emotion, action, reaction.”
-
No, you actually do need F2.8
There’s no real getting around the fact that for sports photography, you need a fast-aperture lens. It’s not just “nice-to-have”, but really is essential for getting sharp, frame-filling images of dynamic action.
Beginners will often just use the lens they have, which is fair enough. But a fast aperture allows you to push up your shutter speed to the levels required for sports photography, without having to bump up your ISO and potentially compromise your images with too much noise. Conventional wisdom for sports photography is that you want to be working at 1/800sec at a minimum
A fast aperture and a telephoto focal length will also allow you to isolate your subjects against the background. Most sports photographers recommend a 70-200mm f/2.8 as a good starting point. All the major systems will have one (or an equivalent), and these types of lenses also tend to be available for a good price on the used market.
“You'll eventually need a better lens,” says u/scottlebsack. “Professional lenses are expensive, but especially with sports/action, they're frustrating to live without. Invest in lenses over bodies.”
-
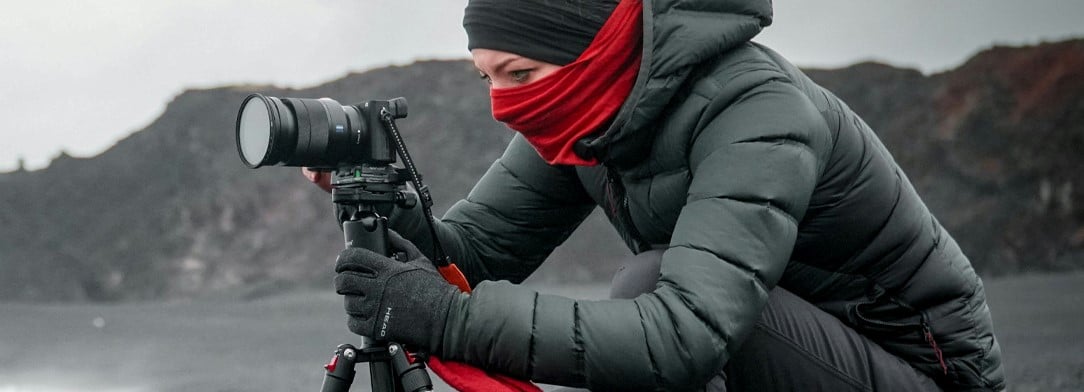
Don’t just shoot at eye-level – get low!
A hugely important tip for sports photography, this one comes up all the time. Amateur shots are commonly taken from eye height, and this isn’t the best perspective for sports photography. You want to be low down, where the action is, in order to fully immerse your view in what’s happening.
“Sit down or kneel when you shoot,” says u/ericbrs200. “If you’re comfortable with it, try laying down. You’d be surprised how much lowering your camera a foot or so closer to the ground makes, especially for youth sports.”
To this end, a cheap camping stool can be a sound investment for the aspiring sports photographer, as you’re unlikely to be able to crouch or squat for one to two hours.
-
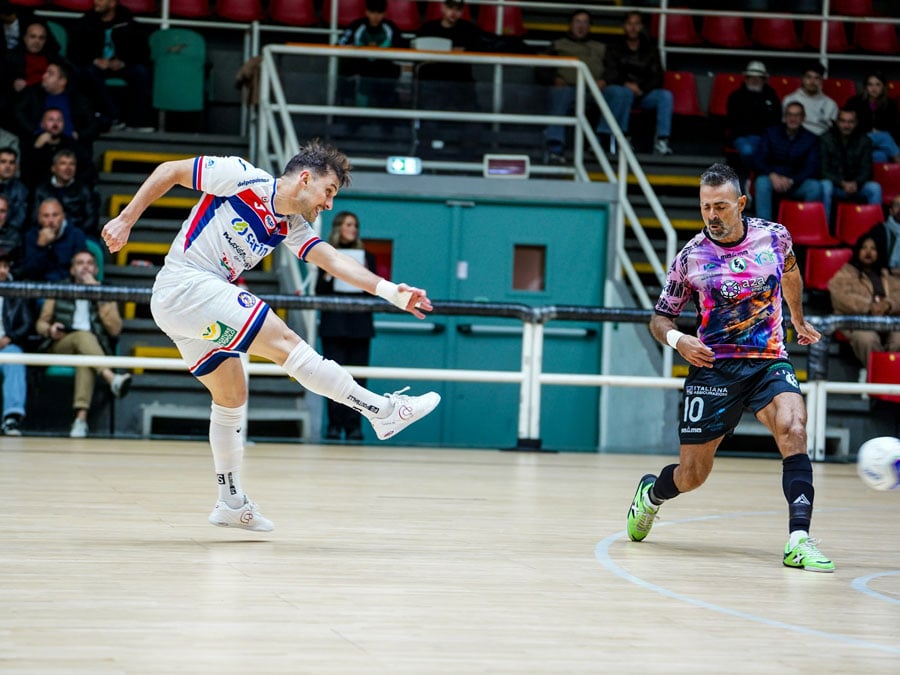
Stop getting backs of heads. Focus on eyes, faces and balls (ahem)
No laughing at the back. There’s an old saying that great sports photography is about two heads and a ball, and while that’s a bit of an oversimplification, you’d be surprised at how far it gets you in terms of getting images that capture action and tell a story.
Assuming you’re photographing a ball-based sport, you want to be following the ball (or puck, shuttlecock, etc). The ball is where the action is; it’s what all the players and the spectators are focused on, so it’s what you should be focused on too. When the ball is down one end of the pitch, your lens should not be at the other end capturing the back of a defender’s head.
“Rule of thumb: get the face and get the ball,” says u/Myke5T. “Then comes the editing.”
Speaking of which…
-
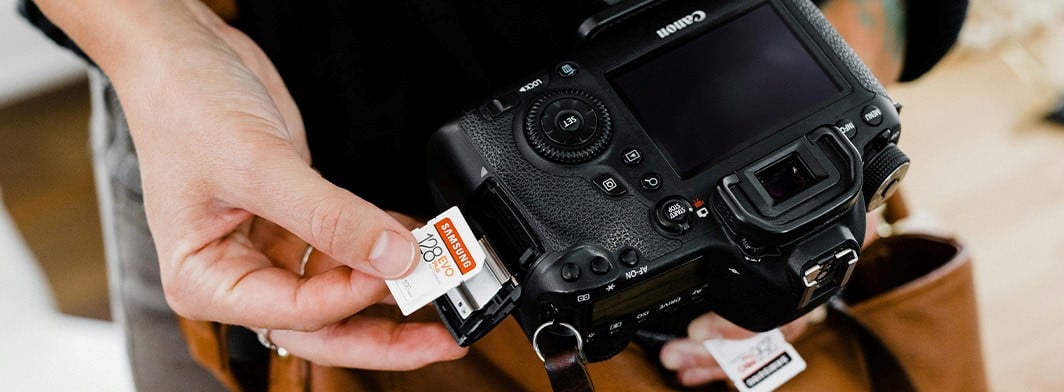
Get comfortable with editing – crop and straighten!
Sports are by their nature fast-paced, and it’s only natural that during a frenetic piece of action, you may not get the framing spot on. So, it’s worth accepting early on that you’re not going to get everything right in-camera.
Even if you’re a die-hard Fujifilm shooter who adores Film Simulations, you’re going to be spending time editing. Cropping and straightening are big parts of sports photography. Cropping helps you bring the viewer to the key action of your image, enabling you to (say it again) fill the frame. Straightening, meanwhile, will take care of askew horizon lines, which are an instant way to mark a picture out as amateurish.
“Crop the image to remove dead space/cut off players,” says u/MackieStaggie. “Yes, you want to try and capture the moment in camera, however there will be times you won't zoom in quick enough. Also straighten the images as well… nothing more off-putting than a wonky horizon.”
-
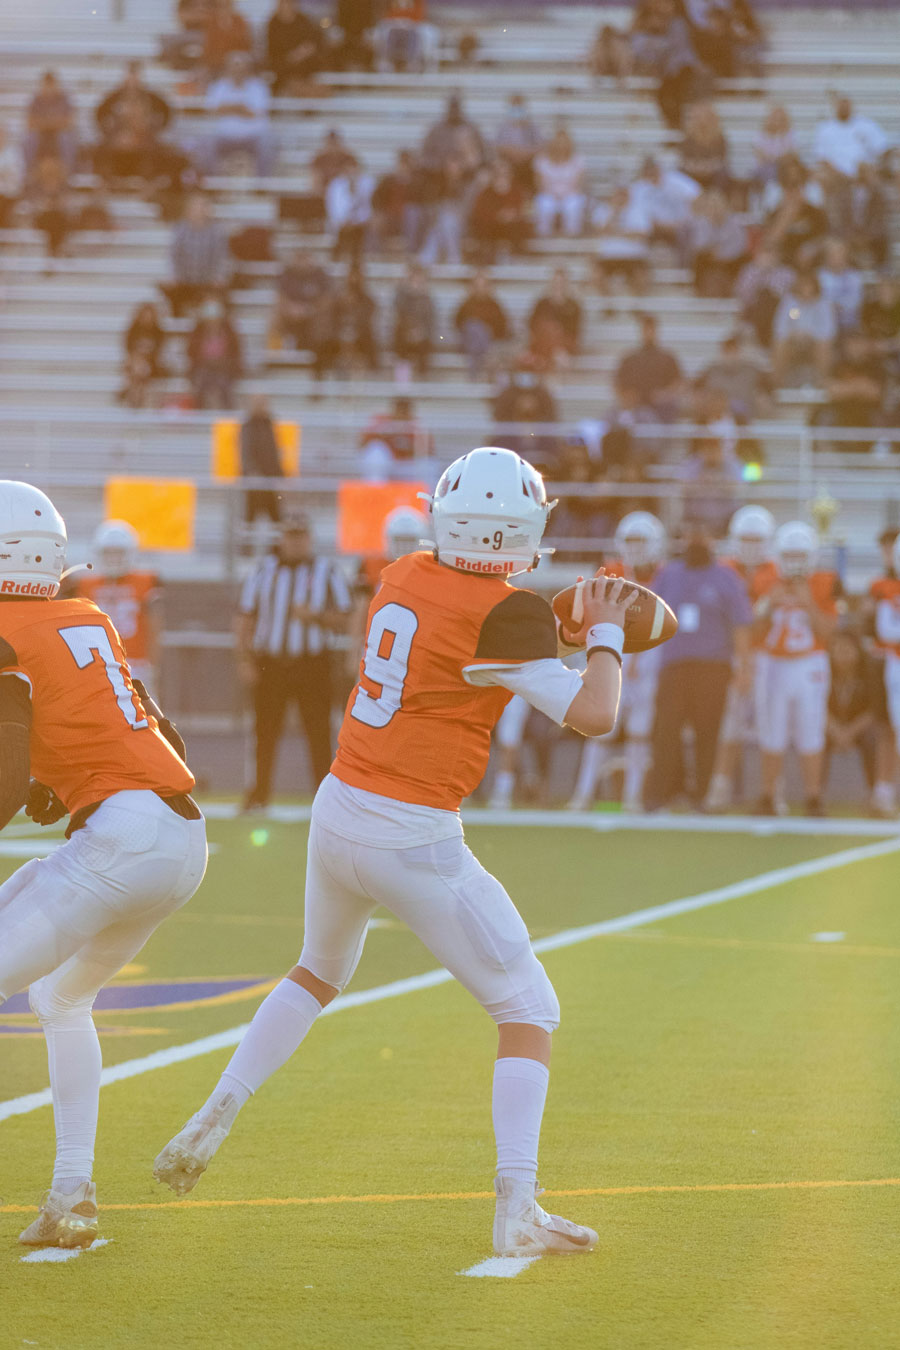
Don’t amputate your players
Sometimes, a beginner sports photographer’s portfolio can look a bit like a wartime field hospital. Missing feet. Arms chopped off at the elbow. Even the odd decapitation. Apparently it’s a rough old world out there in the lower leagues.
If you’re going to present a player to your viewer, you should present them in their entirety. That means ensuring you’ve got them in frame from head to toe, without errant bits of their anatomy being chopped off by the edge of the image. “Fill the frame” is an instruction that runs in both directions – fill it with coherent action, not a mess of dismembered arms and legs.
-
Put yourself in the running path
Often, beginner sports photographers find themselves out of position because they’re focused on where the action is, not where it’s going to be. Given that you need to fill the frame with a player, and that you want to capture them face-on rather than from behind, one way to make your life much easier is to try and position yourself where they’ll be running to. This gets easier with practice – the more you shoot a sport, the more you’ll get a feel for its flow.
“Once you recognize the running path of the [sports] players, sit in a position that causes them to run at you and don’t shoot until you fill the frame,” says u/Kyd_B_Wilde. “Otherwise it’s just a snapshot.”
-
Don’t solicit feedback immediately – get shooting!
Obvious advice, perhaps, but merits repeating. It’s common to see aspiring sports photographers asking for tips and advice after shooting their very first and only game or event. And while it’s fair enough to want to improve, the best advice that can be – and often is – given to these people is: go shoot ten more games.
You can’t beat hands-on experience. The digital age means there’s no practical limit to how many shots you can take, so shoot to your heart’s content, and take note of what works and what doesn’t. If you keep on shooting, and being critical of your own work, you’ll teach yourself where to stand and what to look for.
“Honestly, just take lots of photos, you will get more comfortable as you gain experience,” says u/henryrodenburg. “One thing I like to do is go on Getty Images, AP photo, etc. and browse photos from professional games. This gives me inspiration for looks I can try and recreate when I go out and shoot games.”
-
You need to learn the sport
When you photograph a sport, you’re telling the story of that sport. Doing this is going to be much, much easier to do if you have an understanding of the sport yourself. If you know what players are trying to do and how they are thinking, you’ll be able to anticipate their movements and position yourself better to grab the shot.
“One thing that sports photography requires is strong timing and anticipation,” says u/nexxai. “It sounds simple at first, but you need to have your shot lined up and ready to go *before* the ball is thrown or the puck is shot or whatever. You need to read the players' body language, anticipate what they're about to do and then get ready so that when they actually do it, you're not playing catch up, since by that time, the play is already over and the action is somewhere else. If you're not ahead of the play, you're behind it.”
If you’ve noticed a theme running through these tips, it’s that sports photography is about being proactive rather than reactive. Learn your sport, anticipate the action, get yourself in position, and fill that frame.
Don’t spend a ton of time reading about sports photography online when you could be actually practising with your camera. Those people online all started in the same place, and the only way to improve is to keep shooting.
Now, close your browser (but not before bookmarking this article, of course) and go take some photos.
About the Author
Jon Stapley is a London-based freelance writer and journalist who covers photography, art and technology. When not writing about cameras, Jon is a keen photographer who captures the world using his Olympus XA2. His creativity extends to works of fiction and other creative writing, all of which can be found on his website www.jonstapley.com
Trending Buying Guides


Sign up for our newsletter today!
- Subscribe for exclusive discounts and special offers
- Receive our monthly content roundups
- Get the latest news and know-how from our experts


